Easy dairy-free coconut vanilla ice cream recipe


I was about 13 and my sister was 11. It was august in phoenix, which meant it was 120 degrees out. My sister and I were really not used to this, we grew up in upstate NY. So in the summer you were outside. It was a foreign concept to us that summers consisted of TV, boredom, and getting really creative inside. So we decided to cook. The dream team, or maybe trouble making team.

My cooking experience included: making one batch of oatmeal cookies, (with my mother) making a batch of oatmeal cookies alone, and causing the oven to catch fire, and maybe making lots of pots of coffee. My parents believed in child labor.

I guess my parents thought we were old enough to cook without supervision, and clearly they had put me in charge of my sister yet again. We were sick of watching the tv and got our butts in the kitchen. We walked around, looking at what we had in the cubboards. Caroline found, the bisquick mix, (for those of you who don’t know this is a premade flour mix, which can be used for an assortment of baking).  Then I found peaches. Together we thought up peaches with sugar, cooked, over a biscuit. I guess we liked to use fancy words back then to describe our food.

I coated the peaches with sugar. Lots of sugar! The non–organic cane sugar full of GMO goodness. I put them in the toaster oven. She mixed up the biscuits and we popped them in the oven. We were cleaning up and we smelled something funny, then we saw something funny. Caroline Screams “ the toaster oven is on FIRE! I turned around, oh my GOD the toaster oven IS On FIRE! Then we looked at each other and simultaneously yelled “DAD come quick. Clearly we had no idea what we were doing. He put out the fire. We were shocked he didn’t get upset.

I think the peaches burned. Obviously they burned. We plated the biscuits grabbed the peaches and dolloped a huge pile of whip cream on top. SUCCESS!

My sister and I eagerly served our Dad and much to our surprise he ate it. But what followed was an honest critique;" its good, but you can do better" He told us. Man, have those words stuck with me until this day.

That memory always comes to me from time to time. It reminds me where I started. I started in the kitchen with my sister, side by side. See we used to fight a lot, maybe because we both were bit bossy and wanted things “our” way. Maybe its because we didn’t have the tools we do now. The point is cooking together, we always found neutral ground, and if we didn’t find a common space we would have probably killed each other many times over in the kitchen. So we learned how to do this mutual dance, a good one at that.

There is just something magical about cooking. Don’t you think? My hope is to inspire you out there to make some magic in the kitchen to. To mess up learn from it, and keep going! 

I am sad to say I wont give you that recipe for our burnt peaches. Instead I will give you a dairy-free vanilla ice cream recipe. Now the thing is its not vegan because there are eggs in it. Enjoy friends. Thanks for stopping by.

- Nicole


Coconut Vanilla Ice cream: makes 1 pint

2 ½ cans full fat coconut milk

½ cup of raw sugar, cane or turbine works fine

1 tablespoon of vanilla bean paste

3 whole eggs and 3 egg whites lightly whisked

Directions:

1.     Place a large pot, or Dutch oven over the stove on medium heat. Add in the coconut milk, but be sure to add the two cans, then with the last can only take the fat of the coconut milk. Add in your sugar and vanilla and whisk. Heat until fully combined and the grains of sugar are gone.

2.     In a heatproof bowl, such as metal or glass, crack your eggs and lightly whisk. Add in your coconut mixture. Then stir and combine. Taste to see if you need to add more sugar or vanilla. Don’t go over board though. You are looking for a creamy, yet subtle vanilla taste.

3.     Then place in your ice cream machine and follow directions. Its key not to over churn. Once finished place in a baking tin, or ice cream storage bin lined with parchment paper.

4.     Serve with Figs and honey, chocolate chips or waffle cones! Enjoy! 


Gluten-free basil, thyme, olive oil rice crackers Recipe


I’ve mentioned this before but lets talk a little about failure. There is something important about showing our failures instead of sweeping them under the rug. Exposing our failures is much more humbling than trying to say it’s “all perfect”. This, this Failure thing was especially hard for me to put out there, but well I guess its much more fun to get back on the horse and keep going instead of wallowing in my own self-pity.

So yesterday I had this craving for Crackers, I like crackers, maybe more than the average person. It’s something about the crunch. It’s just so satisfying. Anyway I wondered around my kitchen and found we were out of crackers. So I thought should I make them? That seems like a lot of work, I don’t think I have time for this. After wrestling with myself and wasting at least 10 min I chose to suck it up and make the crackers. It turned out it took no time and then I got inspired to take some images, a double win.

Once I got the crackers out of the oven I was pumped. Again probably more than the average person, but I was. I accomplished making my own crackers I mean come on. So to my surprise they were less than, I mean the flavors were there but the texture was so inconsistent, I mean bad. The middle was soft, the edges were just right, but really how could I call this a win?? My perfectionism didn’t get the best of me though; I thought why not post it anyway. Bad crackers, failed recipe and all, I don’t have to sweep this mess under the rug. Maybe I am channeling my inner Julia Child?

So friends here you have a not so perfect, recipe for gluten free basil and thyme crackers. There will be some notes in there on how you can fix the imperfections. Also I’d love to hear from you if you come up with your own Cracker recipes! So we can compare notes!

Cheers and Happy Cooking!!

- Nicole


www.heydear.co


Gluten free Basil, Thyme and Olive Oil Crackers:


Ingredients:

2 cups rice flour

3/4-tablespoon kosher salt

1 tablespoon dried Thyme

1 large bunch of fresh Basil (chopped with scissors)

1 tablespoon of baking powder

¼ cup water (plus extra as needed)

1 large egg

2 tablespoons of vegan butter

2 tablespoons of extra virgin olive oil

2 tablespoons of seeds of your choosing

Directions:

1.  Line 2 baking sheets with parchment paper. To keep the paper from coming up, you can poor some hi heat oil on the pan before laying the paper down. Once you are finished preheat the oven to 375 degrees. While the oven is heating move on to the dough.

2.  In a food processer add all the dry ingredients. Flour, Sugar, salt and your herbs. If you want a kick you can add a dash of fresh ground pepper. Then put on a low speed to make sure it’s combined. Then add in your vegan butter, olive oil, egg keep it blending on low until dough forms. Slowing add in the water at the end.  If it looks wet add a tablespoon more of rice flour.

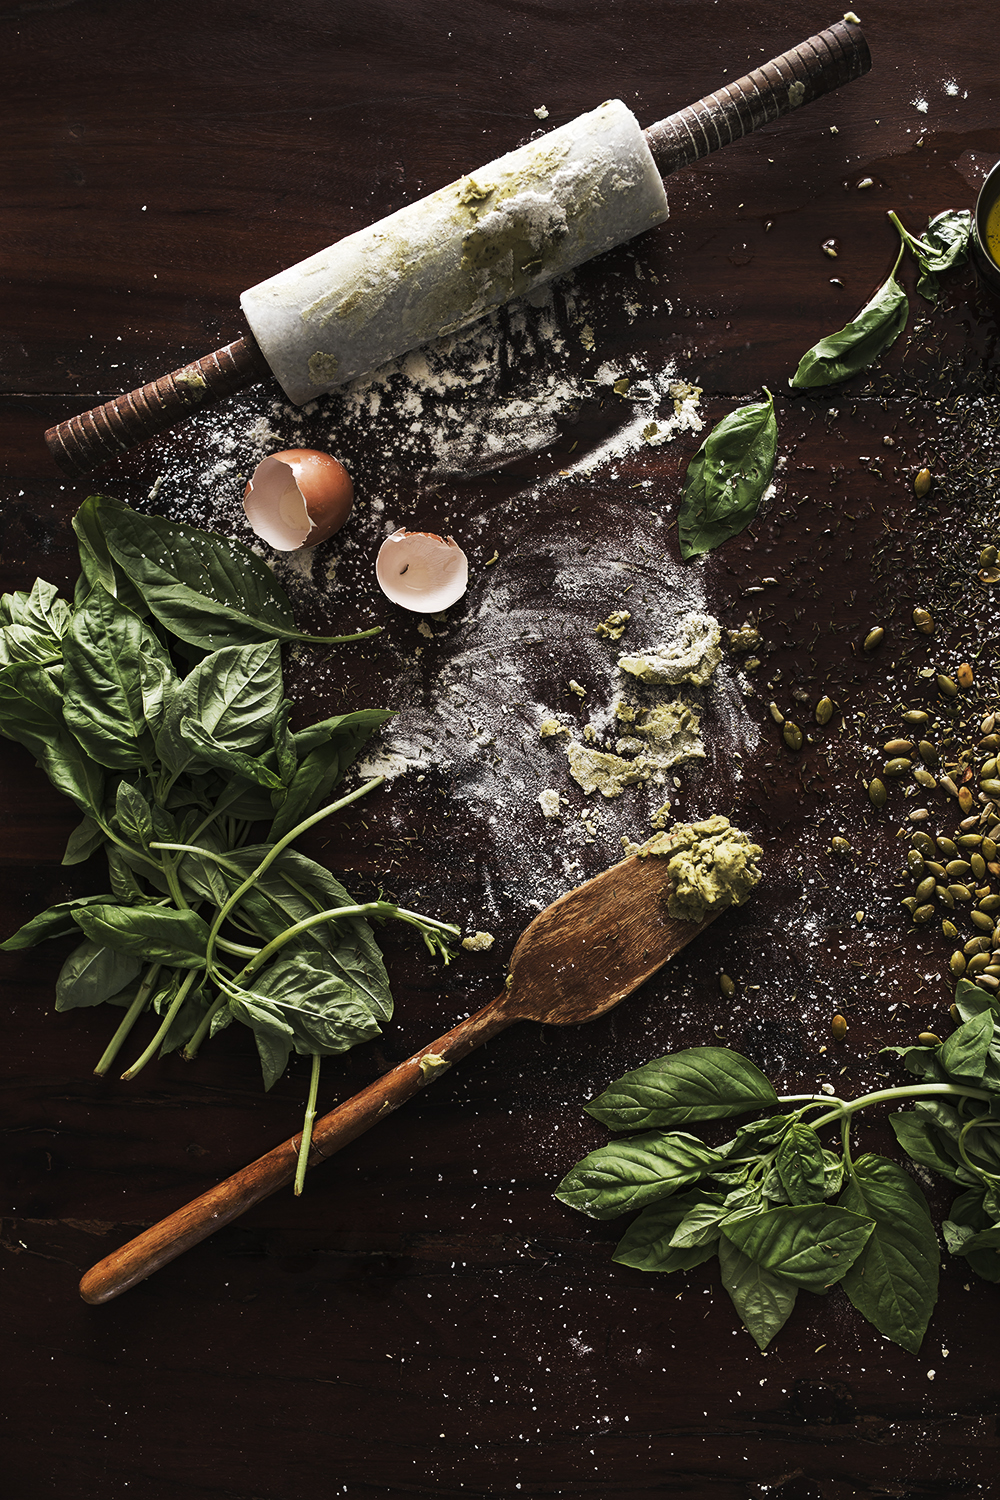
3.  Divide the dough onto the two sheets. Take a rolling pin and sprinkle flour over it, as well as sprinkle some flour over the dough. Then begin to roll it out to fill the pans. Do your best to make sure it’s all the same thickness from middle to end. Then add your seed and light press those down with your rolling pin.

4. Bake in the oven for 12-15 min or until lightly golden. When you take them out brush the crackers with olive oil and lightly sprinkle with kosher salt immediately.  Then ENJOY!


SPICY MARGARITA RECIPE || FOOD+LIFESTYLE PHOTOGRAPHER NICOLE LEE


I am totally obsessed with limes at the moment. Maybe it has something to do with their green color, and my gravitation towards it since everything is mostly brown here in Arizona. Since I had so many limes left over from my last project I was inspired not only to make good use of them, but there is something about the fact that it is still 100 degrees out side, which calls for a nice cold margarita. Right?

When I usually make my margaritas, I use Patron, and their Patron Orange Liquor. But I wanted to mix it up this time and try something new. This time I tried out OLMECA AlTOS 100% Agave Plata Tequila and it’s rated at 96 points. Let me tell you it’s amazing, so smooth! You have to try it out.  As well as Cointreau instead of the patron, the outcome is a refreshing heavenly cocktail that you keep coming back for more.


SPICY JALAPENO MARGARITAS :

For the recipe: this yields 2 margaritas ( double if making more, cut in half if making one at a time) 

You will need : 

  • 1 cocktail shaker
  • 2 cups of ice, 2 lowball glasses , (mason jars work wonders) 
  • 2 jalapeno's
  • 4 0z 100% clear Agave Tequila ( OLMECA ALTOS is what i would suggest!)
  • 1.5 oz Cointreau
  • 1-2 limes
  • Lime juice sqeezer
  • knife

METHOD : 

Slice the limes in half set aside. Slice the jalapeños into round quarters, its up to you how spicy you want your margarita, so add as many as you'd to your cocktail shaker. Then squeeze in 1 half of the lime juice, add in about 1 /2 cup of ice, and all of the tequila and cointreau. SHAKE SHAKE SHAKE! Place the rest of ice into the two glasses and pour the margarita over the ice and drink immediately. ENJOY! 

NoteIts up to you how much lime, or jalapeño you want your margarita to taste like, so your free to get creative and mix it up just the way you like!! 


CHEERS FRIENDS !! 

-Nicole


this Recipe was adapted from the lovley Bethenny Frankel's Skinnygirl Margarita : www.bethenny.com 

COINTREAU : http://us.cointreau.com/lasoiree/ 

OLMECA ALTOS TEQUILA : http://www.altostequila.com

Basic roast chicken recipe, with lime and herbs


These days I have been desperately yearning to get back to basics. Basic life, basic food basic fashion, I gravitate towards them like a magnate. These things above all others give me certainty. Certainty, that I can accomplish the little things in life.

See we moved across the country from Charleston, SC back to my hometown of Phoenix Arizona. (My husband and three children that is.)(Let me be frank and say I don’t do well with change. In fact I am a bit of a control freak, who doesn’t like the feeling of being out of control, so for me this was a big deal. ) Oh and we bought our first home, and the kids started a new school. In some ways it’s a lot of firsts for all of us.

I never thought in a MILLION years I would buy a house, let a alone in Phoenix. When I was in high school I had big, I mean BIG dreams to leave, and make it somewhere. Somewhere like NYC. I mean right? Who doesn’t want to live there?  That’s where everybody goes to make it big. In fact that is the only place to go??…NOT. No! But that is what I told myself. In my head New York was way “cooler” than dusty desert town of phoenix. Instead life carved a different path. So I chose to embrace it. Go with it. With the unknown, walk towards it become its friend.


Life of course can become chaotic at times. Especially with moving across the country, I will not sit here and tell you its been all daisy’s and roses. What I will tell you is that I made a choice. See I had two options in front of me, to choose anxiety and stress, which leads to multiple crying episodes. Or option 2, to push through. To push through the change, to walk into the unknown and know it was going to be okay. That it’s going to be okay with whatever the outcome. To know life really is out of our control, and being content in that. To know that we don’t have to break down to get there. Guess what? The best part, Pushing through feels like you WON the race. You find yourself in this random high. Then you feel like you can take on the world and you make it to the next place. Which Life is much easier and well things work out. Like a LOT! 

“Small baby steps lead you toward the big steps which then before you know it your walking on your own” – (from the movie "What about Bob") 

There might not always be stillness or certainty in life, but what I do know is you can accomplish a simple basic chicken recipe. So lets do this. Cheers Folks.

Enjoy and Happy Cooking! 


Basic Roast Chicken Recipe, With Lime and Herbs:

What you will need:

  • Roasting pan, cast iron skillet, or ceramic deep baking dish
  • 1 whole (preferably organic ) Roasting Chicken
  • 2-3 limes
  • 2 garlic bunches
  • Spices: salt pepper, fresh Oregano
  • Cutting board, Carving Knife, tea towel 
  • An Oven
  • Avocado Oil (or any other HIGH HEAT OIL Will work! ) About 1 -2 tbsp
  • Twine 

For the Recipe: 

Preheat your oven to 425 degrees. While that is warming up, wash and dry your chicken set aside. Slice the limes in half. As well as break apart and smash your Garlic. Set aside. Take your oil and cover an even layer over the bottom of the pan. Then place your chicken breast up inside. Tie the chicken legs together with your twine. After you finish stuff your bird with one whole lime and one whole bunch of garlic. 

Take your oregano break apart with your hands and sprinkle over the chicken. Then squeeze your other lime all over your bird. After this add the rest of the oregano, cut limes, garlic to the pan next to the chicken. Take oil and lightly sprinkle over the top. If you desire add pepper. 

Place the chicken into the oven. Cook for about 25-35 min at 425 degrees, then turn down the oven to 350 and continue to cook for another 60 min. If your bird is larger you will need to add additional time to the cooking. 

nce it is golden brown, and you don't see any raw or pink , take it out. Take it out of the dish and place on a the cutting board for 15 min!!!! I am shouting because it will I mean will dry out if you cut into it too soon!! So let it REST !! 

Once its rested, add salt and pepper to taste then enjoy!! 

Gluten Free Blueberry Waffles - Saturday Breakfast


Saturday Breakfasts are somewhat of a staple around here. Saturdays are for sleeping in, big breakfasts and being lazy. Right?  Here is a simple gluten/ milk free recipe, that takes no time to make and honestly tastes like the real thing ( filled with Gluten). Recipe below images! 

Happy Tuesday Friends! 

-Cheers 

Nicole 


Recipe for Gluten Free Waffles ( makes 8)  

INGREDIENTS: 

-  3 Bowls, whisk , ladle, measuring cups, waffle iron

- 1 1/2 cups Gluten Free All purpose flour ( BOBS REDMILL IS THE BEST! )

- 2 tsp Baking Powder 

- 1/2 tsp Baking Soda 

- 1 Tbsp RAW Honey or RAW SUGAR 

- 1 tbsp Oil 

- 3/4  Soy, Almond, or coconut milk depending on preference 

- 4 Eggs Separated 

- tsp Vanilla Extract 

- 2 cups Blueberries 

- 2 cups bananas 

To Make :

- Pre heat waffle iron

- In one large bowl place all the dry ingredients together set aside

-In the other bowl place 4 egg whites and the vanilla, whisk this together until it forms into a fluffy form, making stiff peaks. 

- In another bowl, combine the dairy free milk, yolks, and oil. Whisk these together. Then add in the dry ingredients to this mixture. Once combined fold in the fluffy egg whites with a spatula. Once combine, you can add in blueberries, chocolate chips bananas whatever sounds good to you! 

- Place mix on the waffle iron using the ladle and should finish in about 3- 5 min. Golden brown is what you are looking for. 

- Place the finished gluten free waffles on a place lined with parchment paper to soak up the grease, also the parchment paper will keep the waffles warm while the others cook. 

Top with powdered sugar and enjoy!