BANANA NUT BUTTER BREAD | RECIPE | GLUTEN + DAIRY FREE | ARIZONA FOOD PHOTOGRAPHER


Hello Friends, 

These days I’ve been up to lots of baking and recipe testing. I’ve been on the hunt for easy go to meals I can bake or cook ahead and will last all week long. Because as I  expressed in my last post, life is ever moving and busy with three growing children. 

After testing this banana bread a few times, I think I’ve come up with the perfect balance between sweet and moist. Plus using nut butter and olive oil keeps this bread so moist. I also used date syrup and coconut sugar instead of traditional sugar, which gives a rich flavor without the crash. You feel me? 

So I hope you fill your weekend with baking and much relaxation. Leave a comment with baking questions or if you make it let me know!! 

Now lets bake some bread. Xo 


Banana Nut Butter Bread recipe

INGREDIENTS:

  • ½ cup mild extra virgin olive oil
  • ½ cup nut butter of choice ( or mix)
  • 2 fully very ripe bananas mashed with a fork
  • 3 room temperature pasture raised eggs
  • 1 tsp vanilla
  • Bunch of pumpkin seeds for top
  • ¼ cup date syrup
  • ⅓ cup organic coconut sugar
  • 2 tsp ground ginger
  • ½ cup brown rice flour
  • ¼ cup tapioca flour
  • ¼ cup potato starch
  • ½ cup gluten free rolled oats
  • ¼ tsp kosher salt
  • ½ tsp baking soda
  • 1 cup chopped chocolate, chocolate chips or walnuts or seed mix
  • Raw sugar for topping

DIRECTIONS:

  1. Preheat the oven to 350 F. Line a loaf tin with non-stick spray or non-stick spray then line with parchment paper up the sides and bottom. ( Either option will do).

  2. In a bowl, peel your bananas, and mash well with a fork. Set aside. Crack your eggs and put them in a bowl. Measure out all your ingredients and put them in front of you. In another bowl put your dry ingredients except sugar and whisk them.

  3. In a stand mixer with whisk attachment, whisk your nut butter and oil together until smooth. Then add your sugar, date syrup, and vanilla. Mix some more about 1-2 min. Drop in your bananas, and alternate them with the eggs. Then add your flour. Mix until incorporated.

  4. Fold in your chocolate chips or nuts with a spatula. Then pour your dough in prepared baking tin. Top with organic raw sugar and pumpkin seeds to taste.

  5. Bake in the oven for 45 min at 350 on the middle rack. Then check with a toothpick, if it's still wet bake for another 10 - 15 min. And cool completely overnight on a cooling rack before cutting into. Please resist the urge to cut into it, it will stay moist and delicious if you WAIT! TIP: although we will be tempted to open the oven to check the bread, it will “fall” or “sink” if we do, so let it cook a good bit before checking. ENJOY!
A SIMPLE PIE GUIDE | WHAT I LEARNED ( SO FAR) ABOUT PIE | PHOENIX FOOD PHOTOGRAPHER


Hi Friends,

Honestly, I’m no Pie expert nor trying to be. I do however like Pie, and I’ve come a long way in the pie making department. From burned to baked ALMOST PERFECT.  

I’m curious, How do you feel about pie? Do you make pie, struggle with making pie, or are you more the I only “EAT” not bake pie type”? 

Confession, over the last decade I’ve made homemade Pizza and boxed Brownies every year for Thanksgiving. The truth is PIE scared me to death! When baking my first gluten-free pumpkin pie, (well actually.. my first pie ever) lets just say it was a complete disaster. As the pie baked in the oven I realized the edges were burning. In a complete panic, I made a make-shift tinfoil situation to place over the crust. Hoping that’d stop the burning, I let the pie bake some more. The pie finished. My heart sank. The pumpkin filling was burned, the crust was crumbly and well everyone who ate it lied through their teeth that it was great. Thank you kind souls who ate the disaster pie. 

Clearly, you don’t start making your pie dough + filling at 12pm on Thanksgiving DAY!  When you’re cooking a turkey, baked potatoes and a million other things at the same time. You’re supposed to chill your dough before rolling it out, keep the butter cold, and blind baking prevents BURNING. And if all else fails there’s ALWAYS pizza and brownies. Feel me? 

Happy Baking + Happy Thanksgiving friends! 

Nicole xo

PS any QUESTIONS please leave a comment or DM on instagram and I’m happy to answer! Also links below to some helpful videos. Cheers x


A SIMPLE PIE GUIDE:

  1. Start a few days ahead. Or even the week before. Write out a simple menu,for your day and the pies. Ask yourself, how many pies do you need?
  2. DOUGH. PREPARE your dough ahead of time. The night before, 4 days before, just do it before your dinner. A tip I learned from PIE CLASS, make your dough, roll it right over your tin, polk with fork on bottom and then freeze until your ready to blind bake ( see below about blind baking).
  3. If you aren’t feeling bold enough to make your own pie crust, contact a local baker and ask if they sell their pie crust premade?n Or dare I say buy a pre-made frozen one. ( be sure to follow the blind baking steps if you do ;) )

  4. STAY CALM. Making pie is a slow process, a beautiful process which forces you to be present. Pie is supposed to be a bit wonky not perfect! Or even a gallette same same, don’t OVERTHINK IT! HAVE FUN.

  5. BUTTER. Cold or warm or room temp? COLD, always cold. I like to put mine in the freezer before I mix it with my flour. You could, cut it into cubes, use a box cheese grater, or mash with fork when mixing. Or even use your fingers. A lot of people like to pulse with a food processor. truth is, I don’t own one depending on my mood, I do one of the above. If the butter is getting warm as I mix, I pop the mixture back into the freezer for a few minutes and then mix again. I also found using a metal mixing bowl keeps things cold. The GOAL is to keep the whole mixture as COLD as possible through the whole process.
    SALTED OR UNSALTED? It's your choice, No wrong answers here. BUT if you use salted butter, don’t add salt to your flour. If you use unsalted, add salt to your pie dough as recipe calls for. SHORTENING OR VEGAN BUTTER. You can swap out real butter anyway, JUST USE the tips above as a GUIDE. Remember COLD.

  6. BLIND BAKE. PLEASE REMEMBER this step! (YES I'M SHOUTING). After your dough has been chilled roll it onto your pie tin, pop it back into the freezer for another 30 min. And then cover it entirely with parchment paper, place it onto a baking sheet, top with 1 1lb dried beans and then bake at 450 for 20 min. Take out cool, with beans on top for 10 min. Then uncover add your filling of choice and bake to recipe. This prevents burning EVERY time. I promise. More links on this method below.

    LAST : EGGWASH. I egg wash after I blind bake. You can use one whisked egg, with milk, without milk, or even nut milk + egg works. If your plant based skip the wash.

Don't forget to have fun! If your pie doesnt turn out the way you wanted, simply pac on the whip cream. I promise no one will notice. xox


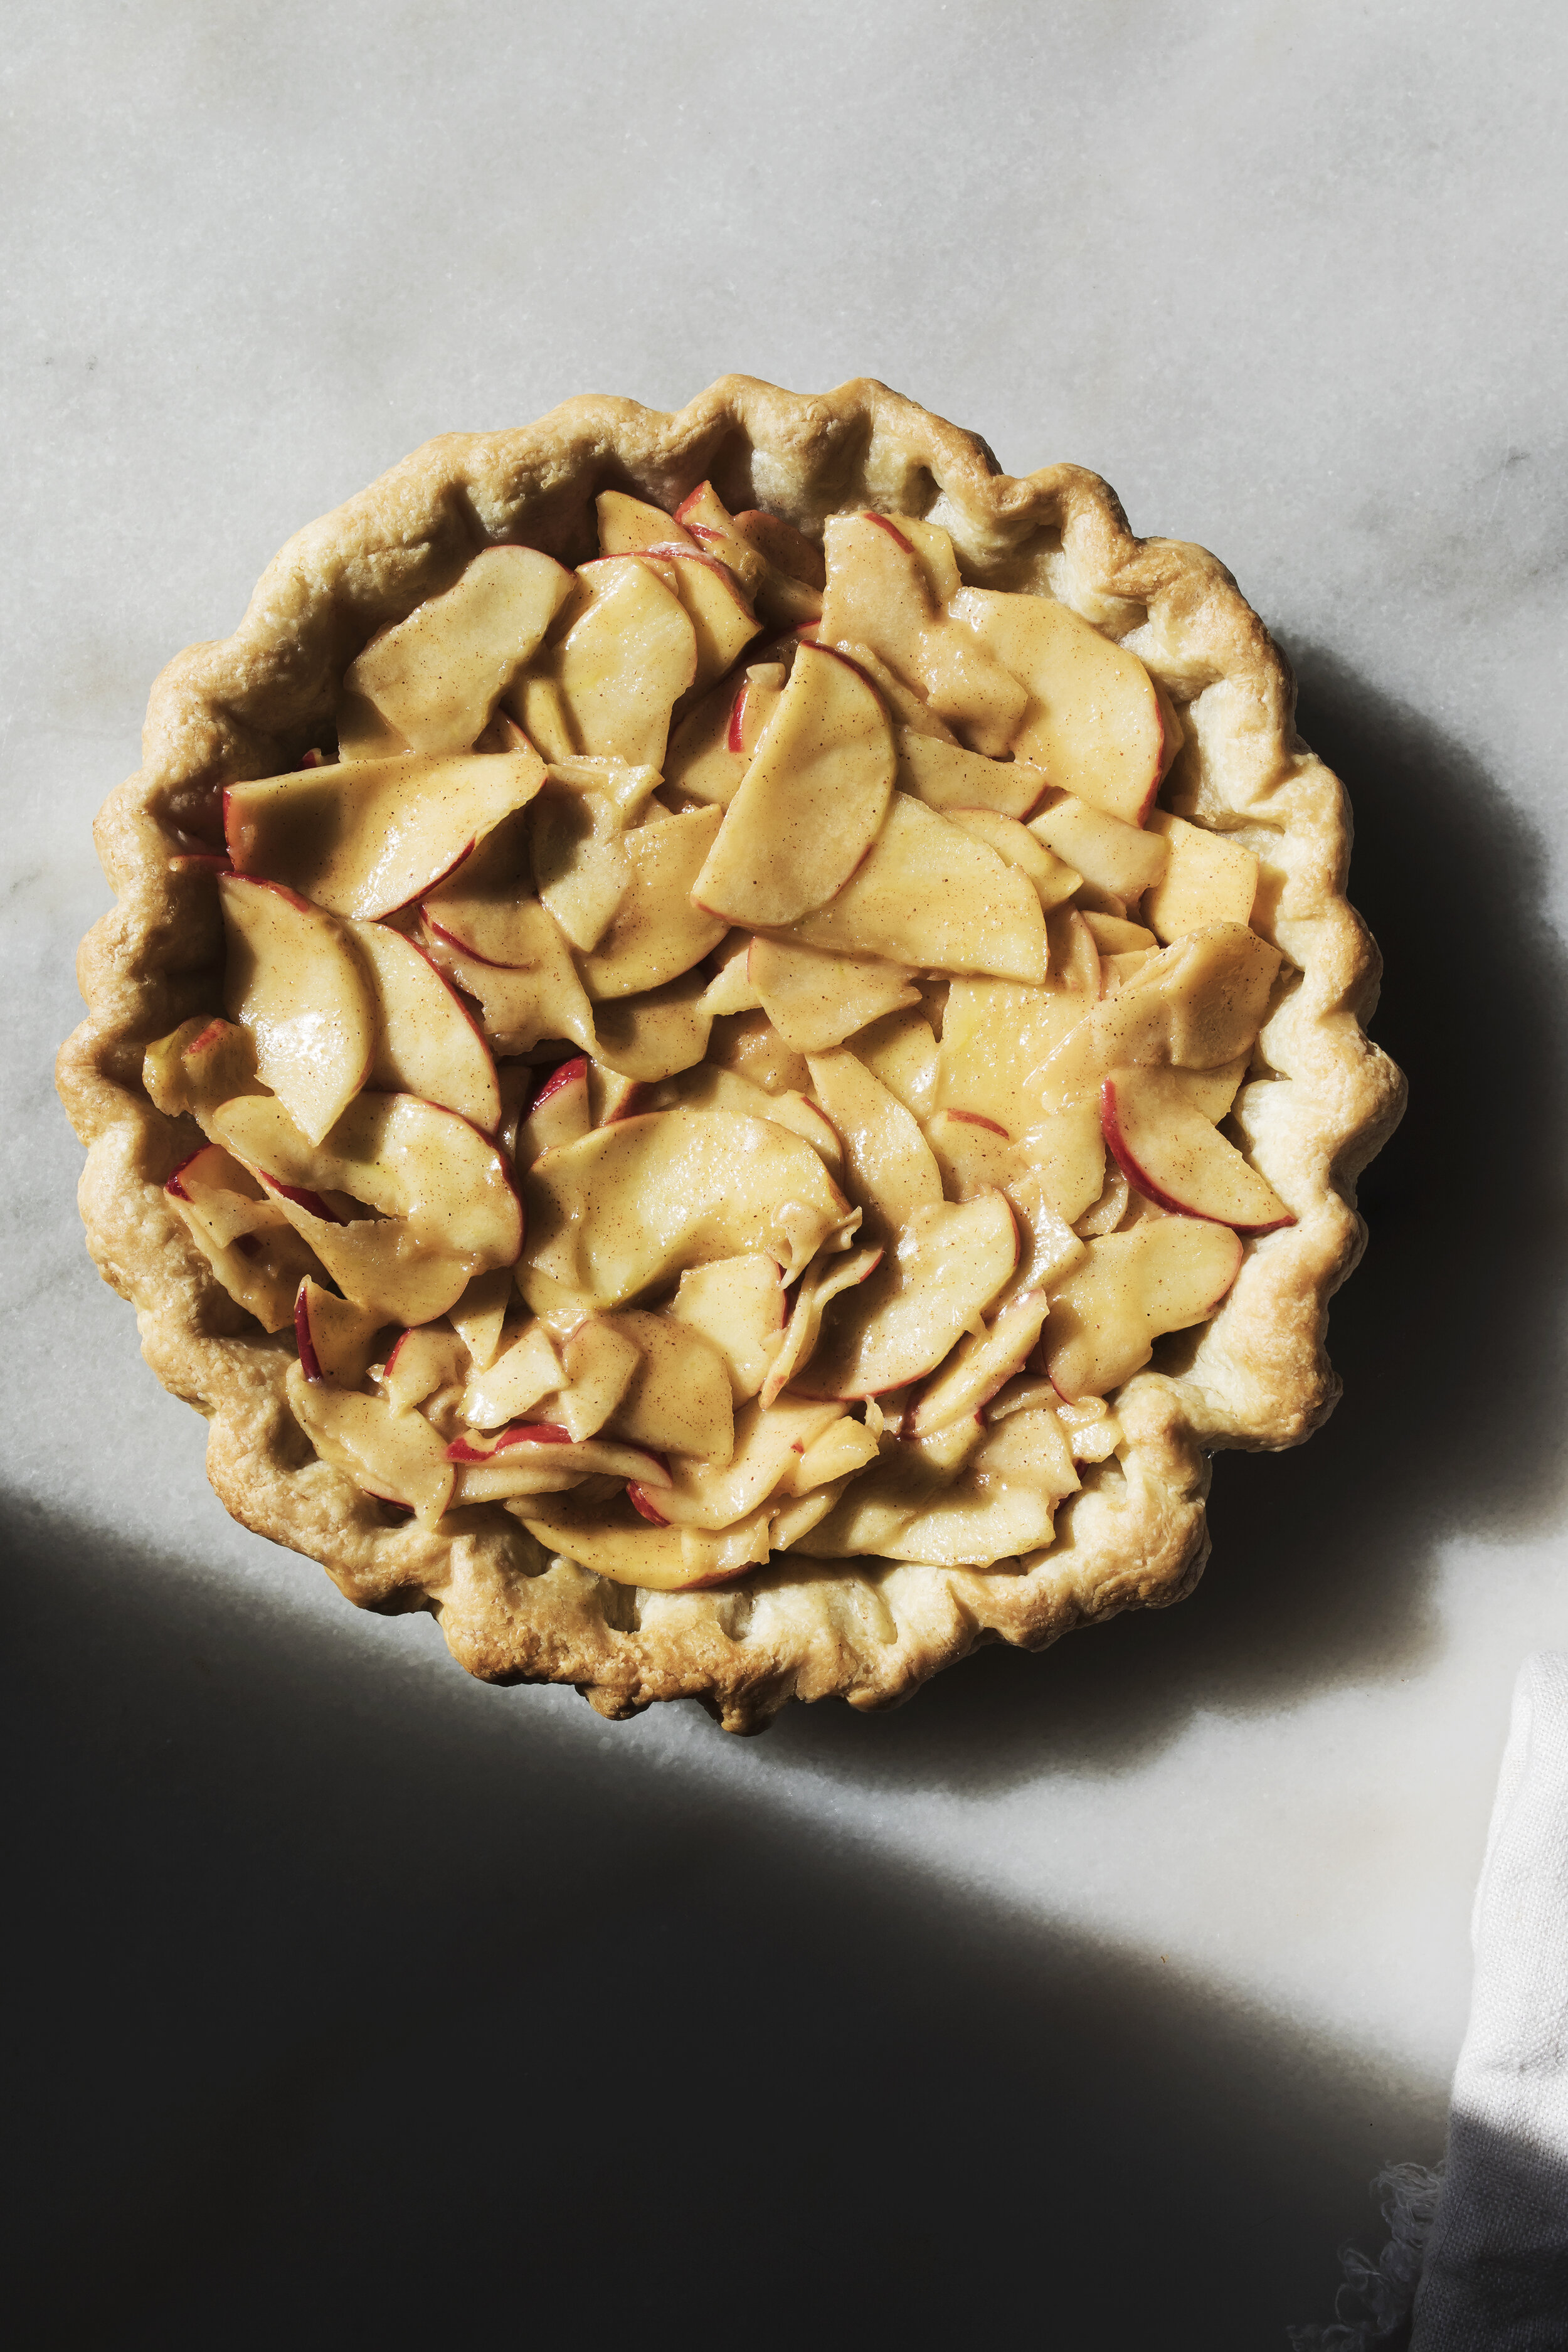
apple pie

MORE QUESTIONS SHOOT ME A MESSAGE IN THE FORM BELOW**


STRAWBERRY RHUBARB CRUMBLE RECIPE || GLUTEN FREE + VEGAN | BY NICOLE LEE


Hi Friends,

When Rhubarb comes into season, I find myself terrified of it. I know dramatic right? I have this push pull relationship with it, I want to try it but I don’t... is it a fruit or a vegetable? Not sure if it’s the long stalks that resemble celery? Wait, it’s poisonous?

Lately, I have been trying to FACE the scary things in life and the kitchen. One of the most pressing fears I’ve been avoiding like the plague, is cooking with ingredients I’m unfamiliar with. The ingredients look scary or hard to work with, I tell myself that I can’t do it, and freeze up. That mentality has me stuck, and I don't want to be stuck anymore. HENCE facing The RHUBARB FEAR. It’s weird as it sounds that cooking could be fear based, but sometimes that’s how things comes up. These days I find I learn most about myself through cooking, can you relate?

Part of the journey in facing the scary thing, is to Acknowledge the FEAR - “RHUBARB scares the shit out of me!” Recognize, checking in with yourself and asking, is it a thought or Story I’m telling myself? What’s the truth here? My Truth, ‘I felt that If I fucked up cooking with rhubarb on the first try I would be a failure”. After sitting with those questions, I realized I told myself a STORY. WHAT a STORY I told myself indeed, and why do I need to put that pressure on myself?

NEW MONTRA, GIRL you’ve got this, COOK the damn thing and GET ON WITH IT.! You may fuck it up, but WHO cares it’s no big DEAL. Here is the thing, the best part of cooking is the failure, trying new things, it’s not about PERFECTION but the journey in getting to the destination (or final dish in this case) I realized that sometimes scary things aren't as scary as you thought they were. It’s that simple.

What are the stories you’re telling yourself right now about cooking? Or about life? Keep going friends. x

Now let's COOK!

X

Nicole


Tips for cooking with RHUBARB;**

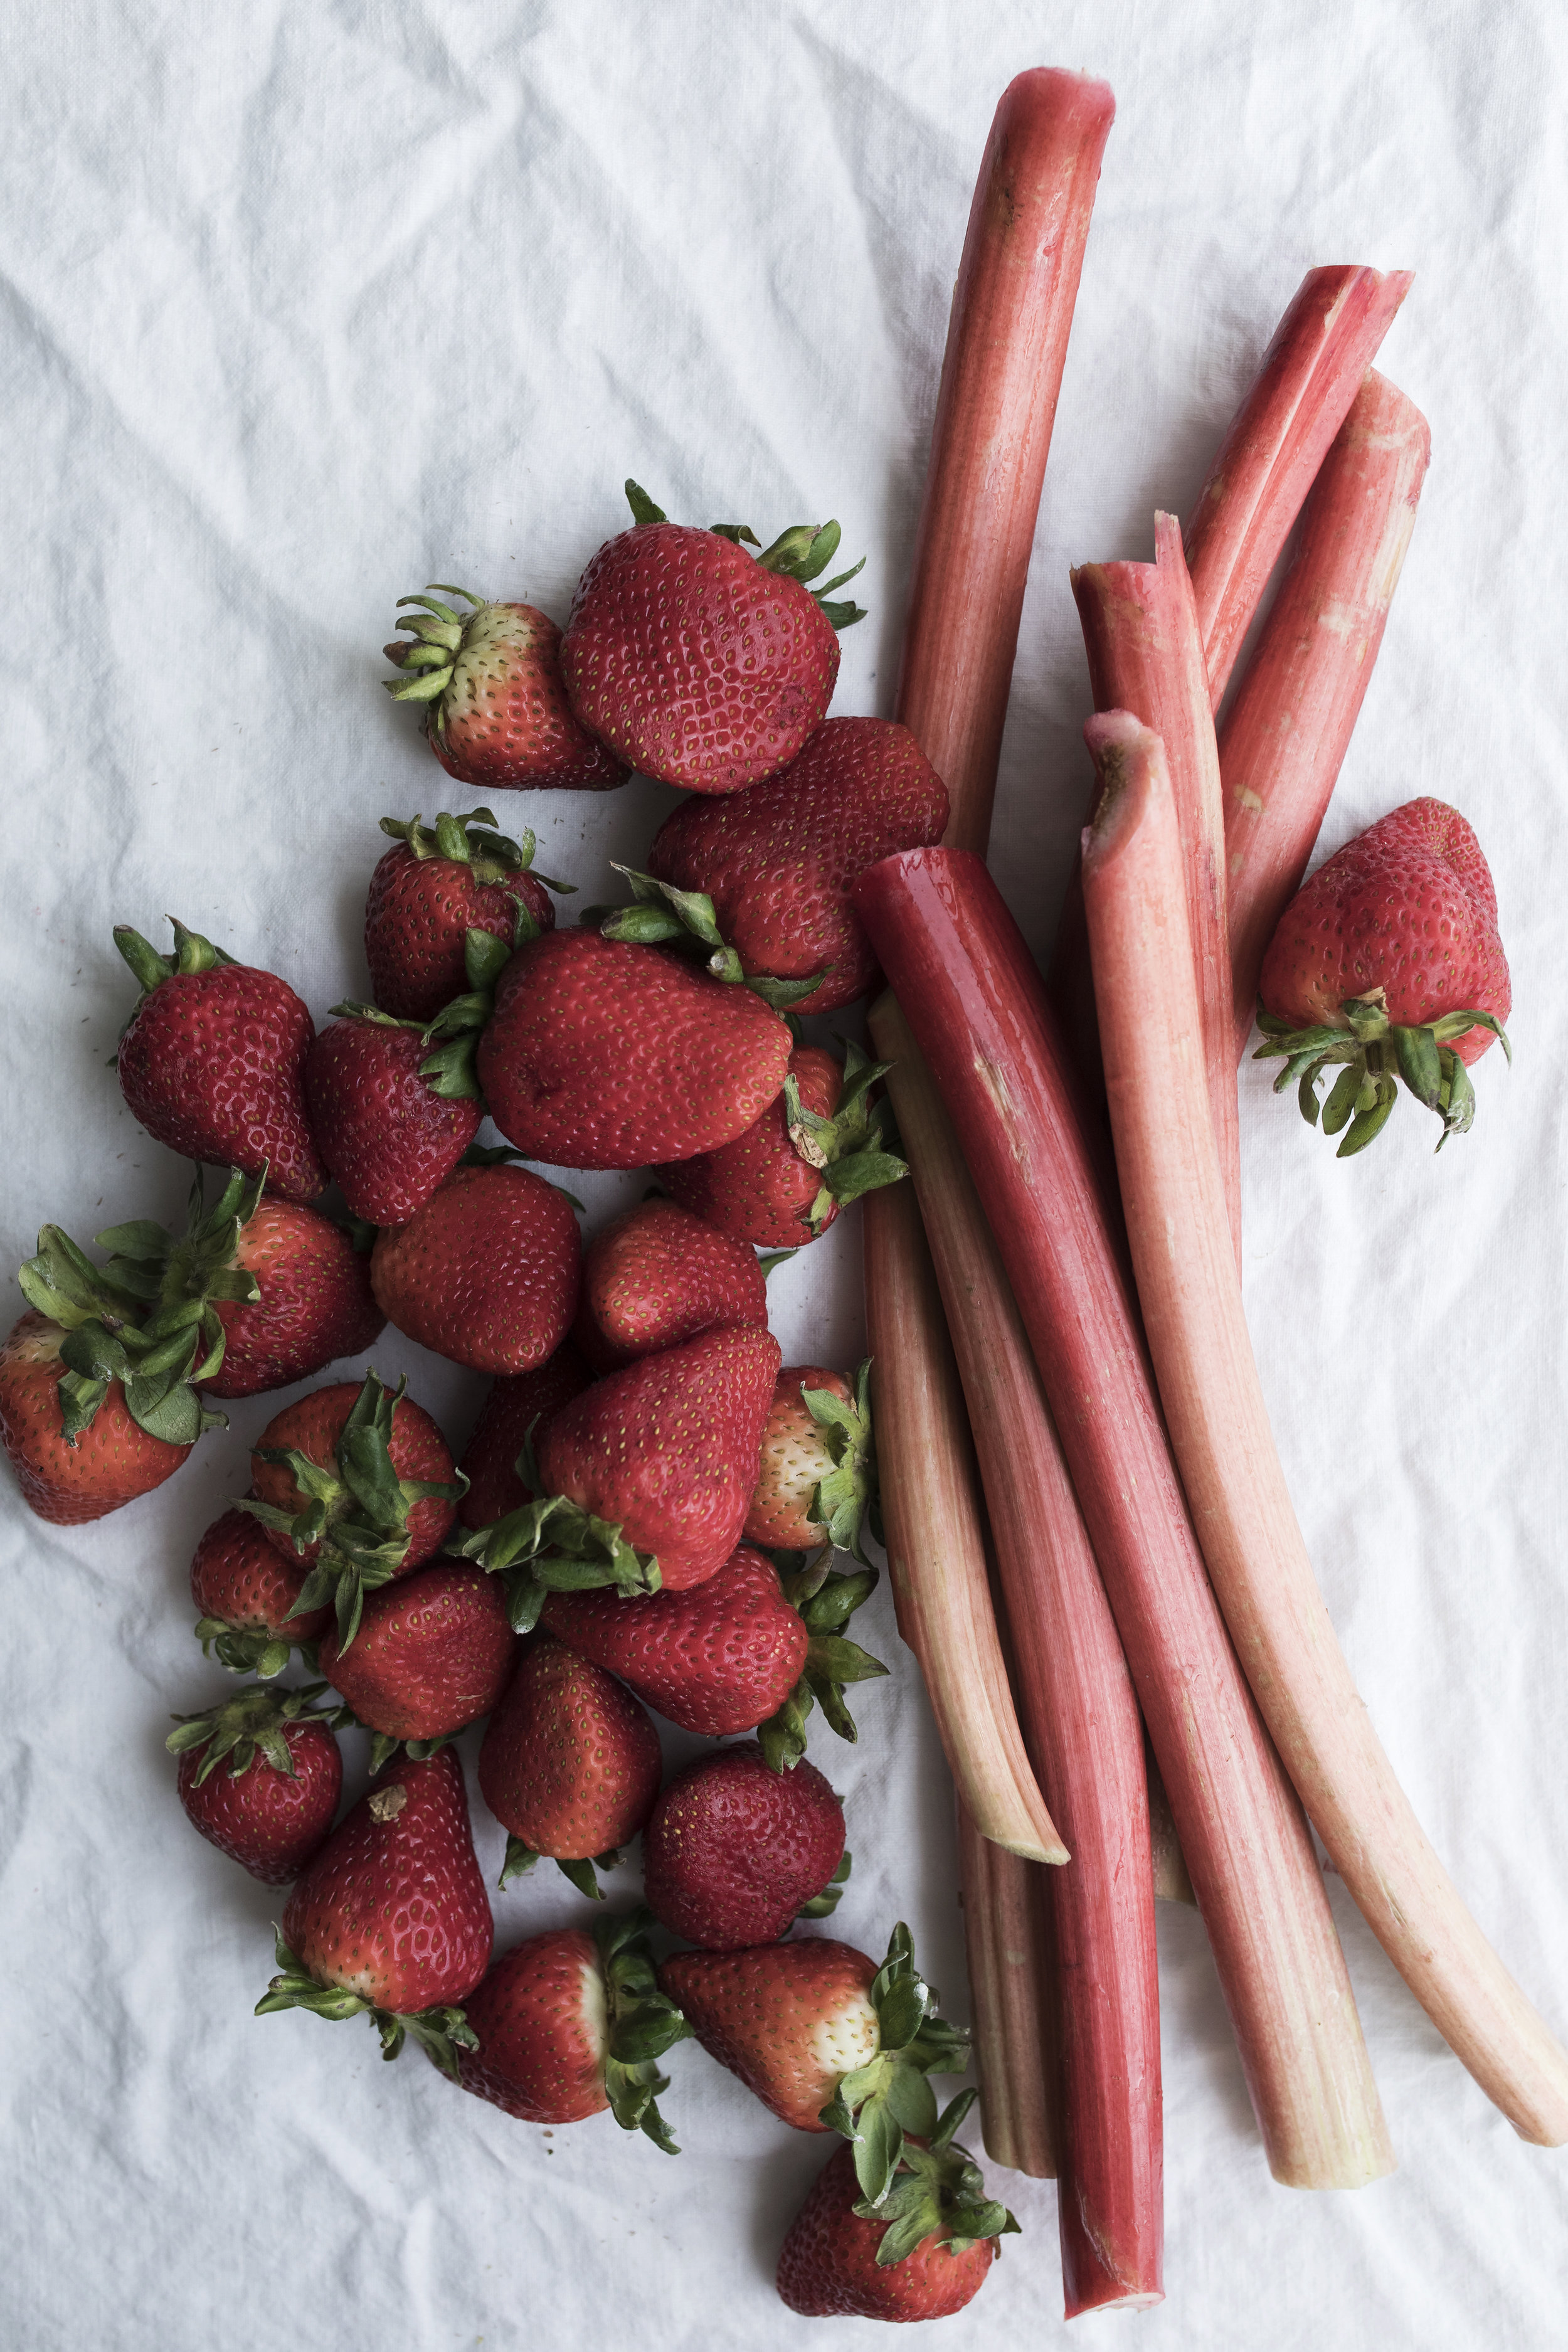
-When picking your Rhubarb, don't skimp. Make the extra trip to the farmers market, they have the good stuff. Look for deep tones in the stalks, deep red + pink. If they are pale they were picked too soon, they won’t be rich in taste.

-DON'T eat the LEAVES, they are poisonous. Clean the stalks and discard the leaves.


STRAWBERRY RHUBARB CRUMBLE RECIPE

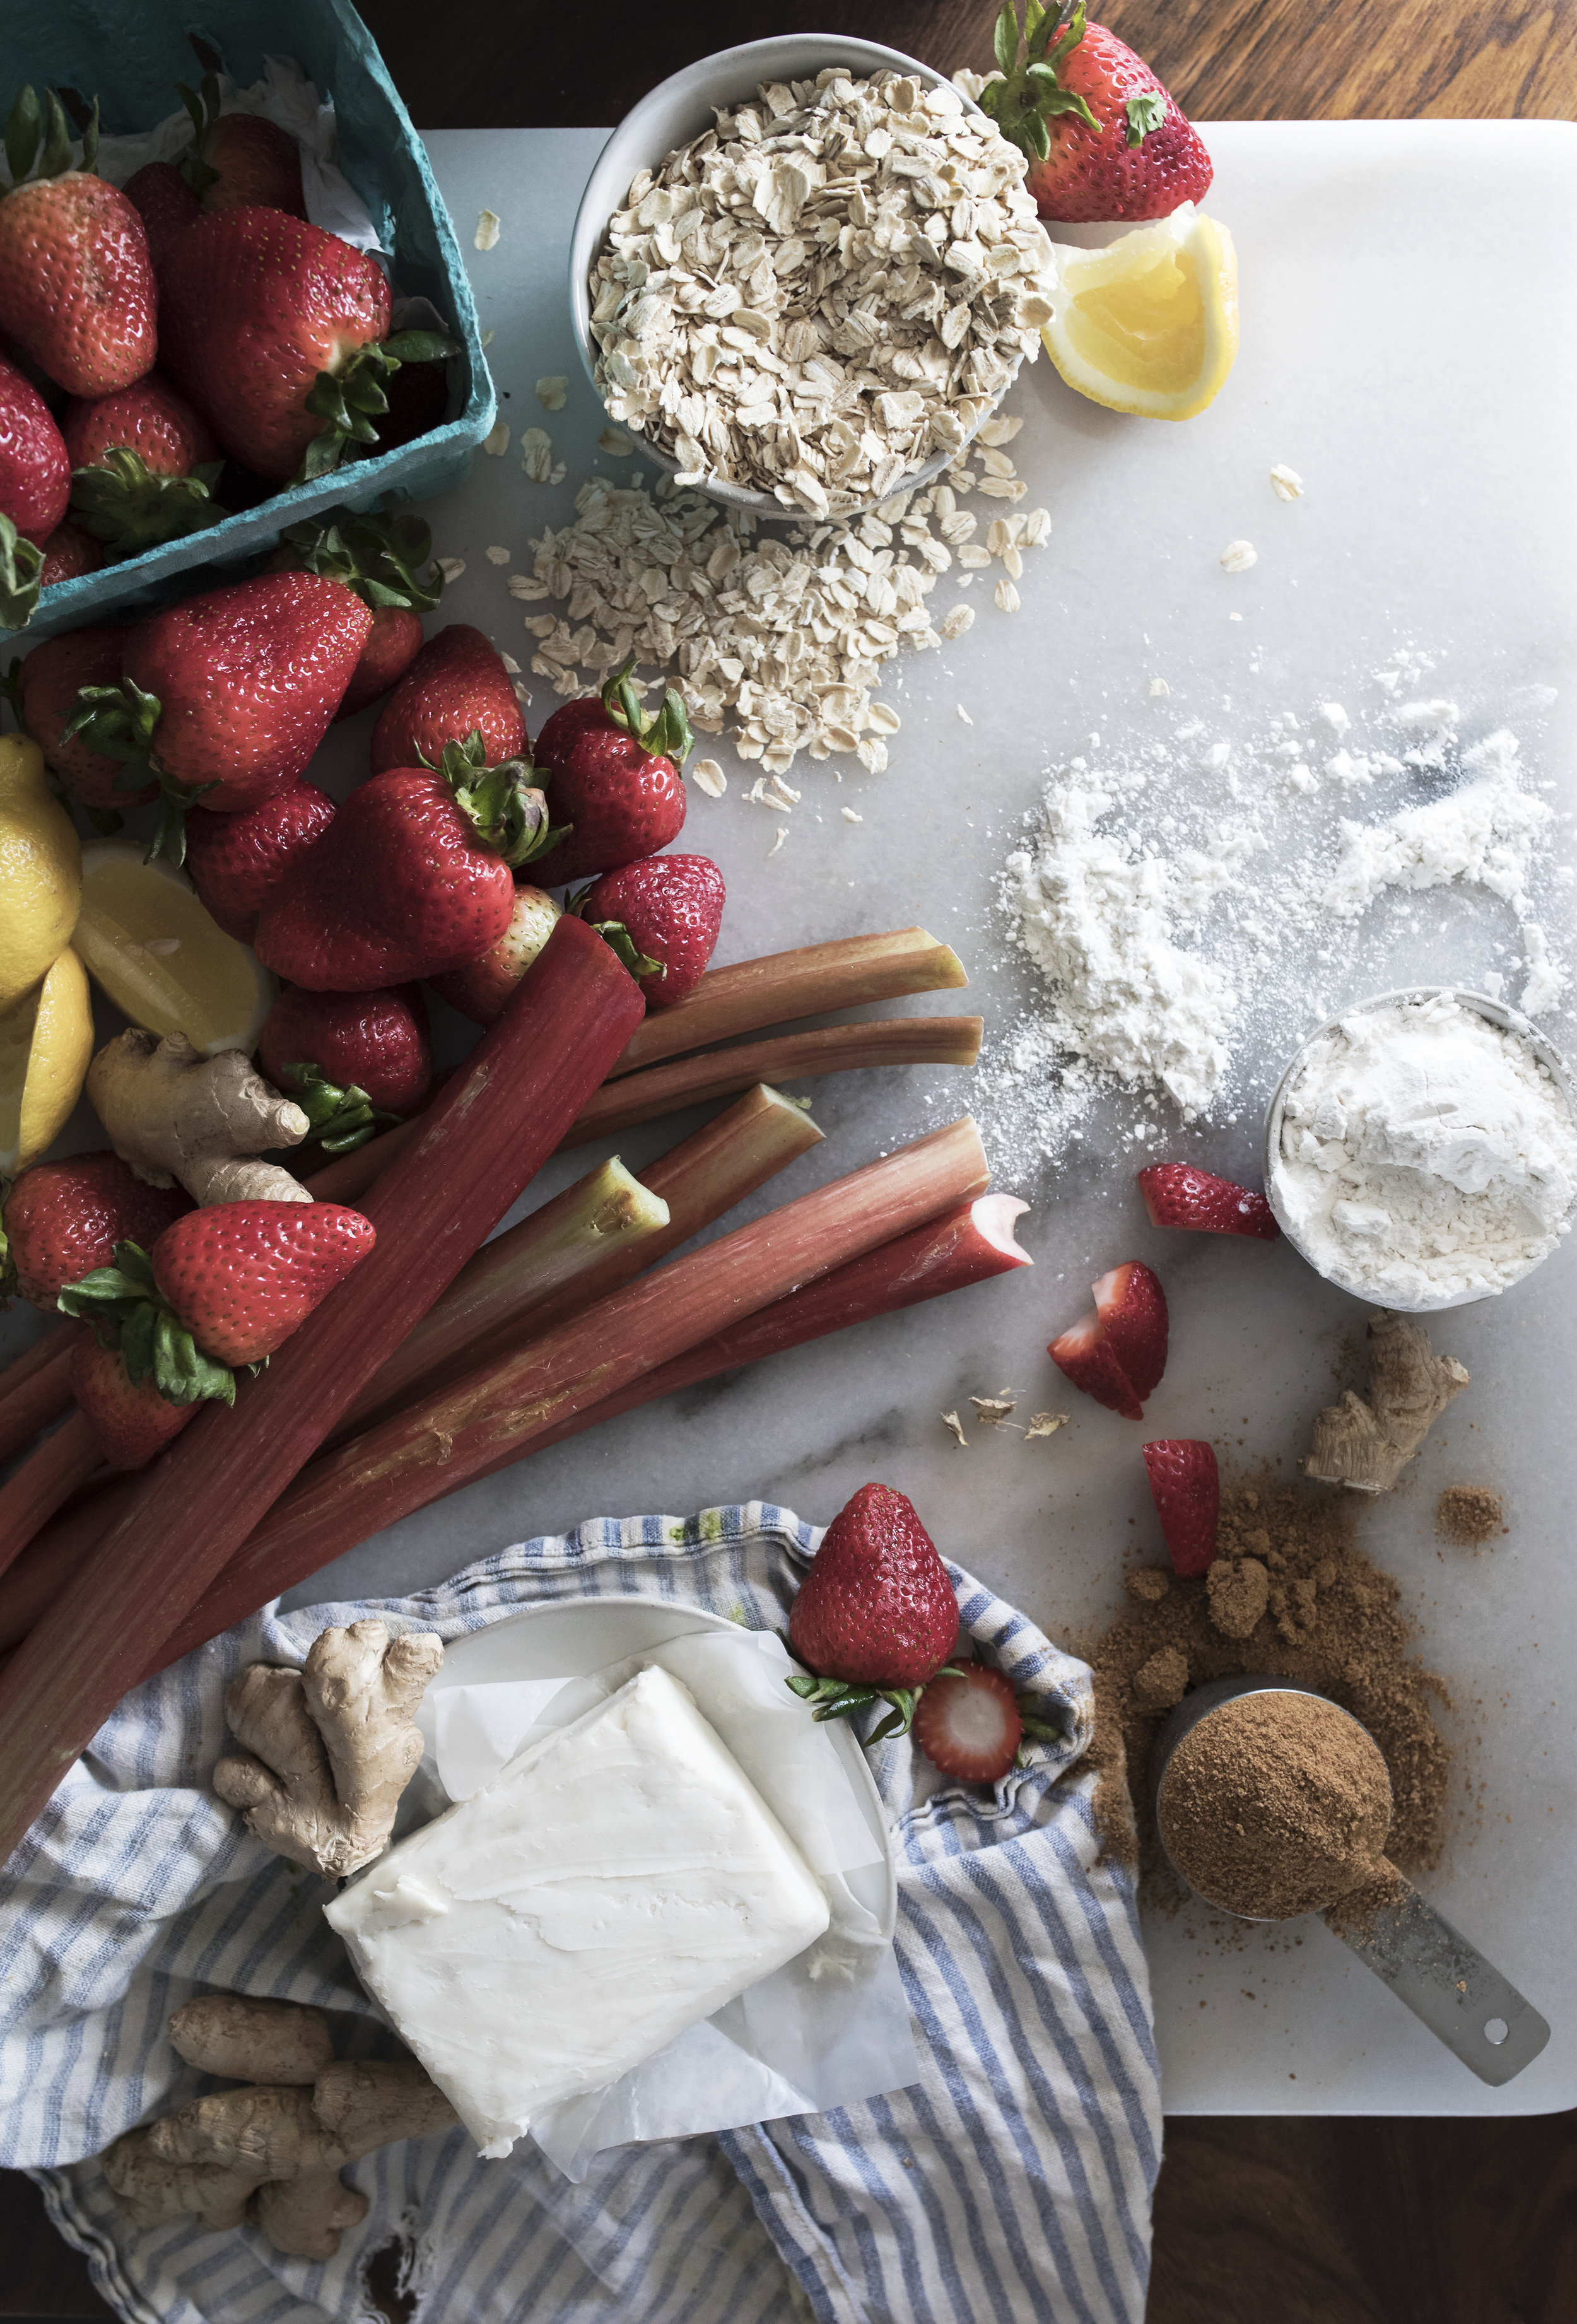
INGREDIENTS:

For the filling;

  • 2 cups chopped rhubarb, cleaned and leafs discarded
  • 2lbs cleaned and chopped strawberries
  • 1 tablespoon lemon juice
  • ¼ cup organic coconut sugar
  • 1 tsp organic vanilla extract
  • 1/4 teaspoon ground nutmeg ( add one ½ tsp if like spicy)
  • 1/4 tsp ground cinnamon
  • 1/4 tsp ground ginger
  • pinch of pink salt

* For the topping;

  • 3 cups gf rolled oats
  • 1 stick of vegan cashew butter COLD (I use MiyoKo’s brand)
  • 1/4 cup coconut sugar
  • 1 tsp vanilla
  • 1/4th tsp ground cinnamon
  • ¼ ground ginger
  • 1/4 tsp ground nutmeg
  • 1/4 cup gf flour

TOOLS YOU WILL NEED: Non stick spray, a 9x9 or 9x8 baking dish, bowls for mixing the topping.

DIRECTIONS;

  1. Chop your strawberries and rhubarb set aside. Measure out all your ingredients and set aside. Pre- heat the oven to 350 degrees. In a medium dutch oven or saucepan put over medium heat, then cook your rhubarb with ¼ cup sugar. Until they are tender, turn your stove off and add in your chopped strawberries, lemon juice, pinch of pink salt, spices and vanilla. Give it a good stir. Set aside.
  2. Prep a baking dish with non stick spray, (9x9 or 9x8 works great). Make sure its deep. Set aside.
  3. In a large mixing bowl add all your topping ingredients EXCEPT the VEGAN BUTTER. Give a light mix with a spatula.
  4. With your hands break up the cold butter into your topping ingredients bowl. It doesn't have to be perfect, and you're looking for a small chunk type texture. Do this until all the butter is mixed in.
  5. Pour your filling into the baking pan. Then sprinkle your topping on top until it's coated evenly.
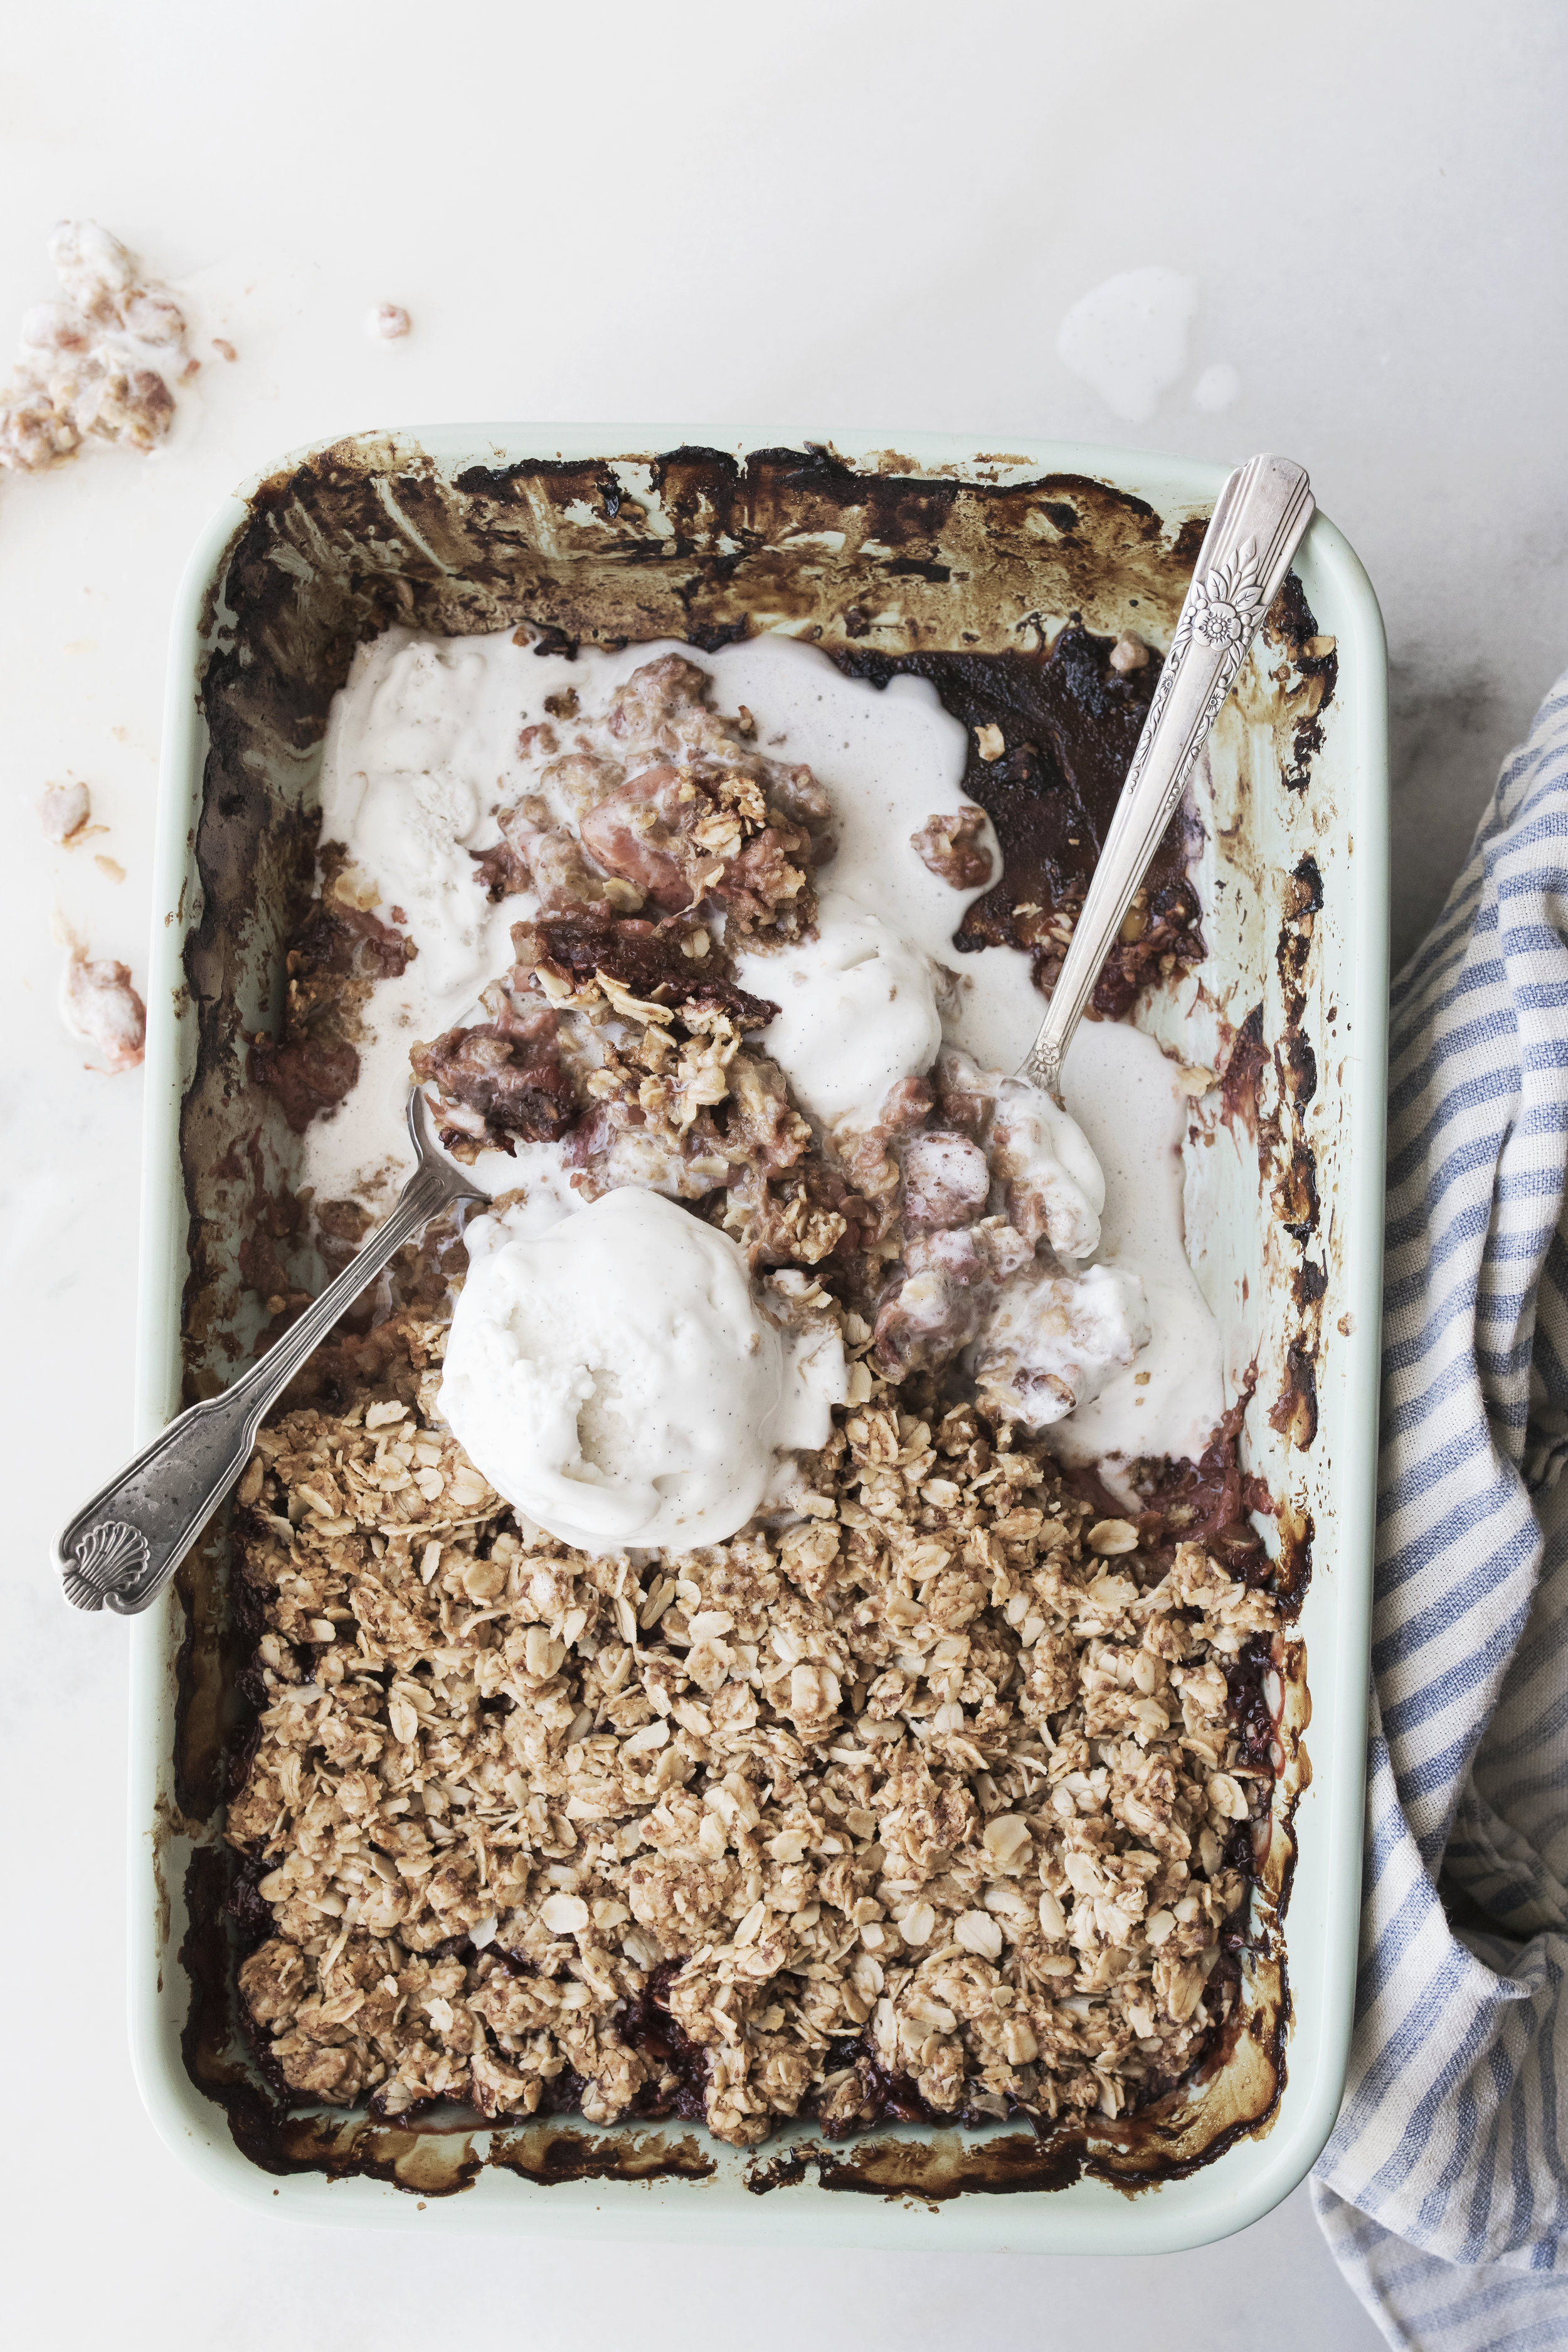
  6. Bake in the oven for 20-35 min at 350 degrees. Let cool on a cooling rack for 15-20 min and then serve with vanilla ice cream, whipped cream, yogurt or creme fresh!


SPICED OATMEAL RAISIN COOKIE RECIPE | GLUTEN FREE | PHOTOS + RECIPE BY NICOLE LEE


hey dear ones,

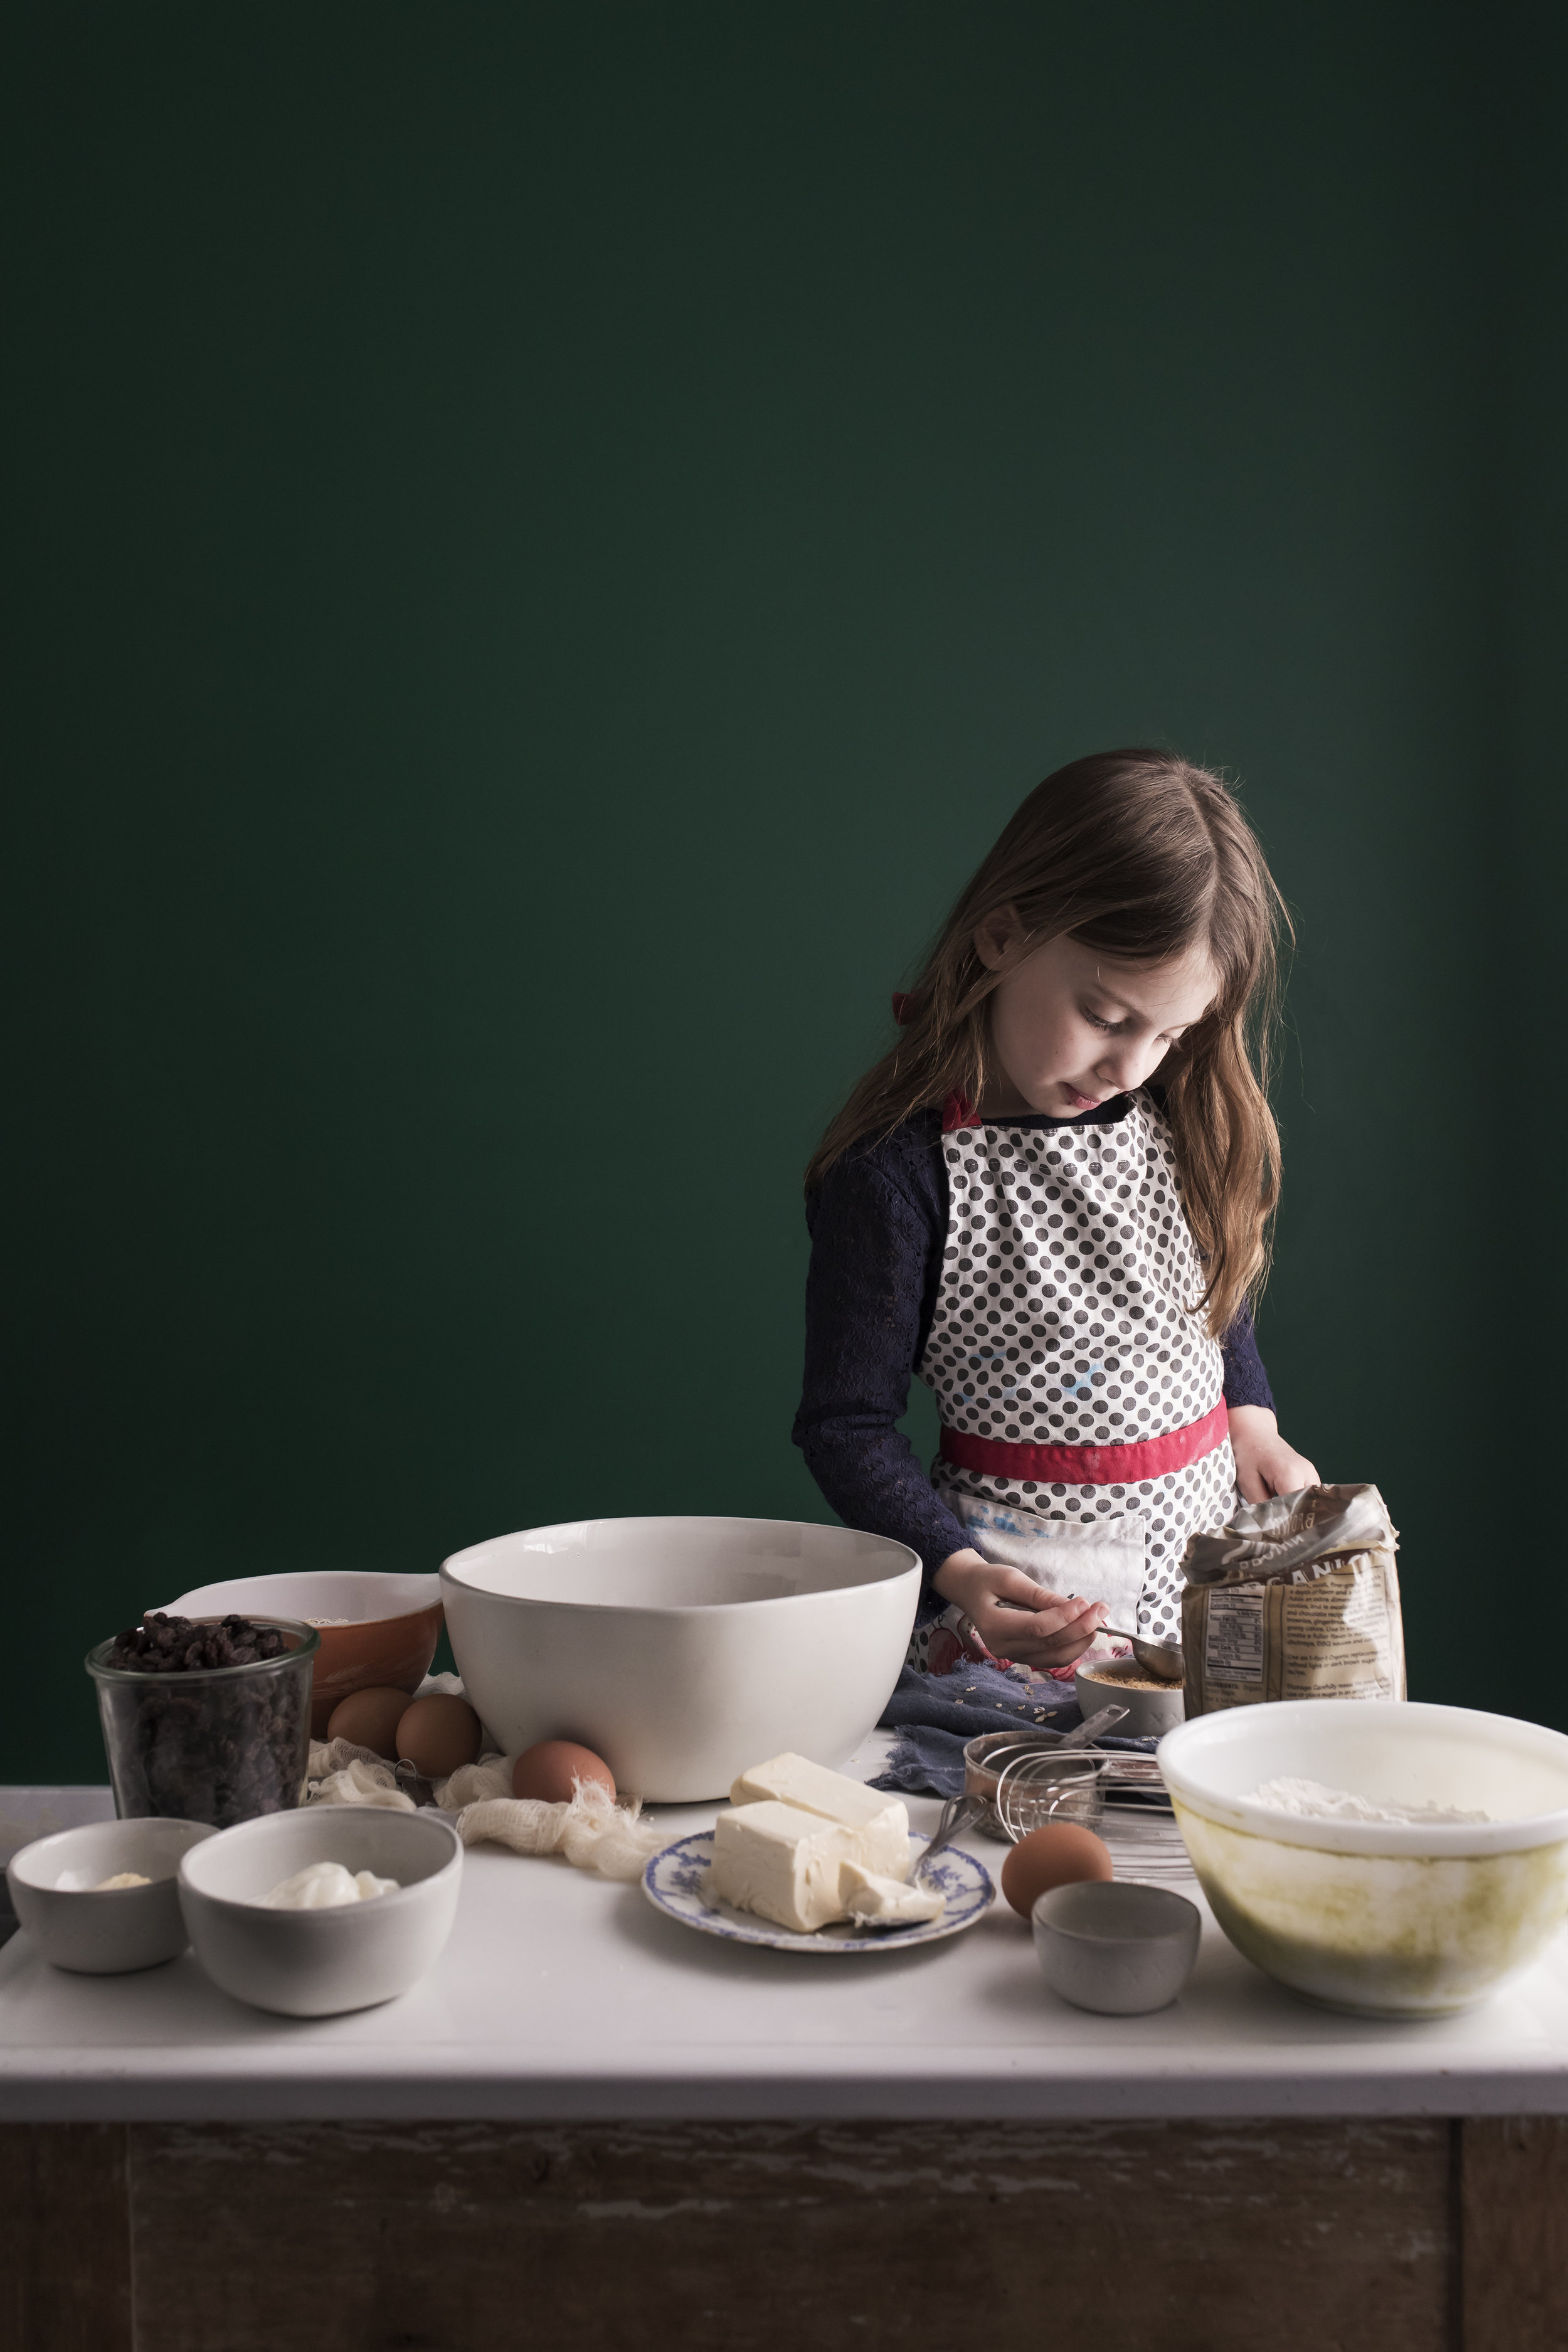
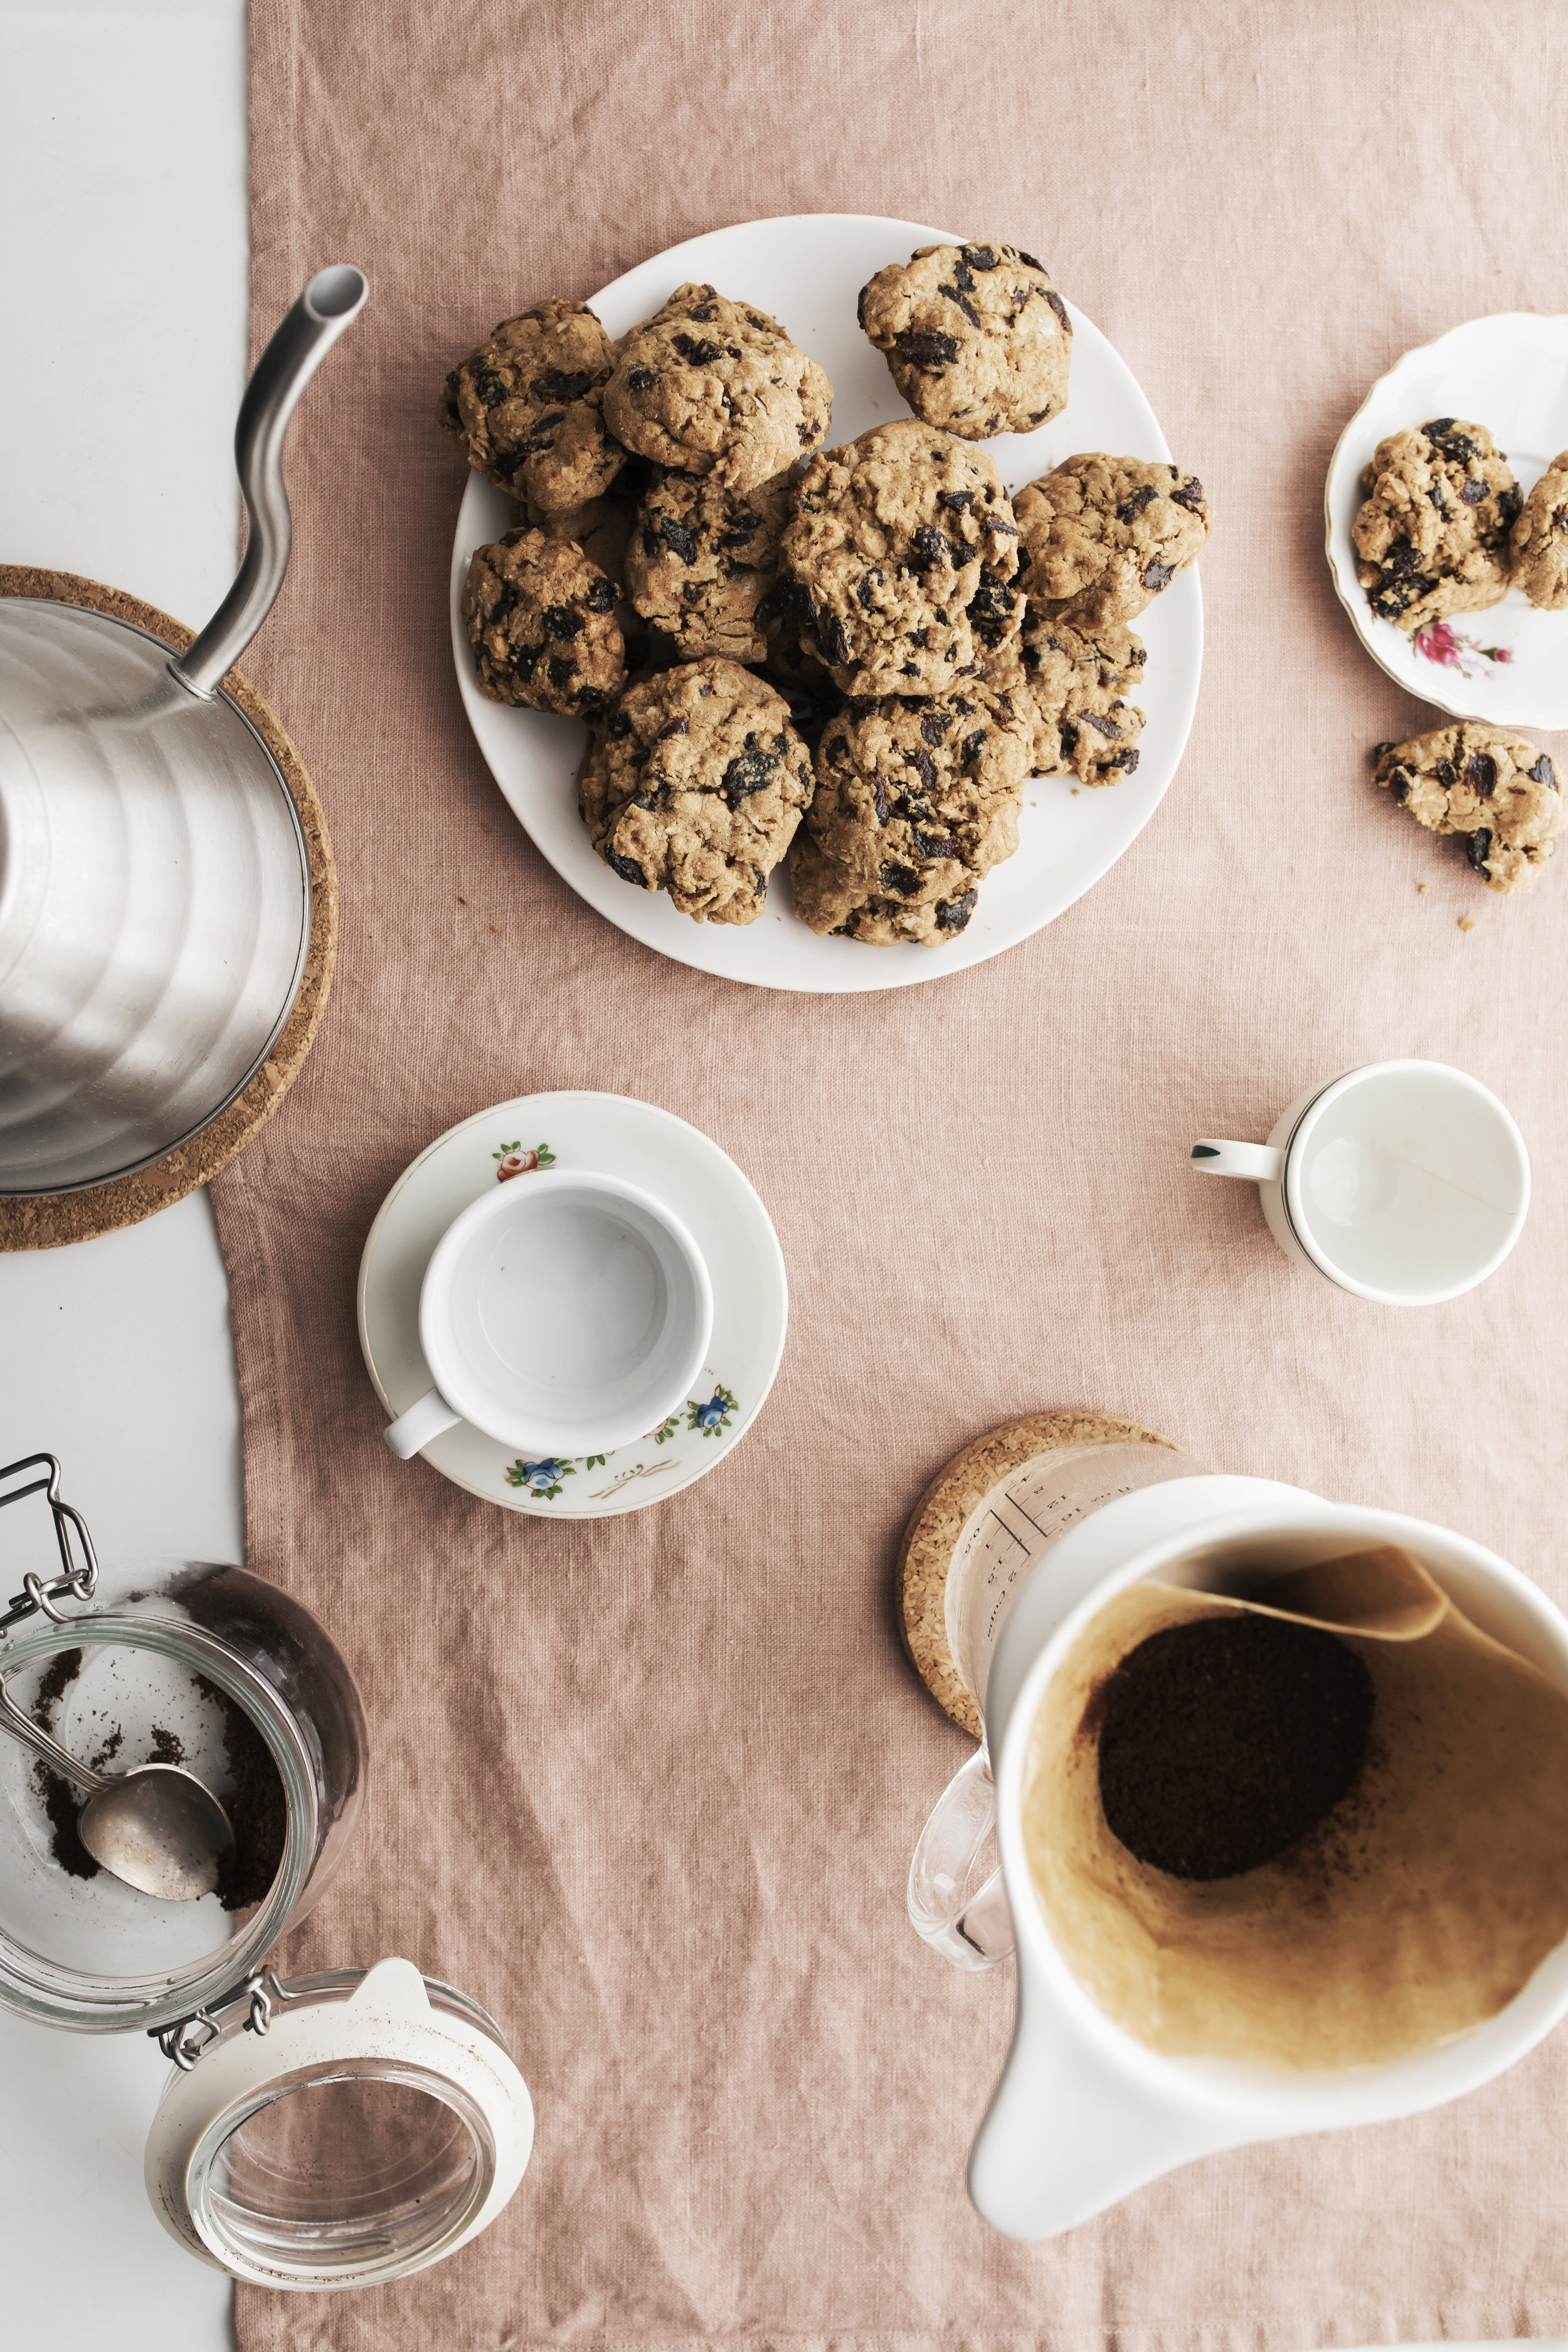
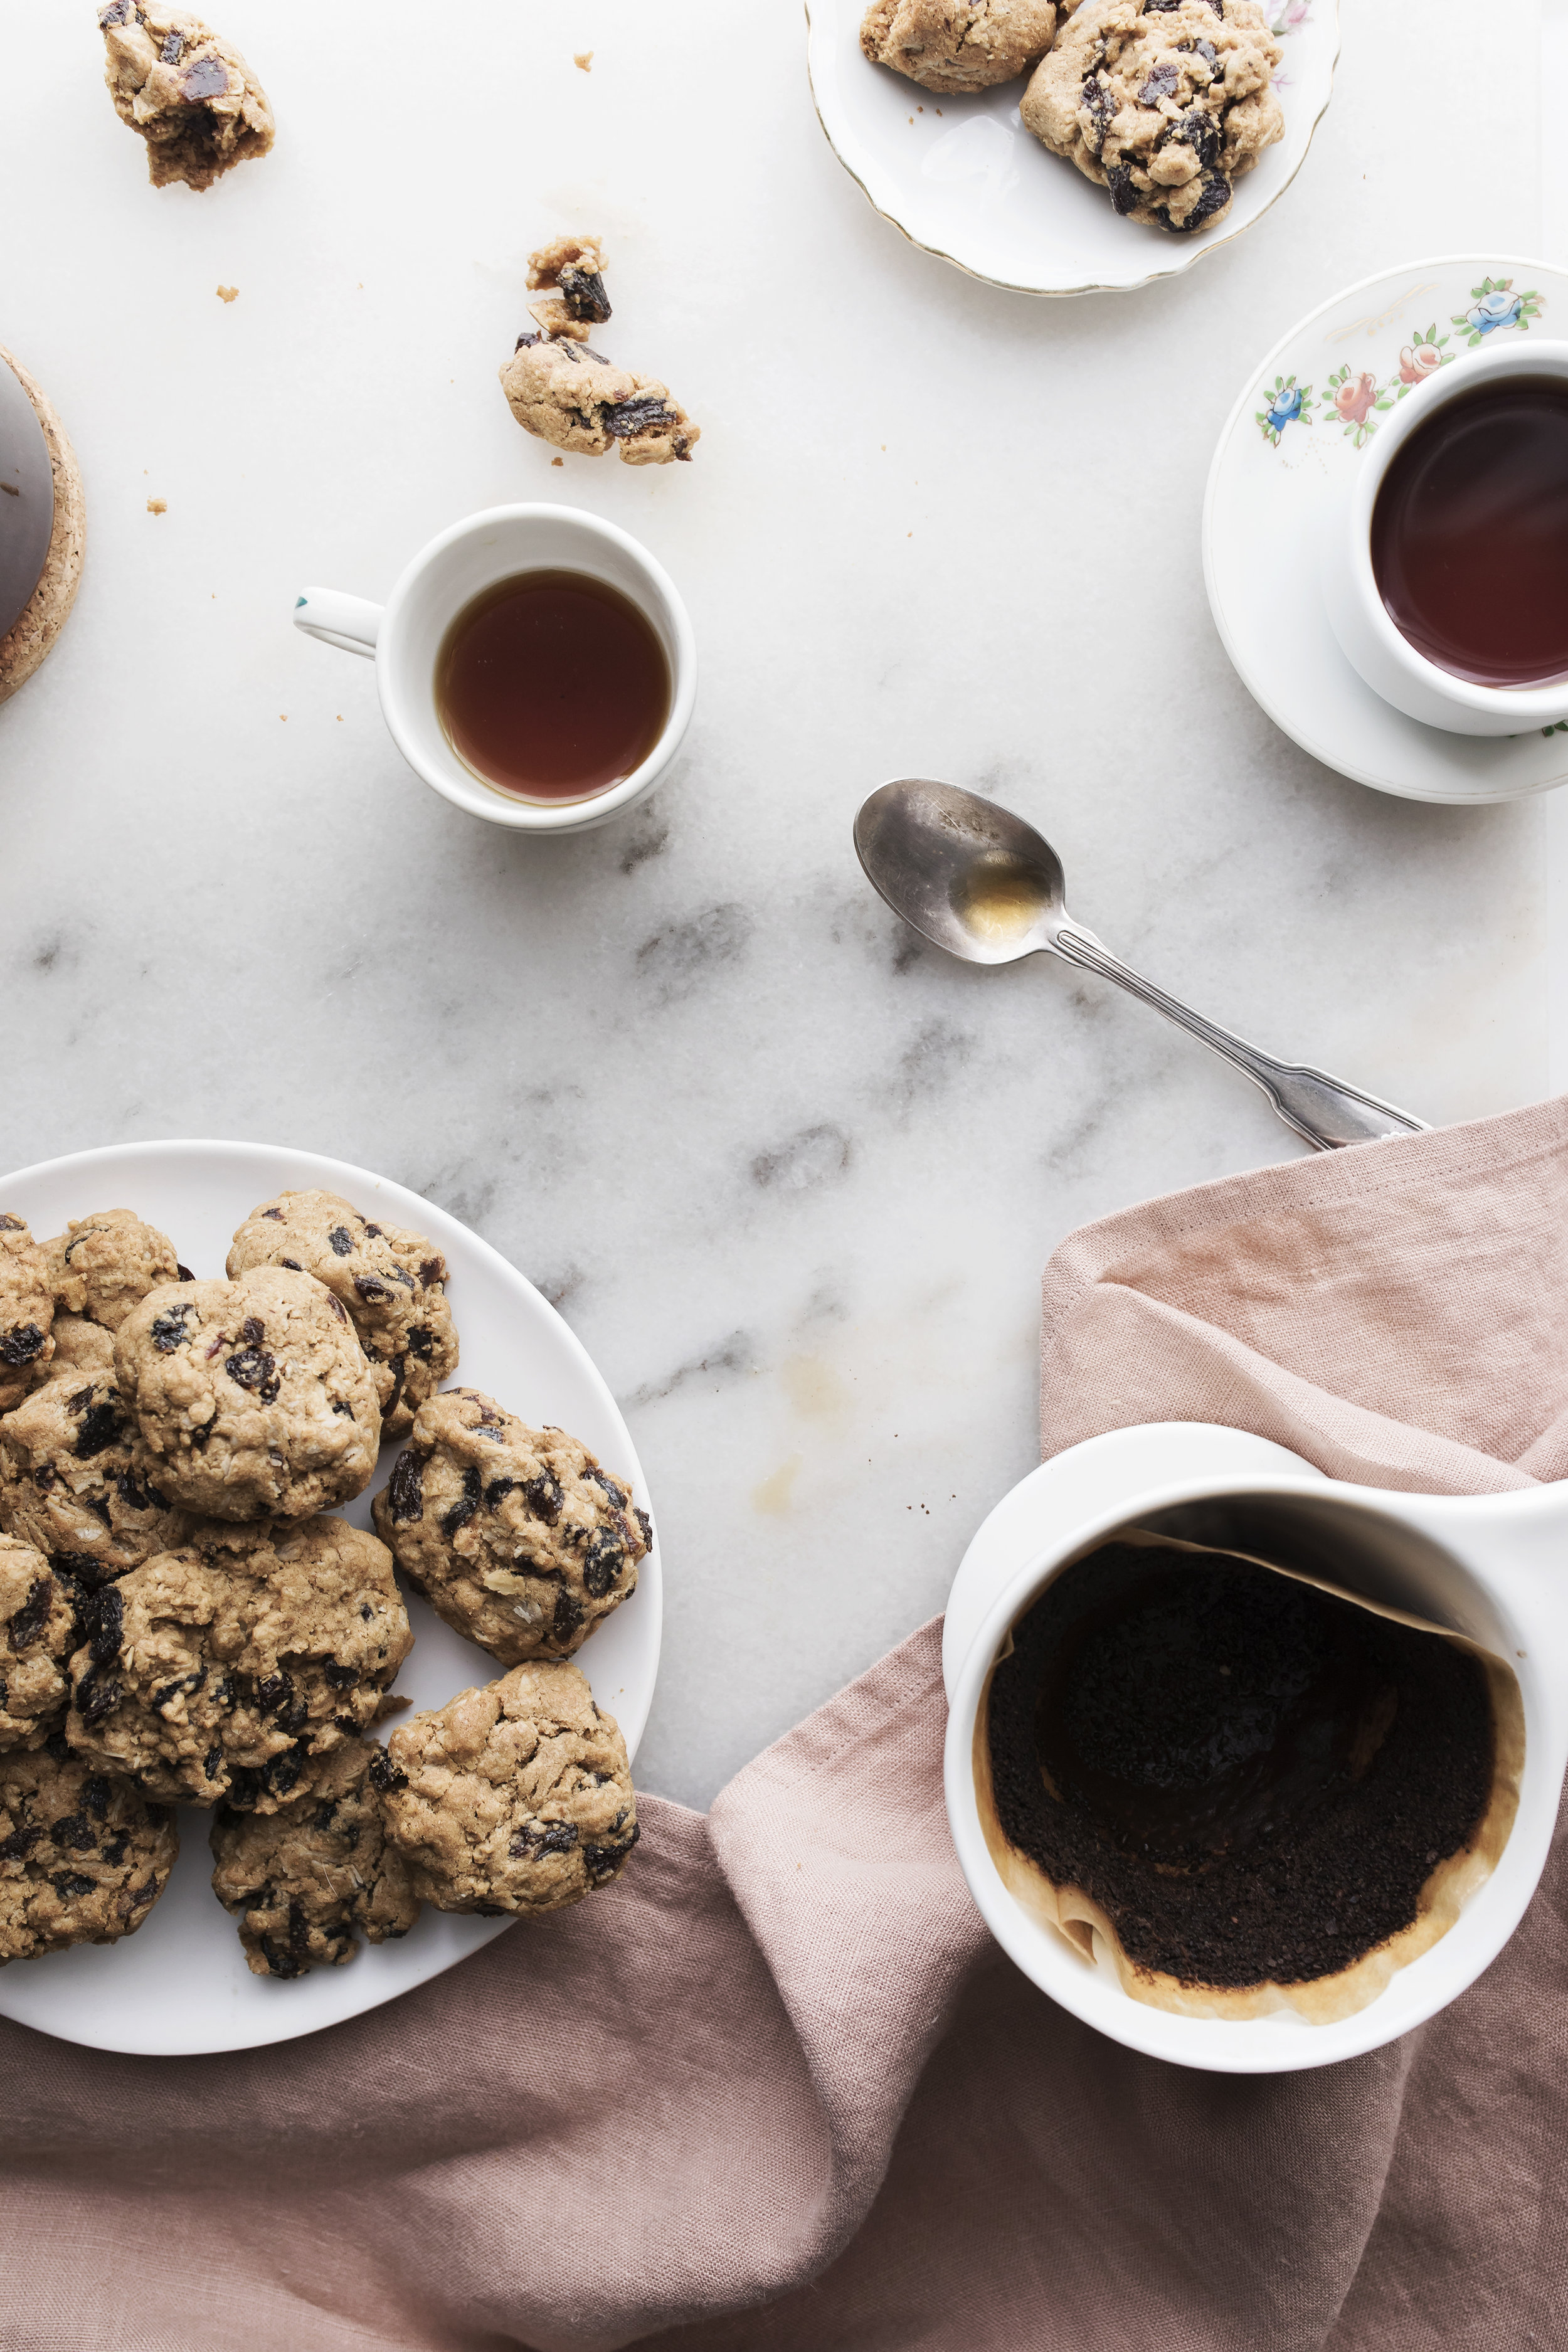
Oatmeal raisin cookies are never going to live up to the ooey gooeyness of the chocolate chip cookie. That's just my opinion though. You may be scratching your head on why in the world I would be sharing this recipe? Well Grandma, that’s why. Which is ALL the reason to make, share and eat oatmeal raisin cookies.

Grandma was the center of my childhood, and played a large part in raising me. She was and is my person. Do you have someone like that? Most of my childhood, we spent on and off living with her. One year even, she took my sister and I in. While my parents were doing God knows what in another state. It was a special time, but I won't bore you with my childhood details. Grandma always had a stash of cookies or treats on hand. Or hidden away in secret spots around the house. She confessed to her "stashes" because her house was always bustling with people in and out. She especially didn't like to share with "said" people or family. (unless you were her granddaughter that is ;). )

By far her favorite treat was oatmeal raisin cookies. When I bite into the cookies, or even make them I cannot help but think of her. Do you have a food that when you eat it you think of someone you love? If not, I am now a crazy lady who associates food with people.

Either way, I’m not saying you have to fall in love with the oatmeal raisin cookie. Just commit to the raisin for what it is. Maybe, let’s stop trying to make the oatmeal raisin cookie into a chocolate chip? They might grow on you.

xo Nicole


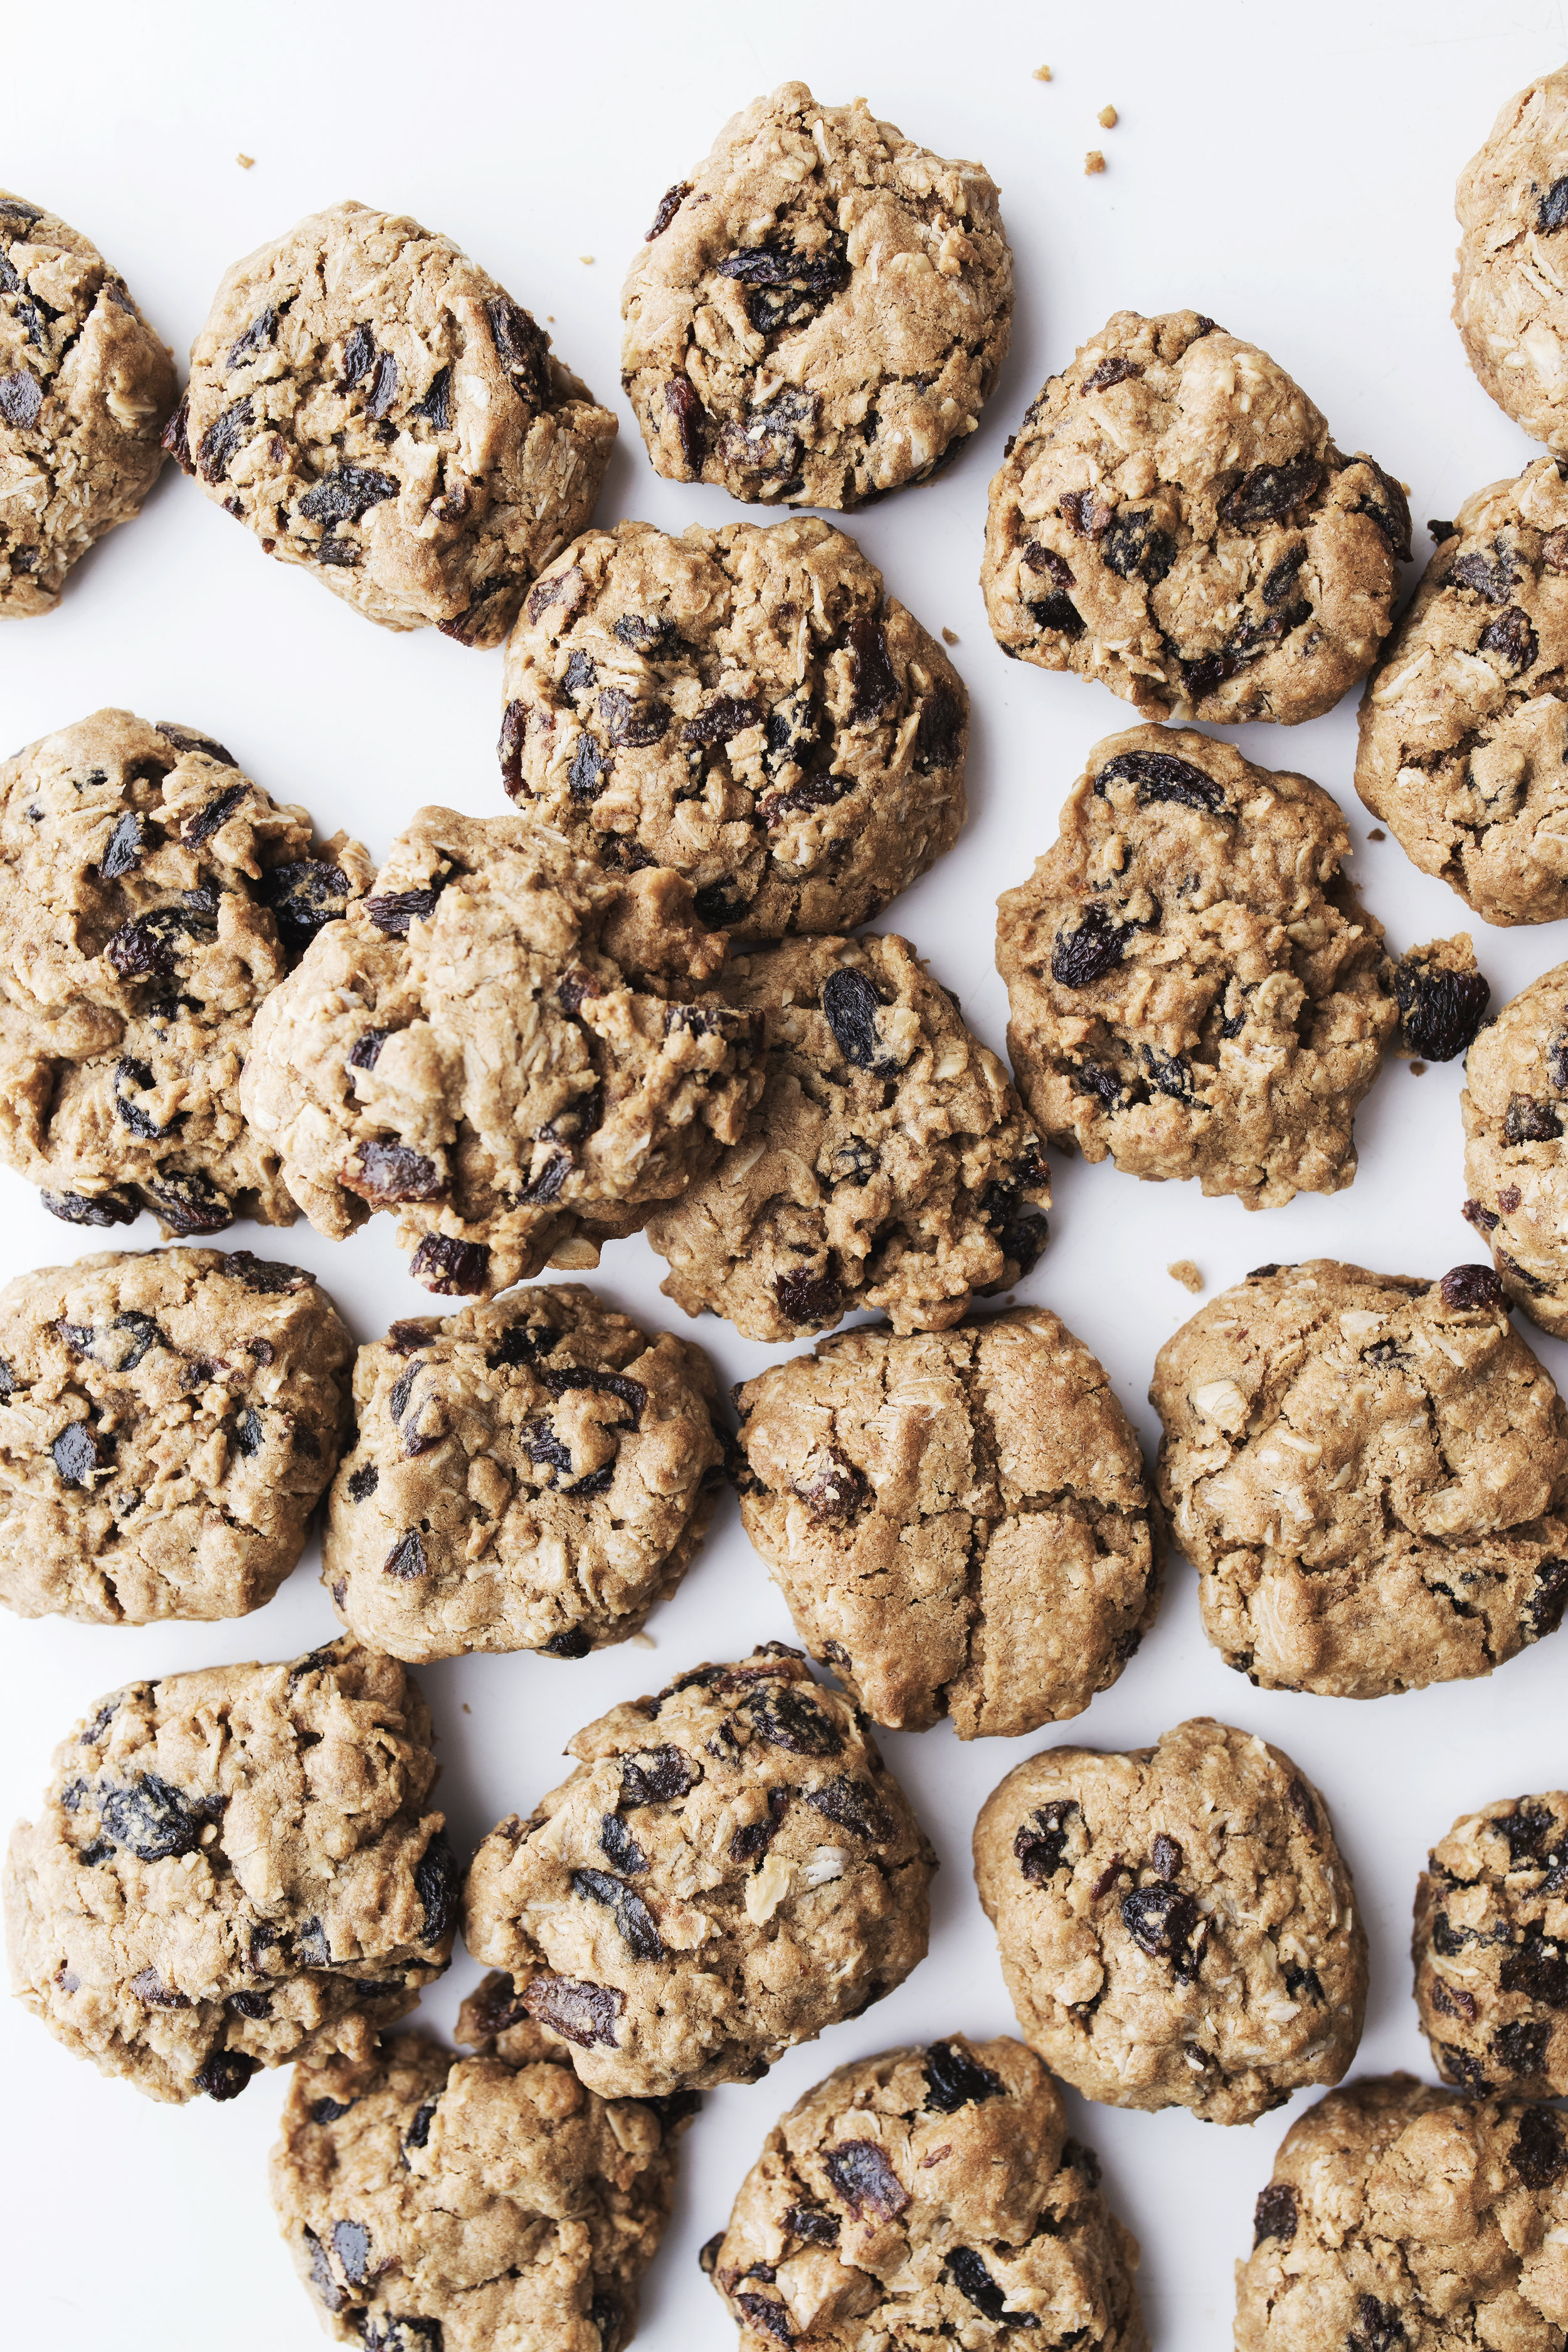
gluten free oatmeal cookie recipe


gluten free oatmeal raisin cookie recipe

oatmeal raisin cookies allergy friendly

OATMEAL RAISN SPICE COOKIES:

Recipe:

Ingredients:

  • 1 cup gf flour bob’s redmill ( 1 for 1 blue bag is what I used) or All purpose flour
  • 1 tsp baking soda
  • 1 tsp ground cinnamon
  • 1 tsp ground ginger
  • ¼ tsp fresh ground nutmeg
  • ¾ cup brown coconut sugar or dark brown sugar
  • ¼ cup granulated sugar (or turbinado )
  • 2 teaspoon vanilla extract or paste
  • 2 eggs room temp
  • 1 cup (227 g) melted salted grass fed butter or (melted coconut oil) slightly warm
  • 2 cups gf old fashioned oats
  • 1 cup raisins
  • 1 cups nuts if desired

DIRECTIONS:

NOTE: You will need a free standing mixer or hand held and Cooking spray.

TIP: POP your cookie dough in the fridge for 25 min, this will enhance flavors and the dough will settle. If you're feeling free with time, bake them the next day.

NOTE: make sure butter isn't too hot or will cook the eggs.

  1. Preheat your oven to 350 degrees, make sure your middle rack is in the oven.
  2. Measure out all your dry ingredients, whisk in a large bowl and set aside. Measure out all your wet ingredients and set aside.
  3. In a large bowl whisk your sugar, melted butter and vanilla. Whisk until well combined. Then Whisk in your eggs, mix for about a min.
  4. DON'T OVER MIX.
  5. Add in your dry ingredients to your wet. Mix until a dough forms.
  6. Pour in your oats, raisins and nuts.
  7. Once dough is finished let the dough sit in your fridge for 25 min, or freezer for 10-15.
  8. Bake cookies at 350F degrees for 10-16 min. ( TIP: at 8 min take out flatten and bake for another 8 min. If you want a chewier cookie bake for 10-12 min. ) ENJOY!

gluten free oatmeal raisin cookie recipe


oatmeal raisin cookie recipe

grandma small.jpg

"POP UP" WORKSHOP with WEST ELM PHX || FOOD + LIFESTYLE PHOTOGRAPHER NICOLE LEE


Hello Friends, 

Come hang next week! Details below,

-Cheers, xx Nicole

PS FILL OUT THE FORM BELOW IF YOU'D LIKE TO ATTEND! 


We’ll bring the drinks! 

Come join us for an evening of messy fun. We've partnered with West Elm PHX  to host a “POP UP” Workshop. We'll be preparing a simple dish, style food scenes, photograph and edit beautiful shots with our IPHONES. 


 March 8th, 2018
  4pm-6:30pm

         West Elm PHOENIX        
Cost: $25

We'll be learning;
IPHONE Photography   
                               Styling Tips + Tricks
                                
                                                                                                                                                                                            
 BONUSES;
PDF Guide of recipes, IPHONE photography + editing,
Styling + Prop TIPS! 
Swag bag + Potted Succulent   
                                    
Bubbly drinks + food to nibble on during the event!                                                               

Number of spaces are limited so Grab your seat! 


GUACAMOLE 2small*.jpg


EASY LEFT OVER CHICKEN SOUP RECIPE || FOOD PHOTOGRAPHER NICOLE LEE


CHICKEN SOUP


Hello Friends,

Sometimes the best recipes stem from only what is stocked in the fridge at the moment. You know, when it gets bare and you can’t bring yourself to do another weekly shop. As my kids are growing it seems I am constantly running out of food! So we barely have leftovers, but I do have staple ingredients lying around. Garlic, ginger root, onions, carrots, celery, fresh herbs, always cilantro and basil. In the pantry, canned beans, tomatoes, chicken bone broth and veggie broth stock the shelves. That way when I am in a pinch, I can easily throw something in a pot and walk away, while I  to tend to the chaos of after school activities. Inspired by the classic the many leftovers in the fridge after hosting our first “classic” thanksgiving meal a beautiful hearty soup was born.


Leftover Chicken Soup Recipe

Ingredients:

2 cooked Cornish Hens (or 1 fully roasted chicken)

2 sweet onions

4 celery stalks

2 carrots (I used my roasted carrots from the night before!)

2 cloves garlic

Fresh Ginger (about half the size of your pinky finger)

2 - 16 oz chicken bone broth (free range organic is my preference, I like Pacific Brand or you can make your own stock) White wine (you actually like to drink, I love Sauvignon blanc)

2 cans of cannellini beans (eden brand is great, they pressure cook and Soak them, so they are great on your digestive system)

2 -3 cups of fully cooked mixed potatoes, Japanese sweet, white, red… you get it! (roasted from night before, or boiled then add them to the pot, don’t add raw potatoes to your soup, it will soak up all your broth)

Herbs:

1 bay leaf

fennel leaves

fresh oregano, thyme leaves, sage, rosemary

Salt

Fresh ground pepper

Other things you may need:

Olive Oil, or avocado oil for frying your veg

1 large stock pot, with wide bottom (Dutch oven work great too)

1 wooden spoon

Chef’s knife

Cutting board

Directions:

First chop all your onions, carrots, celery, place in one bowl set aside. Take two garlic cloves with the peel on, place one on your board and with your knife smash down, take off the peel and set aside the garlic. Repeat.

Place your stock pot on the stove, turn on the stove to medium-high heat add in your Avocado oil, when its good and hot add in your onion carrots and celery mixture to the stock pot. Then add in salt and pepper to taste, (small amounts at a time here if you aren’t experienced). Add in your whole garlic. Then Add in ½ cup of wine while the pot is good and hot, then bring the stove down to medium heat. Cook until the onions are clear, then add in both smashed garlic cloves. While that is making magic, roughly chop your herbs and add those to the pot. If things are good and cooked, turn the heat to low.

TIP: Be sure to stir your saute every few min so it will not burn, I like to feel things out when cooking, smell also helps so be sure to use your senses as a guide in the process!

Pull apart the chicken meat and bones, add them to the pot, and set aside the carcass for other use or discard altogether.

Open your cannellini beans, thoroughly rinse and drain beans and put them in the pot. Add in the fully cooked potatoes from last night's roast, ( or pre boiled potatoes). Cut about 1 inch long of fresh ginger root, toss this into the pot whole. Add in your Bay leaf as well.

Give everything a good stir, turn your heat up to high, now it’s time to to add in the bone broth to the stock pot. Let it boil for 5 min on high, when you see it bubbling, give it a good stir and bring your heat down to low and let simmer for min of 45 min - 12 hours depending on when you will be eating. The longer it sits the more time the flavors have to melt into each other. After the 45 min on low heat, you can taste if it needs more herbs, salt or pepper.

Serve with crusty bread and salad to make a glorious dinner!

Cheers

-Nicole

CHRISTMAS BRUNCH IN JULY || BRUNCH TIPS || FOOD+LIFESTYLE PHOTOGRAPHER NICOLE LEE


Hello Friends,

Can you believe it’s Wednesday already? In my last post I spoke about how we get to move back into our home this Friday. It’s been a wild journey with the storms of the house. Officially we have been out two months, and two-ish weeks. That would make us staying at 4 different airbnb. The last place we stayed at felt like we were living in a Wes Anderson Movie. Deserted hotel, we were the only ones on the grounds at times. Anyway, we are getting really excited to finally be moving back in. The status of the house, we have walls, and currently are doing some extra remodeling ourselves. Painting, bathrooms the kids rooms and a few odds and ends. The goal is to make it feel like home again. But after all that has happened it’s time to put on some fresh coats of paint and make new memories.

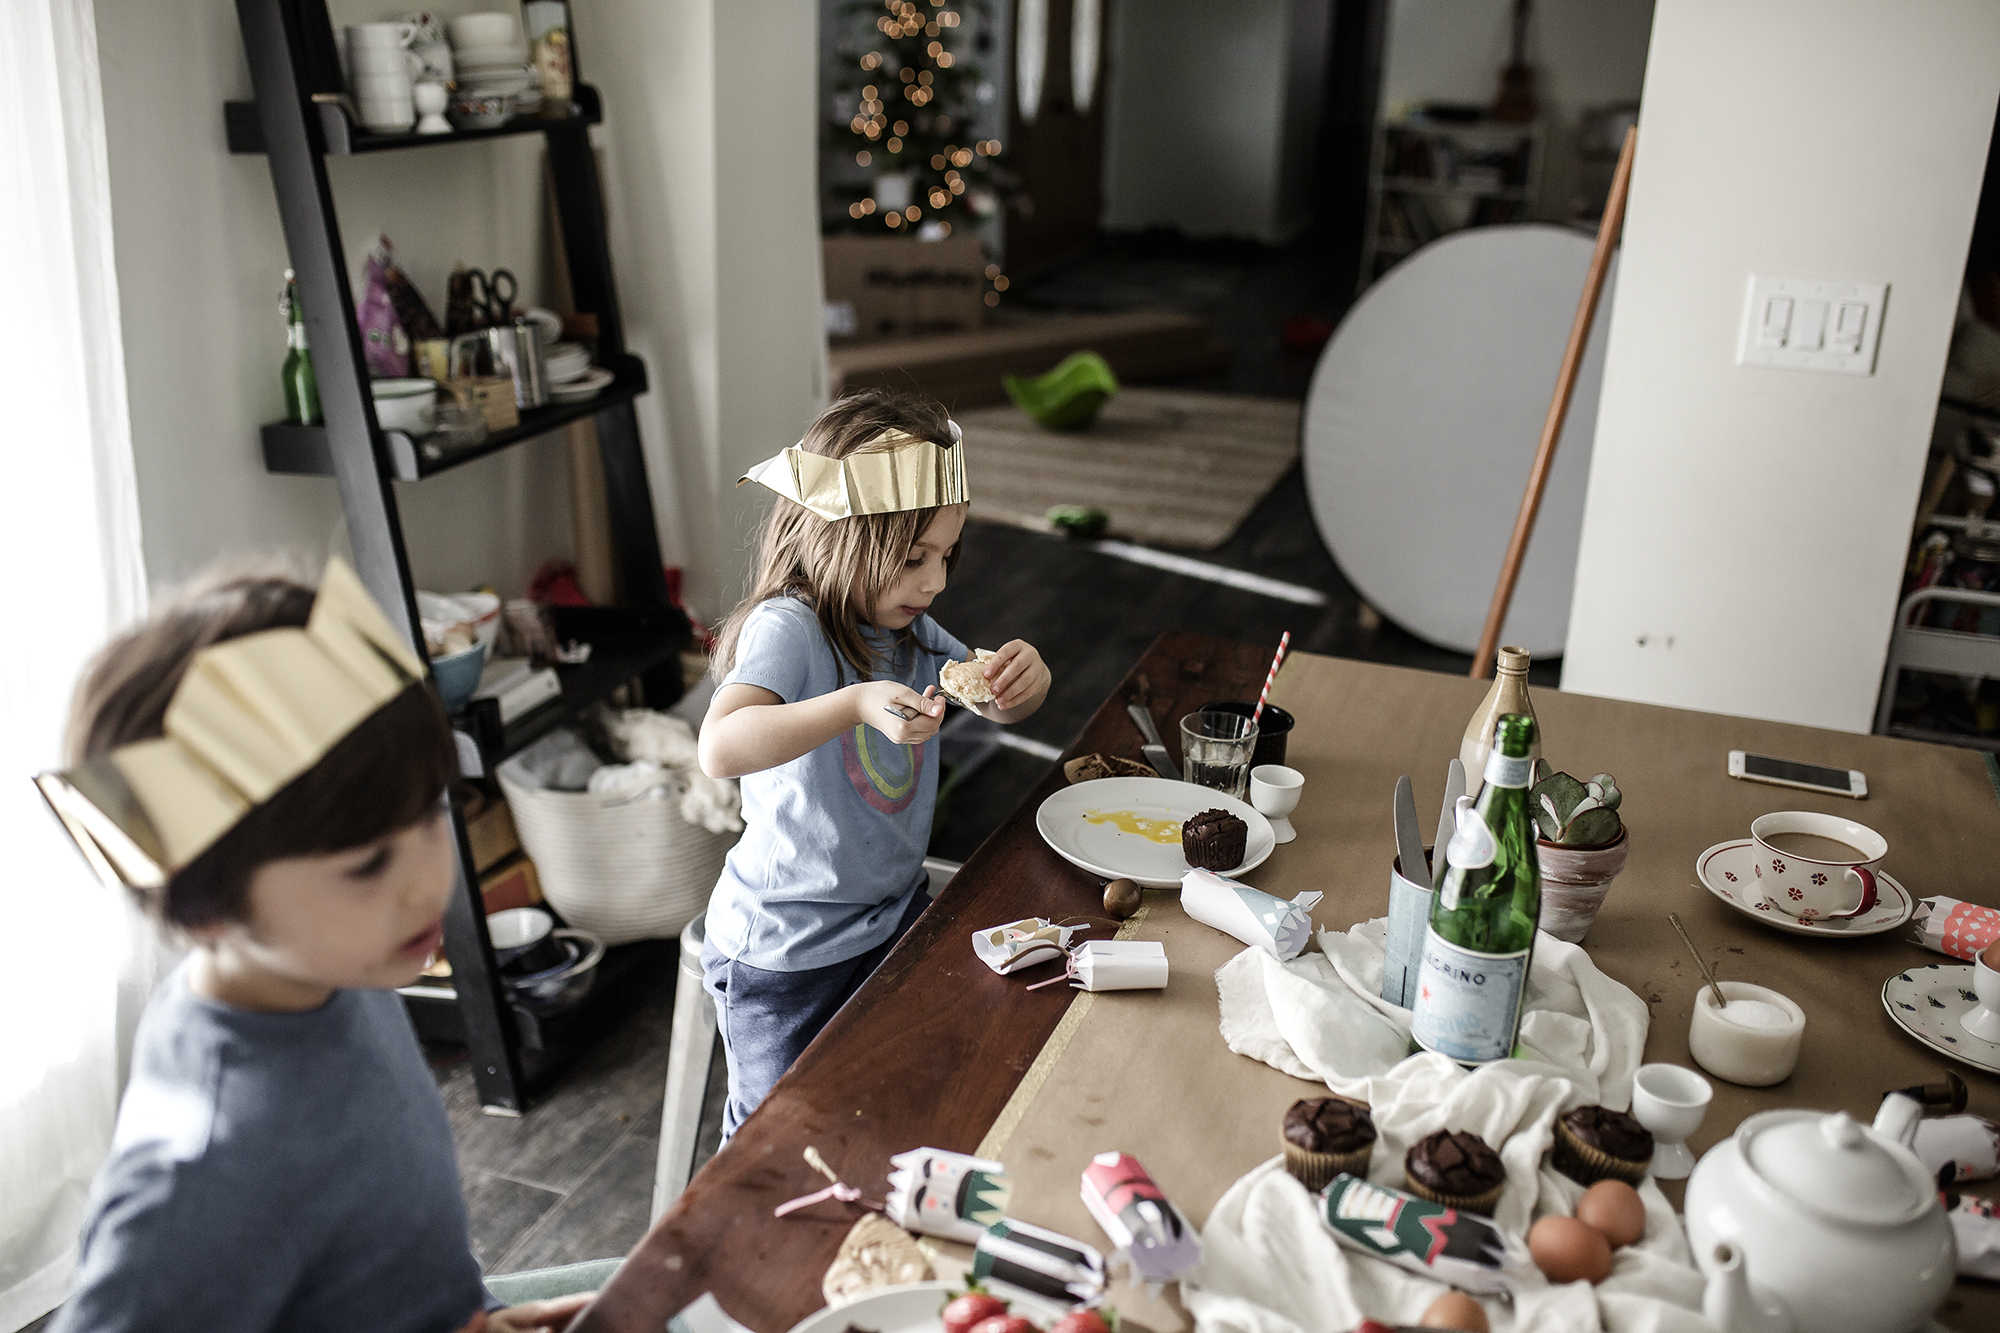
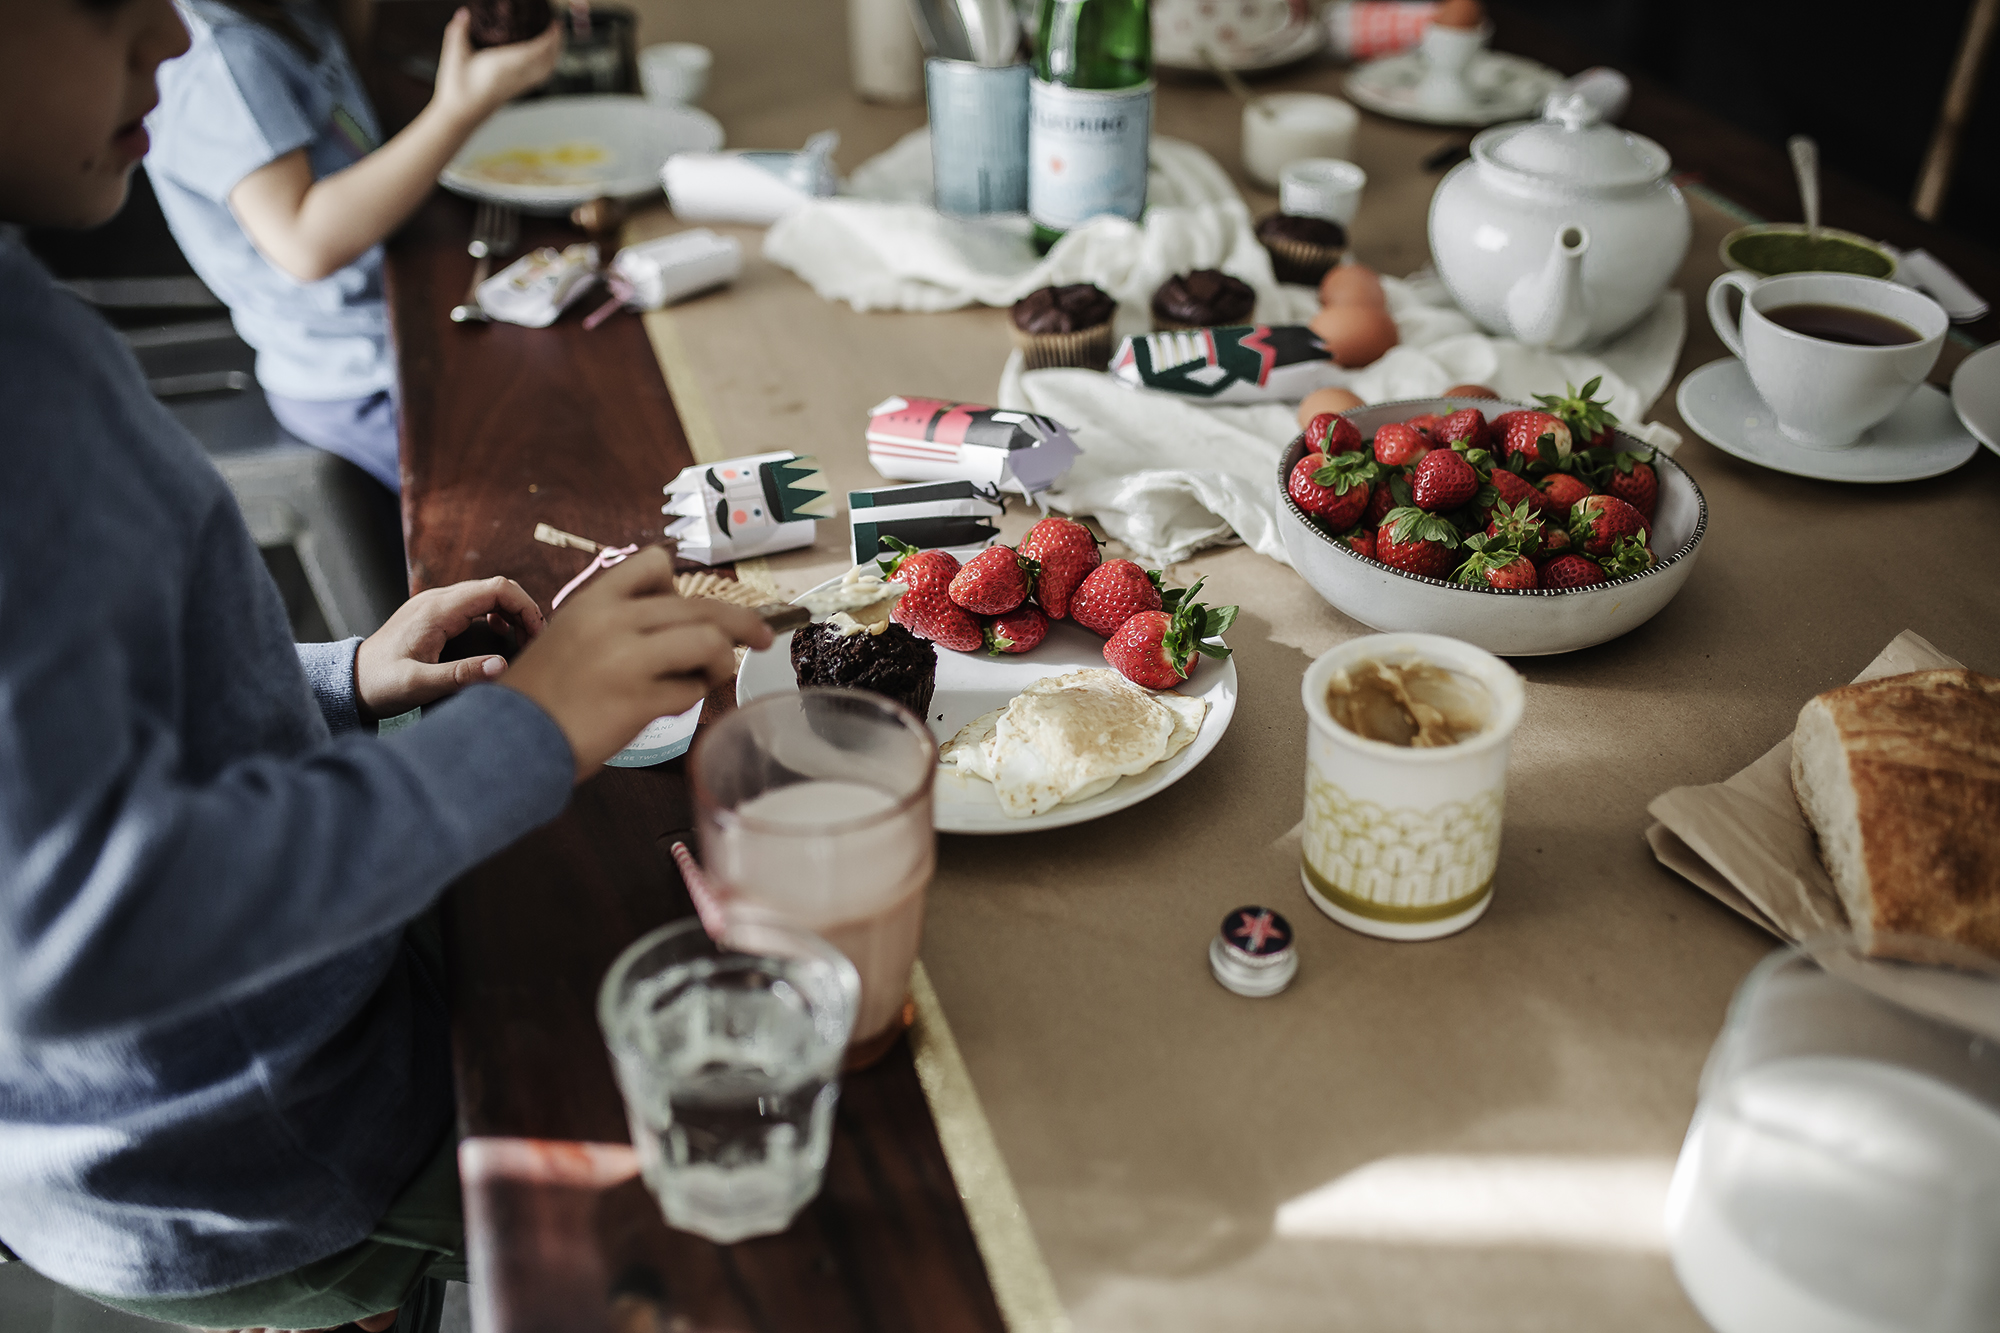
Best way to do that, make a big meal gather around the table and have some laughs. Our go to favorite meal  brunch. Sunday mornings, bacon, eggs, maybe some double chocolate muffins. Or just whatever we may have in the fridge at the moment works too. Here is how we usually brunch on Christmas morning…. 

“Team Lee” Brunch (Christmas Morning Style) : 

Put everything in the middle of the table and enjoy!

Cheers Friends,

Nicole


Sunday brunch tips


SAY HELLO! :


FOLLOW ALONG ON INSTAGRAM :

GLUTEN FREE STRAWBERRY TOAST RECIPE || EASY FOOD | FOOD PHOTOGRAPHER NICOLE LEE


Hello Friends,

This quick recipe for gluten free strawberry toast is all about getting in some nutrients while also making sure your meal is tasty. No one likes cardboard. Lately, I’m into easy food, yet I don’t want to just grab those fries each time. Food can be fuss free, taste good, and make you feel great. Give it a go; this toast will change your life.

Cheers and happy cooking

Nicole x


GF + DF STRAWBERRY TOAST RECIPE || NICOLE LEE

Ingredients:

-1 loaf of gluten free bread

-Raw honey (2 – tablespoons)

-Nut Butter (mixed, almond, peanut)

-Chia Seeds

-Fresh Strawberries (1-2 pints)

-Toaster

Directions:  Clean and roughly chop your strawberries, removing the stems. Set aside. Toast your bread to your hearts desire. Spread with a decent layer of nut butter, and honey. Place the strawberries on top. Finish with a sprinkle of chia seeds. Repeat for as many pieces of toast you’d like to make. Enjoy!


CHOCOLATE GRANOLA RECIPE || GLUTEN FREE+DAIRY FREE || FOOD PHOTOGRAPHER NICOLE LEE


Hello Friends, 

Chocolate seems to be at the top of my food list, it is only fitting that I would try to add it to almost everything. One of my fondest memories of chocolate was when we used to live in the PNW; we would walk and get a coffee from our favorite shop. I’d order a hot double short latte and on the top they would serve it with a piece of dark chocolate. The chocolate would warm from sitting on the cup. You would have to eat it quite quickly, the melted chocolate followed by sipping your espresso left the most heavenly taste it your mouth.

Lately, I am yearning to recreate moments of food heaven each day. It looks different now. Instead of walking to the coffee shop, I walk into the kitchen. Back then I cooked, but was still getting my bearings down. Lots of burning, lots of undercooked chicken, and lots of baking, I could do that. The baking was easy. Maybe its because the control of the ingredients lead as a guide of safety and comfort. “ Actual recipe development, seemed scary as you had to move with the food, no rules, just feelings. Food makes you feel. It’s instinctual. You are forced to do a dance, taste, smell, and engage with it. Or else you get a burned hot mess; this took me years to sort out. I just kept cooking, and trying. Lots of repetition, as I was learning I would cook the same dish every night until I nailed it! Ryan would ask “ what’s for dinner, I would say – roast chicken and veg! He replied without grumble, SPLENDID! Along with my encouraging husband, the other helper I had was “the naked chef” (AKA JAMIE OLIVER) he taught me how to: boil eggs, make curry, make soup, homemade pizza, what herbs were, and even nail a good granola. Once I sorted out how simple cooking could be, it all came together. Recipes became effortless. 

So, I want to share my take on good ole granola, it’s easy and the best part it takes 15 min to prep!


CHOCOLATE GLUTEN FREE GRANOLA RECIPE// (Makes about 1.5 gallon bag)

You will need: 2 baking sheets, unbleached parchment paper, mixing bowl, spatula, small saucepan

*INGREDIENTS: *

  • 1 cup nut butter (almond, cashew, peanut or no nutz)
  • 6 cups gluten free rolled oats
  • 6 tablespoons coconut oil
  • 1 tablespoon vanilla bean paste
  • 5 ounces high quality dark chocolate (chopped)
  • 3 tablespoons brown sugar
  • 5 tablespoons high quality coco powder
  • 1/2 cup raw honey
  • 3 tablespoons cinnamon
  • 1 tablespoon ground ginger
  • 1 tablespoon nutmeg
  • 1 cup chopped almonds and cashews
  • 1/3-cup chia seeds
  • 1/3 unsweetened coconut flakes
  • 1 teaspoon sea salt (or kosher salt)

Directions:

Pre- Heat your oven to 300 degrees. Line your baking sheets with parchment paper. Set aside.

Measure out ingredients, and in a bowl place: gluten free rolled oats, cinnamon, ground ginger, chia seeds, coconut flakes, brown sugar, nutmeg, chopped nuts, and salt mix a little with a spatula. Set aside. Chop your chocolate, set aside.

Take your small saucepan and put on medium –low heat. Add your coconut oil, nut butter, raw honey, and 5 tablespoons of coco powder. Mix constantly, until melted and blended together. Take off heat, add in the vanilla paste and mix in. Pour mixture over the rolled oats mixture and thoroughly combine until the oats are completely coated. Add chopped chocolate, mix.

Finally spread evenly over the parchment paper lined baking sheets. Place both trays in the oven, Bake for 15 min. Let cool completely for about an hour. Store in gallon bags, or mason jars. Store in the refrigerator for up to two weeks!

To serve, you can enjoy with nut(or raw) milk, fresh berries like raspberries, strawberries, or blackberries. This granola, also tastes great over ice cream or just by it’s self!


CHEERS, 

NICOLE 


CHECK OUT MORE ON INSTAGRAM :