CHOCOLATE, PRUNE AND WHISKEY CAKE | MOTHER'S DAY RECIPE

Hello Sweet Ones,

I hope this letter finds you well. I have a wonderful recipe for you, along with a little personal note on Mother’s day…..


As Mother's day is approaching I couldn't help but think about what I am going to be making. Some may say that it's silly as "I should be taking the day off", but I wouldn't in a million years dream of that. I'm just too passionate about cooking food. 

Mother's day can be tricky for some. Do any of you feel that way? 

In some instances there are complicated Mothering dynamics, as well as many fruitful relationships out there. Honestly, I always found the holiday quite dreadful. I mean really dreadful. As I am one of those people with complicated dynamics. 

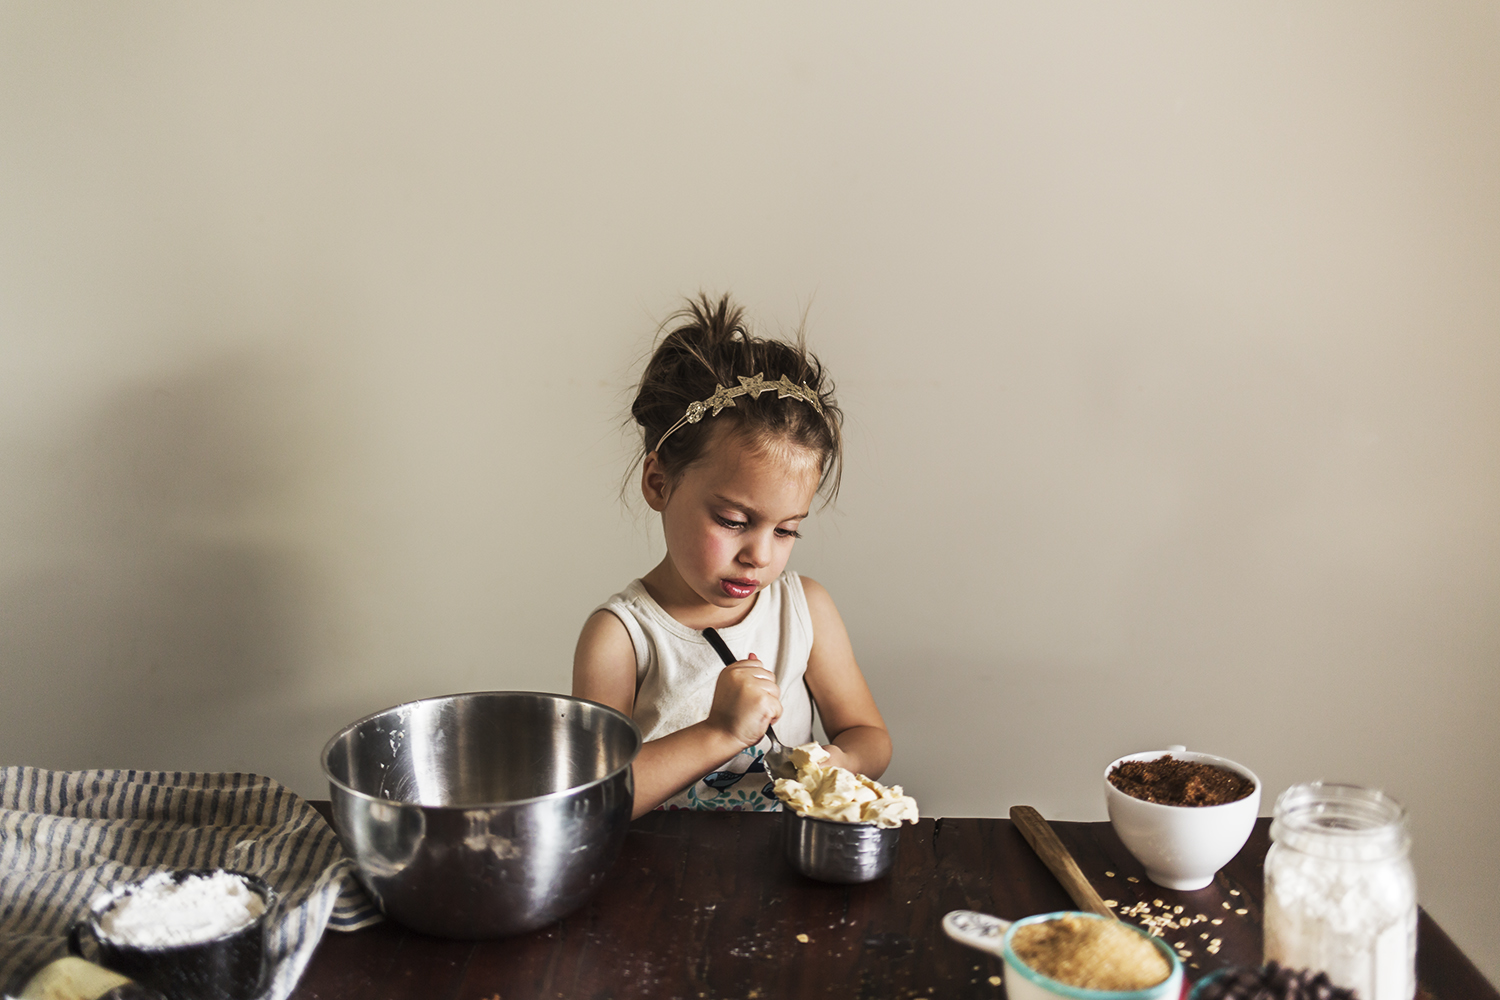
A few years ago I was expressing this to my therapist, who then shared some fantastic advice and said "why don't you turn the Mother's day experience into something new?" I became inquisitive, and asked her what she meant, she responded with " instead of holding the heaviness of Mother's day, you can mourn the loss of the actual relationship with  your own mother, and then vow to turn your mothering into the relationship you want with your own children". A sense of control was taken back in that moment. Approaching such a complicated holiday with the simple act of choice, a choice to turn the day in who you want to be as a Mother, felt freeing. Although, so simple, and still complicated at times, since then I have approached this day with new gumption and excitement. One of those ways is through cooking and celebrating our family and all the mothers who played a part in my growth as an adult. For that I am truly grateful. 

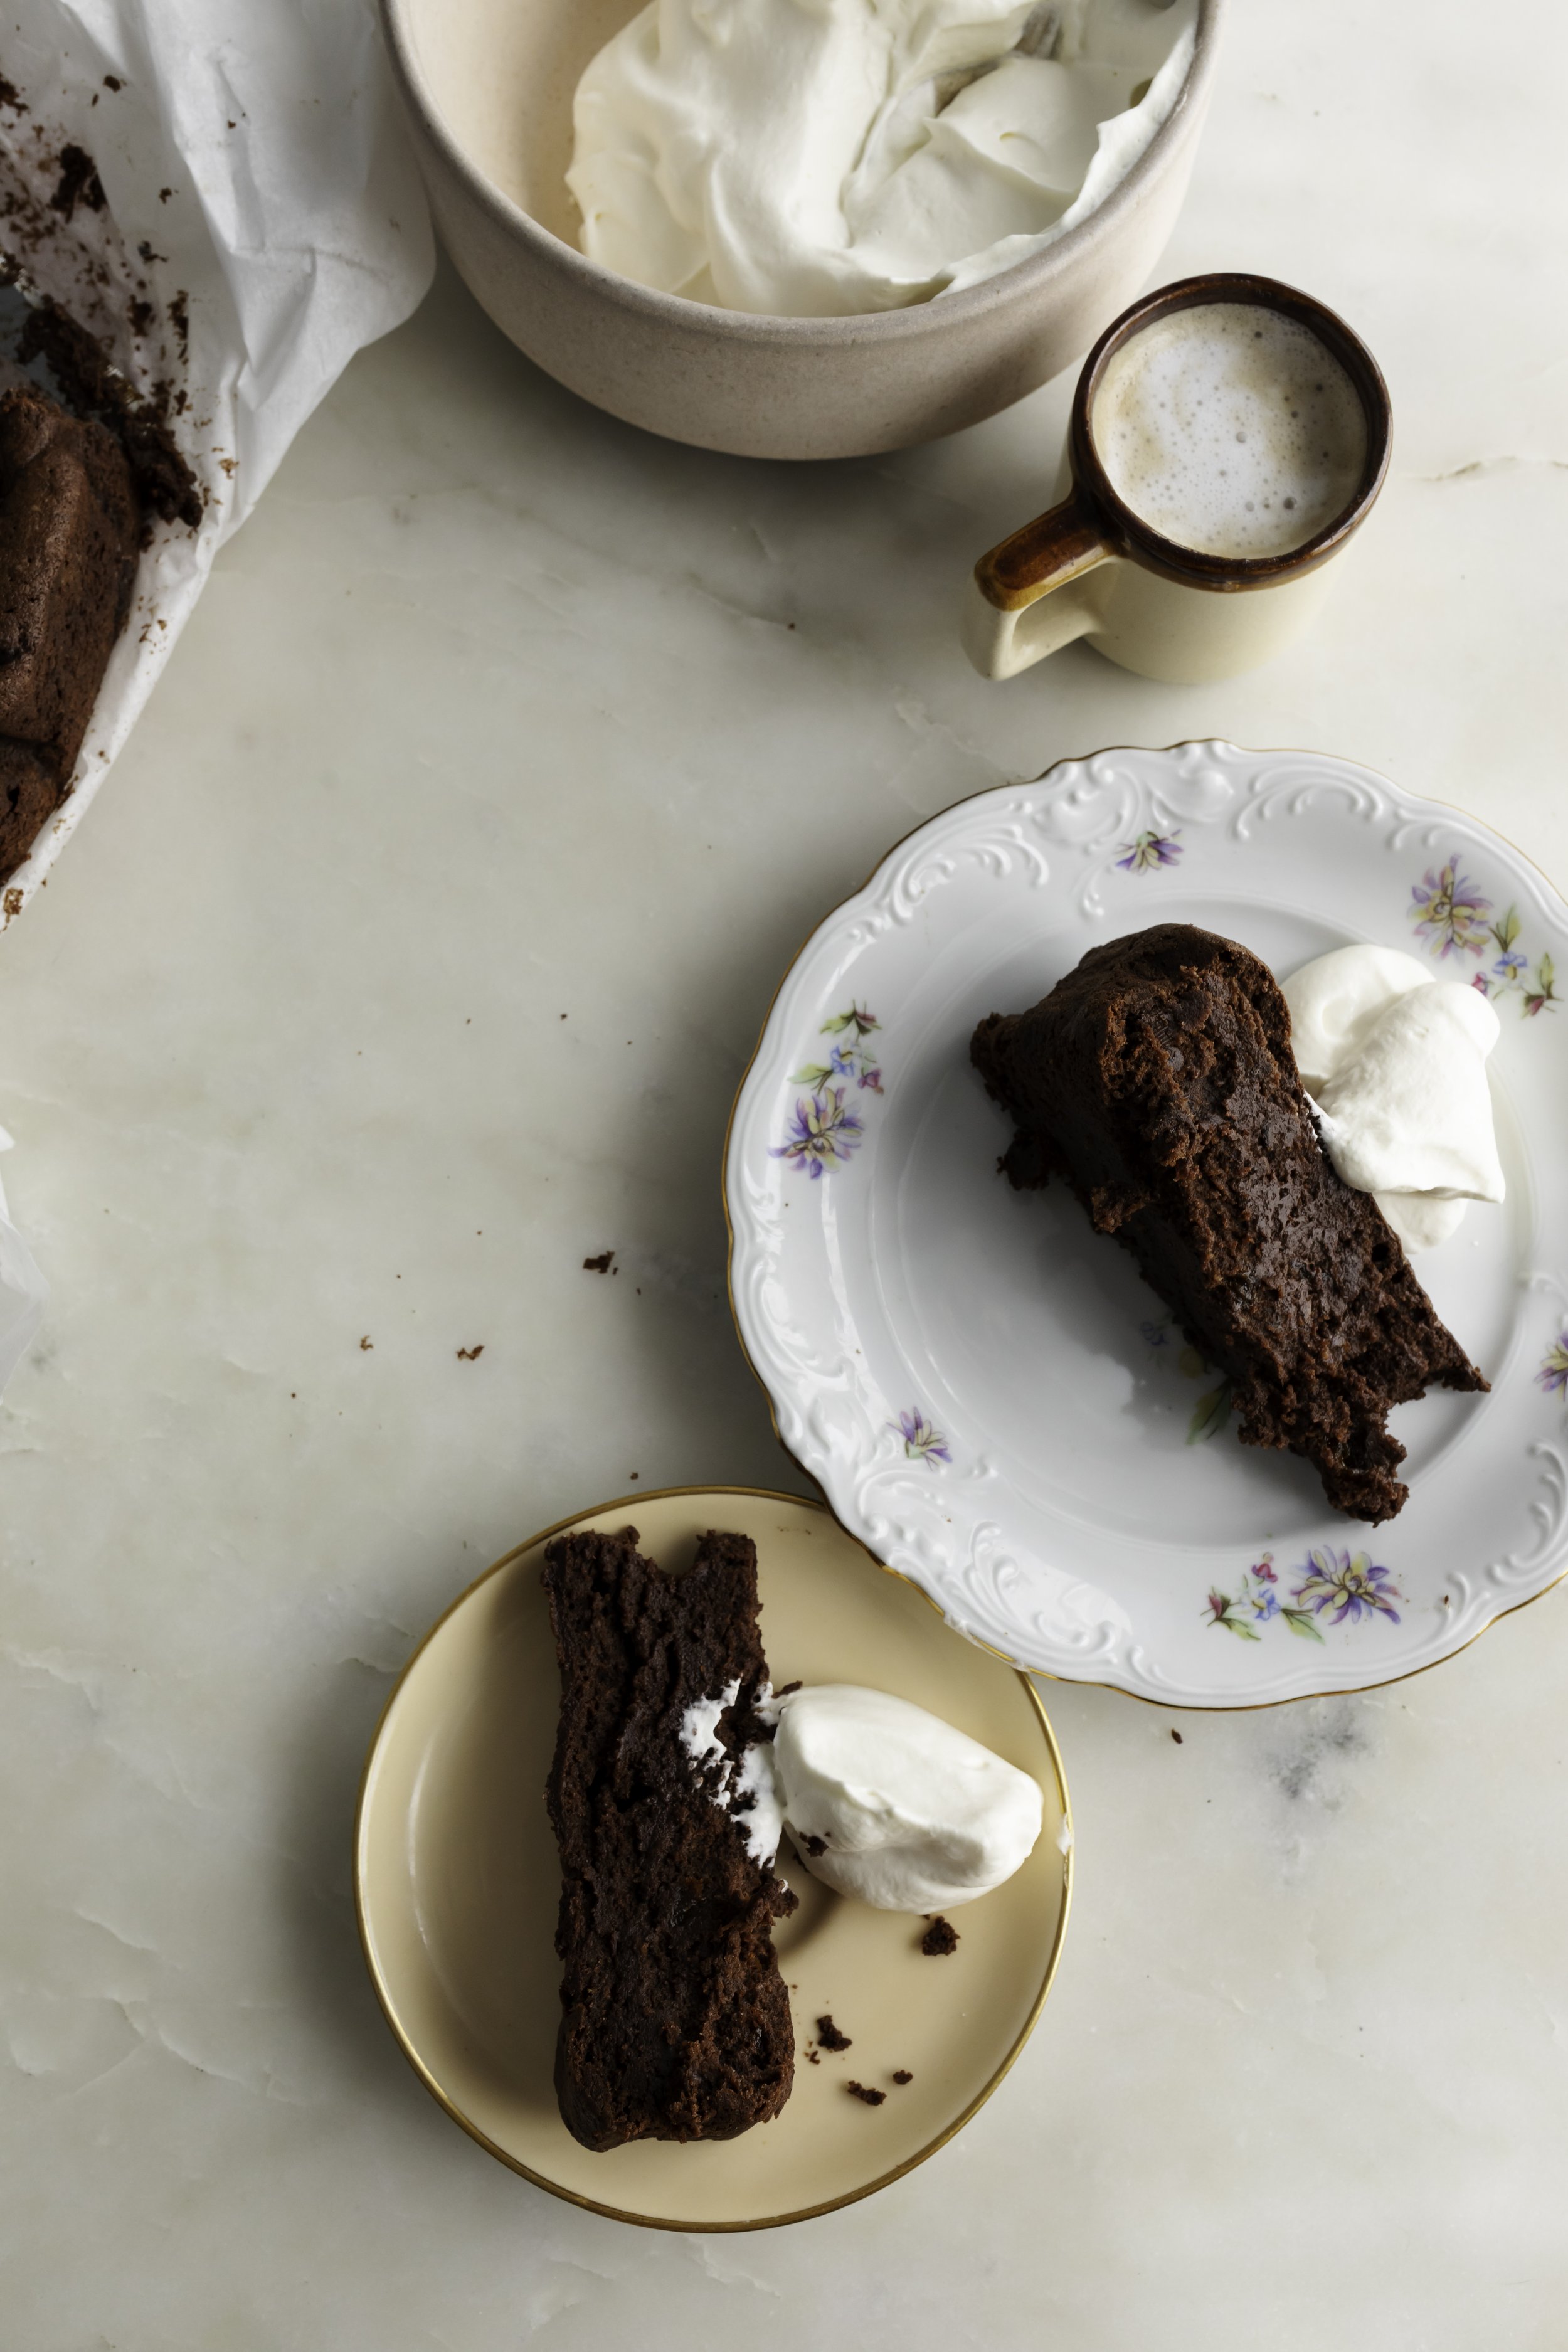
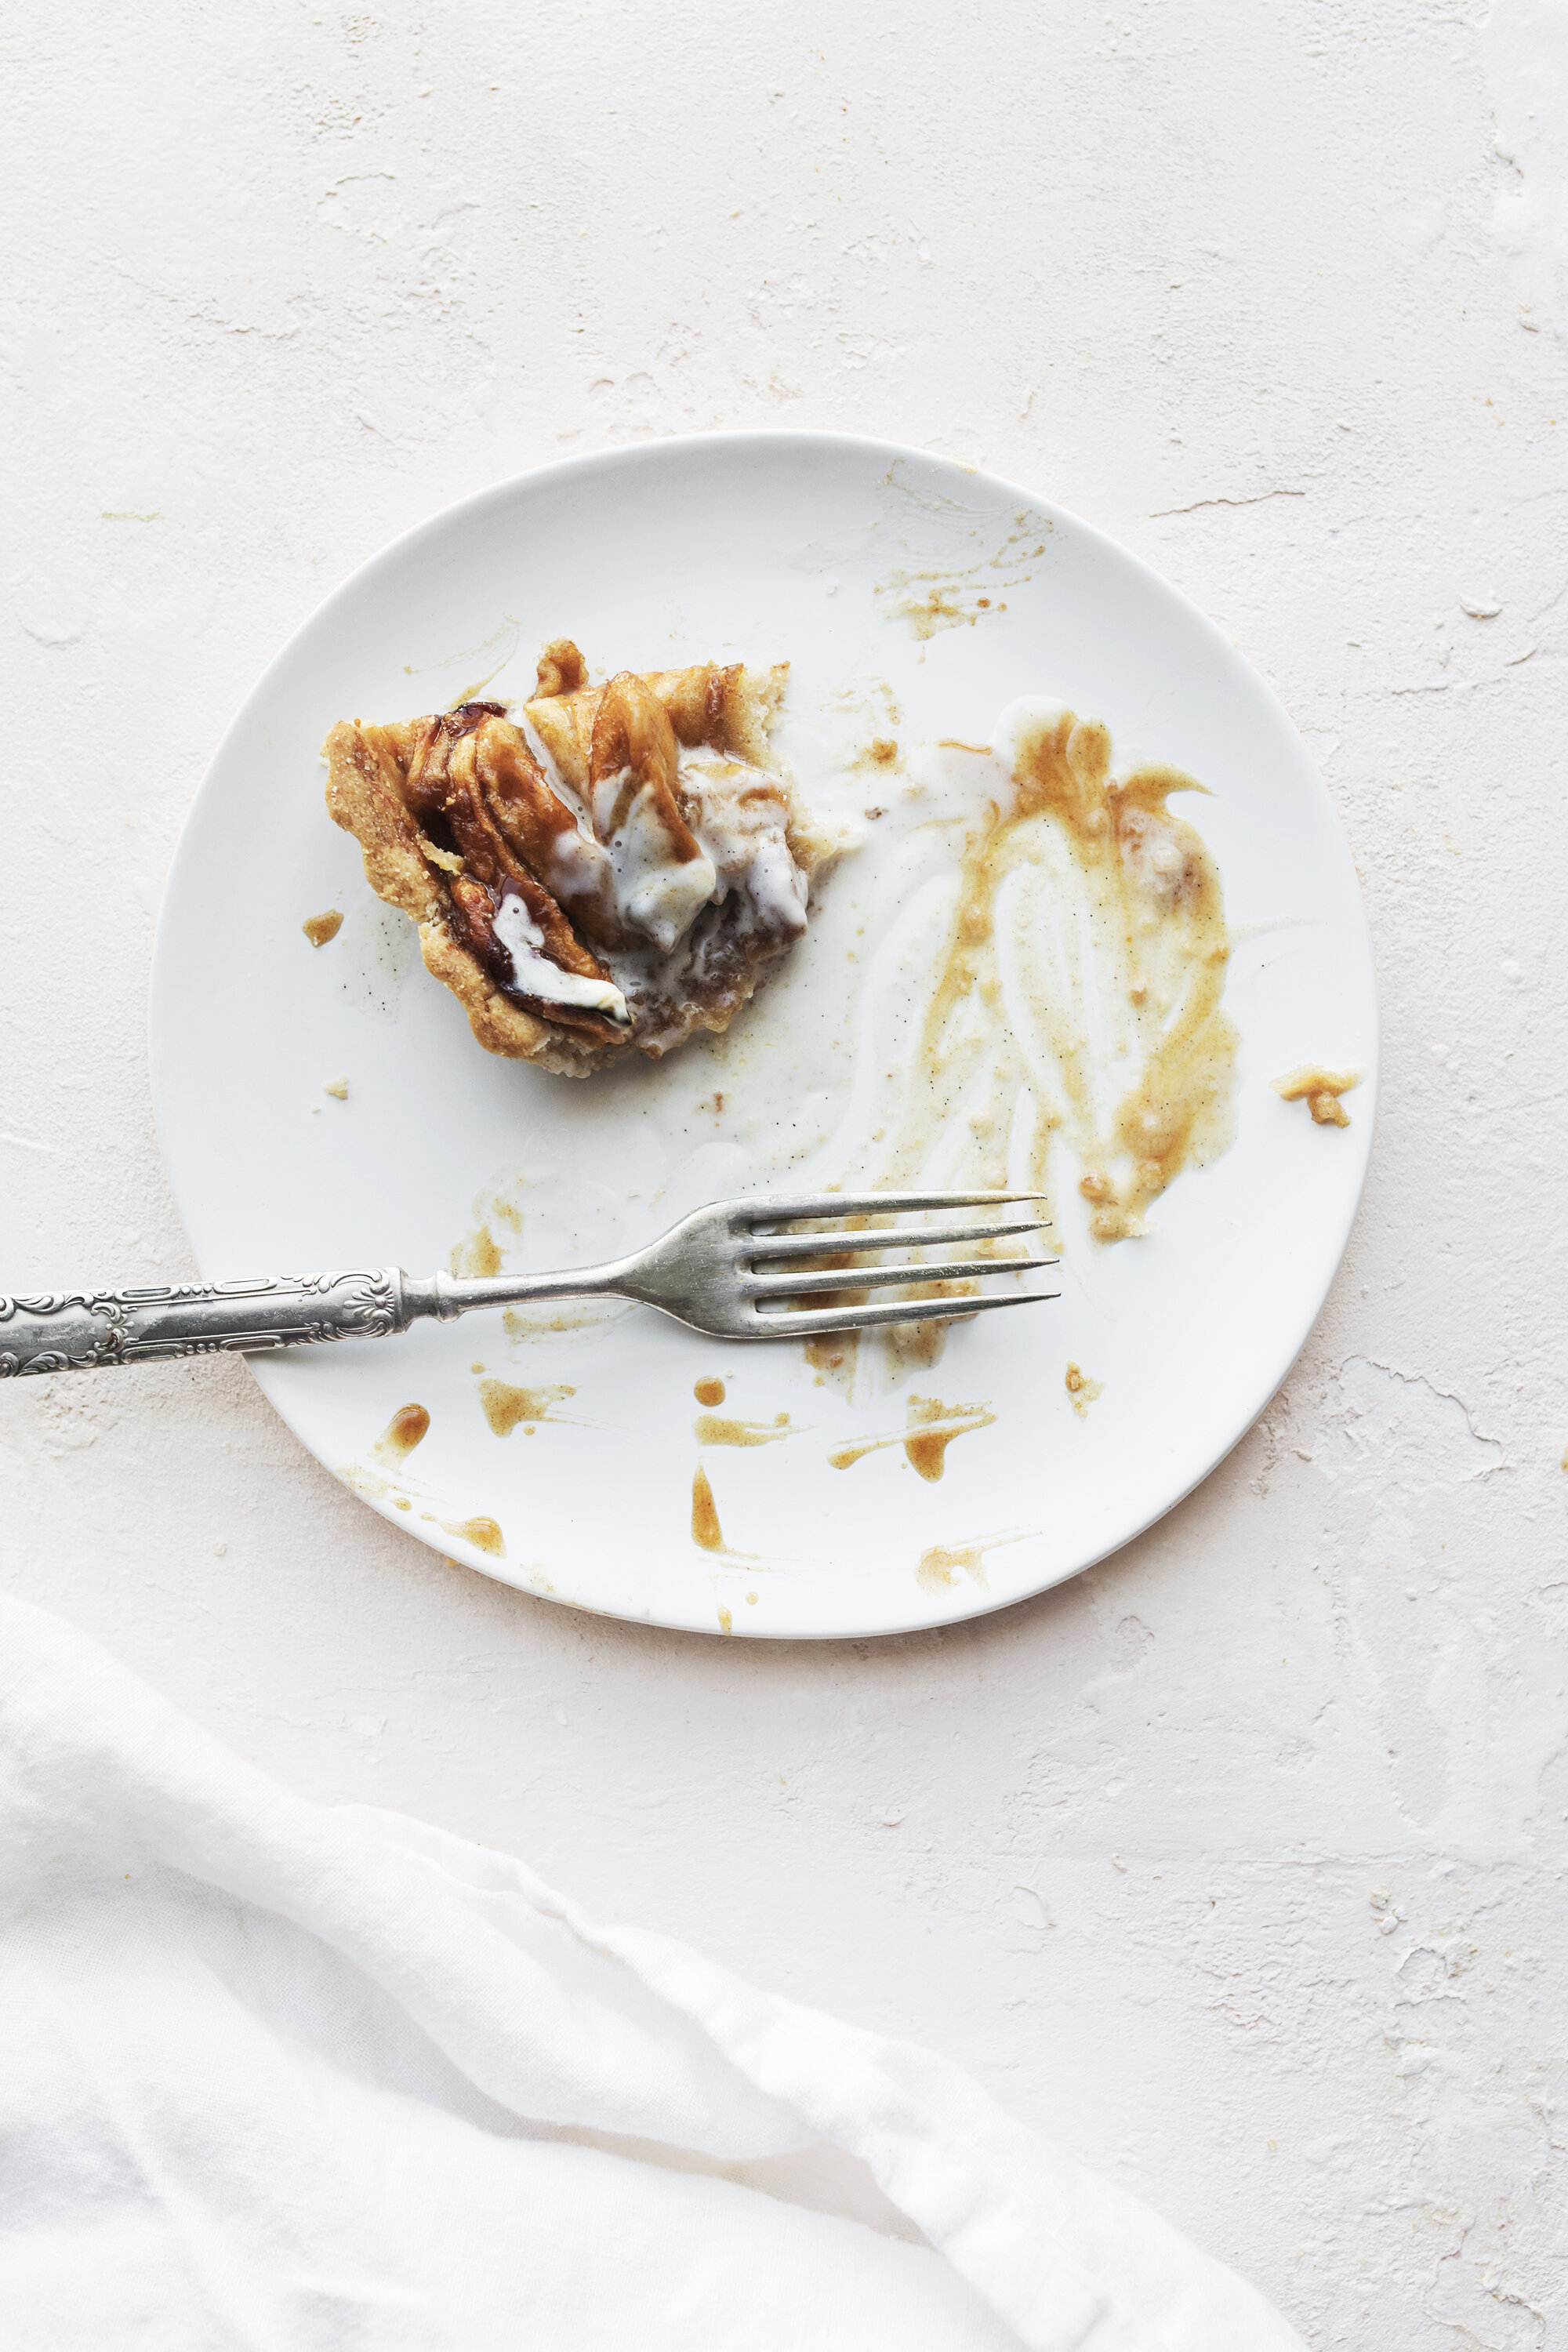
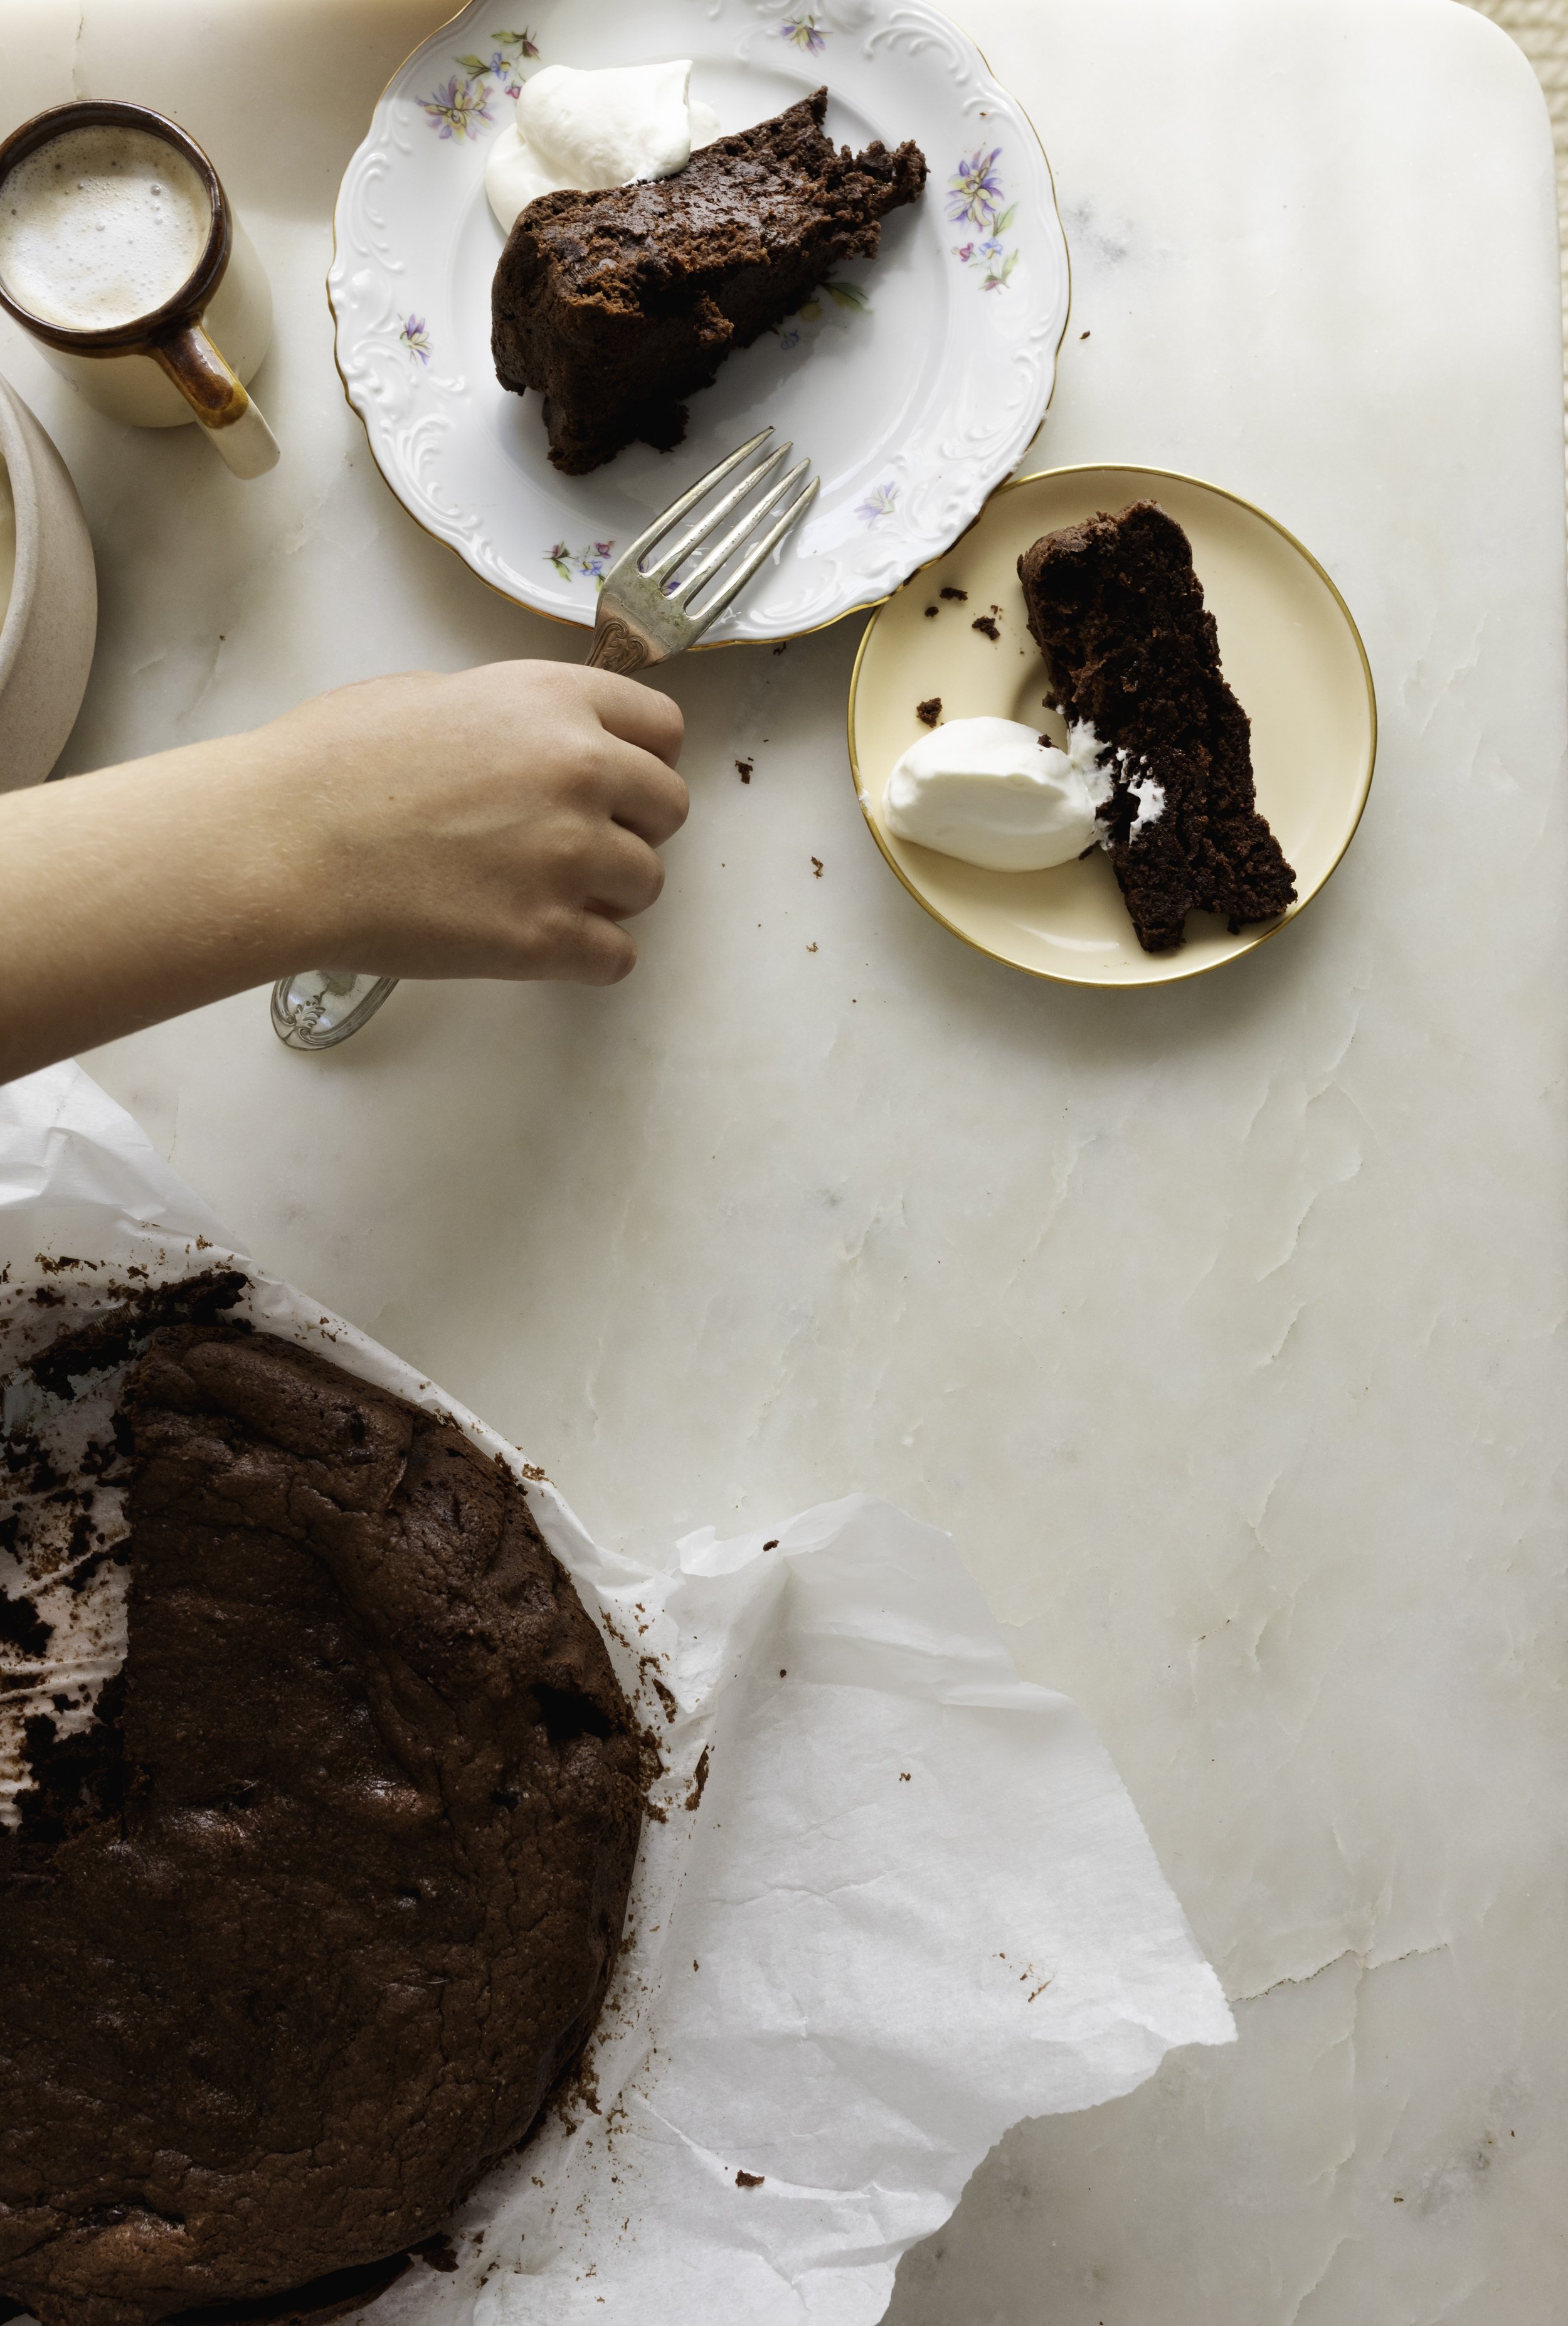
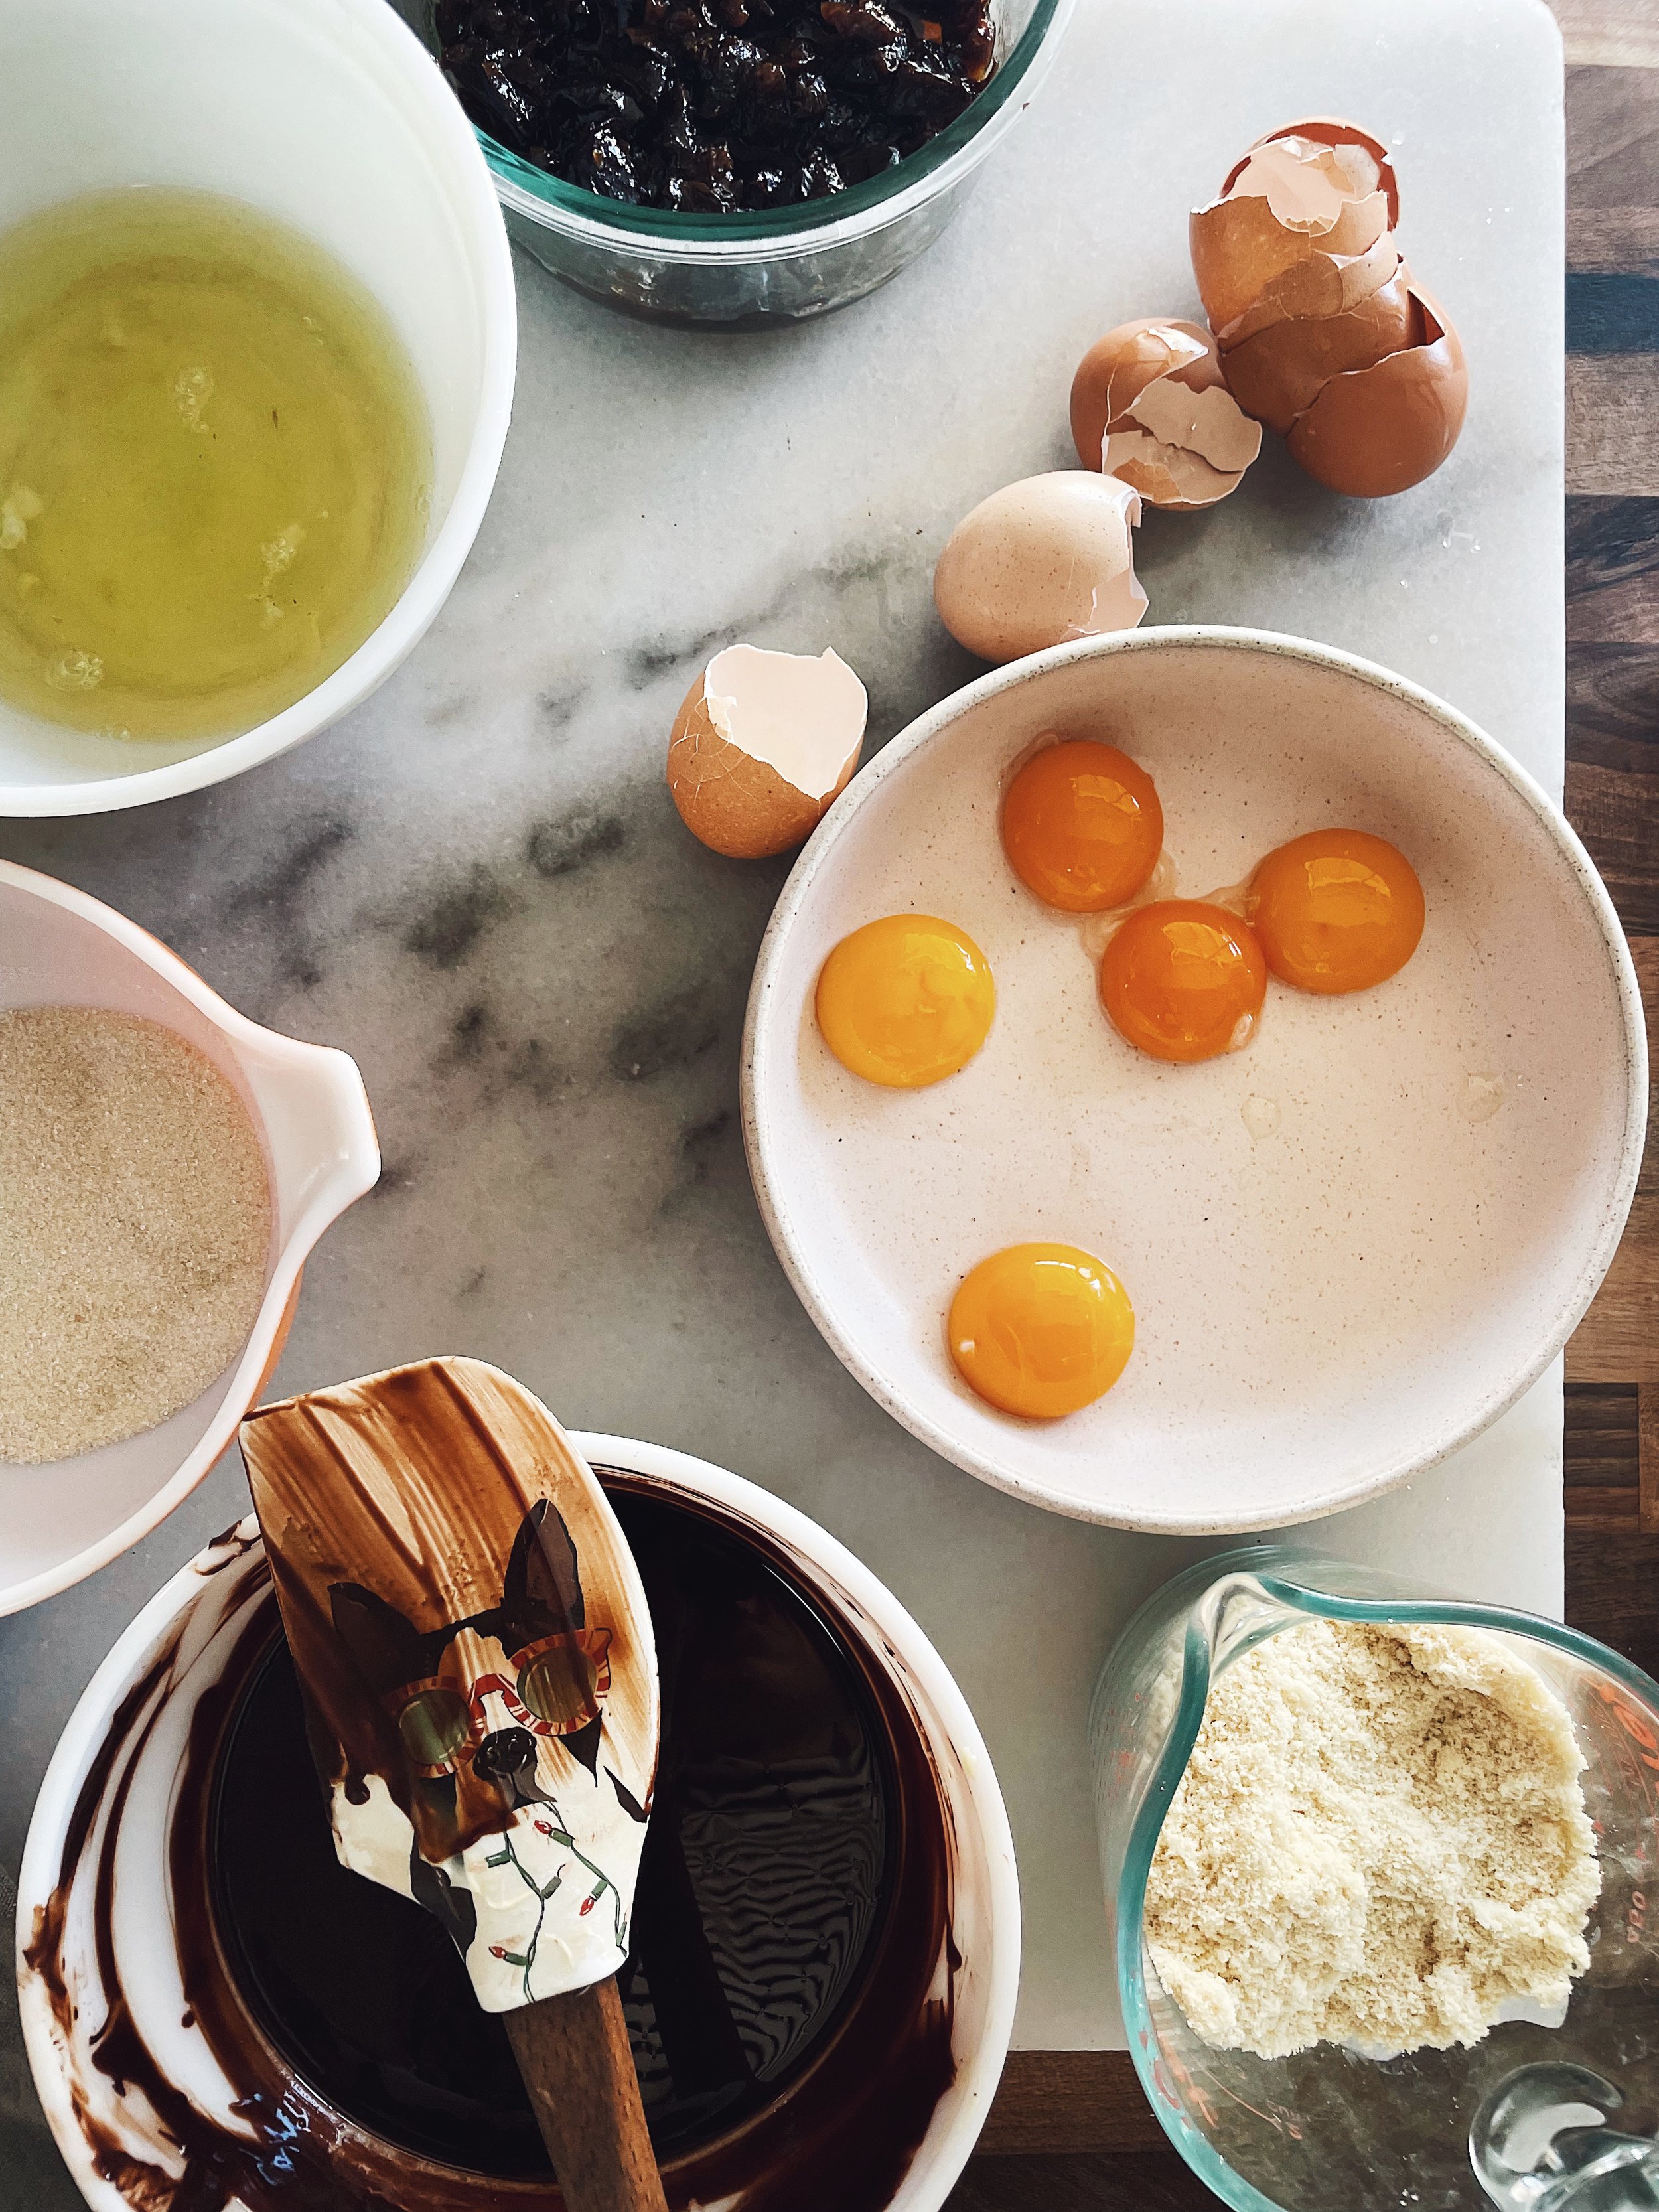
One of my favorite cakes I have been making on repeat for every special occasion this past year,  is this Chocolate, Prune, and Whiskey Cake.( originally from the violet bakery cookbook by Claire Ptak) This cake is delicate in every way possible, don't be intimidated. Claire taught me the art of underbaking, and under mixing too which gives the cake its gooey texture. And I have learned the lesson not to let the prunes soak in the whisky for more than 12 hours, as the whisky becomes too boozy! I also suggested a smooth vanilla scotch for the whiskey as you don't want the whisky to be overpowering in the cake. You could also replace it with a rum as well. It's also naturally gluten free, you really don't even have to tell anyone until after they eat it. Most important, don't skip on the whipping cream, as it really shines as a duo to the cake. 

Now let's get baking, thank you for listening friends, I hope you all have a fantastic Mother's day.

PS I'd love to hear from you all, if you make the cake or need help troubleshooting simply send a message on instagram or an email!

xo Nicole


CHOCOLATE, PRUNE AND WHISKEY CAKE recipe makes 1 9in cake serves 5-9

cooks note: If you can get a hold of a kitchen scale I highly recommend using this and all other baked recipes. If not, no worries. And READ the DIRECTIONS all the way through before cooking.

Ingredients :

  • 125g (4 ½ ounces) pitted prunes, roughly chopped
  • 40g ( 3 tablespoons ) Irish Whiskey
  • 1 teaspoon vanilla extract
  • 240g (8 ½ ounces ) of dark chocolate roughly chopped into eighths
  • ( 70% cocoa solids + good quality like guittard )
  • 200g ( ¾ cup plus 2 tablespoons ) cubed salted grass fed butter, plus more for greasing the pan
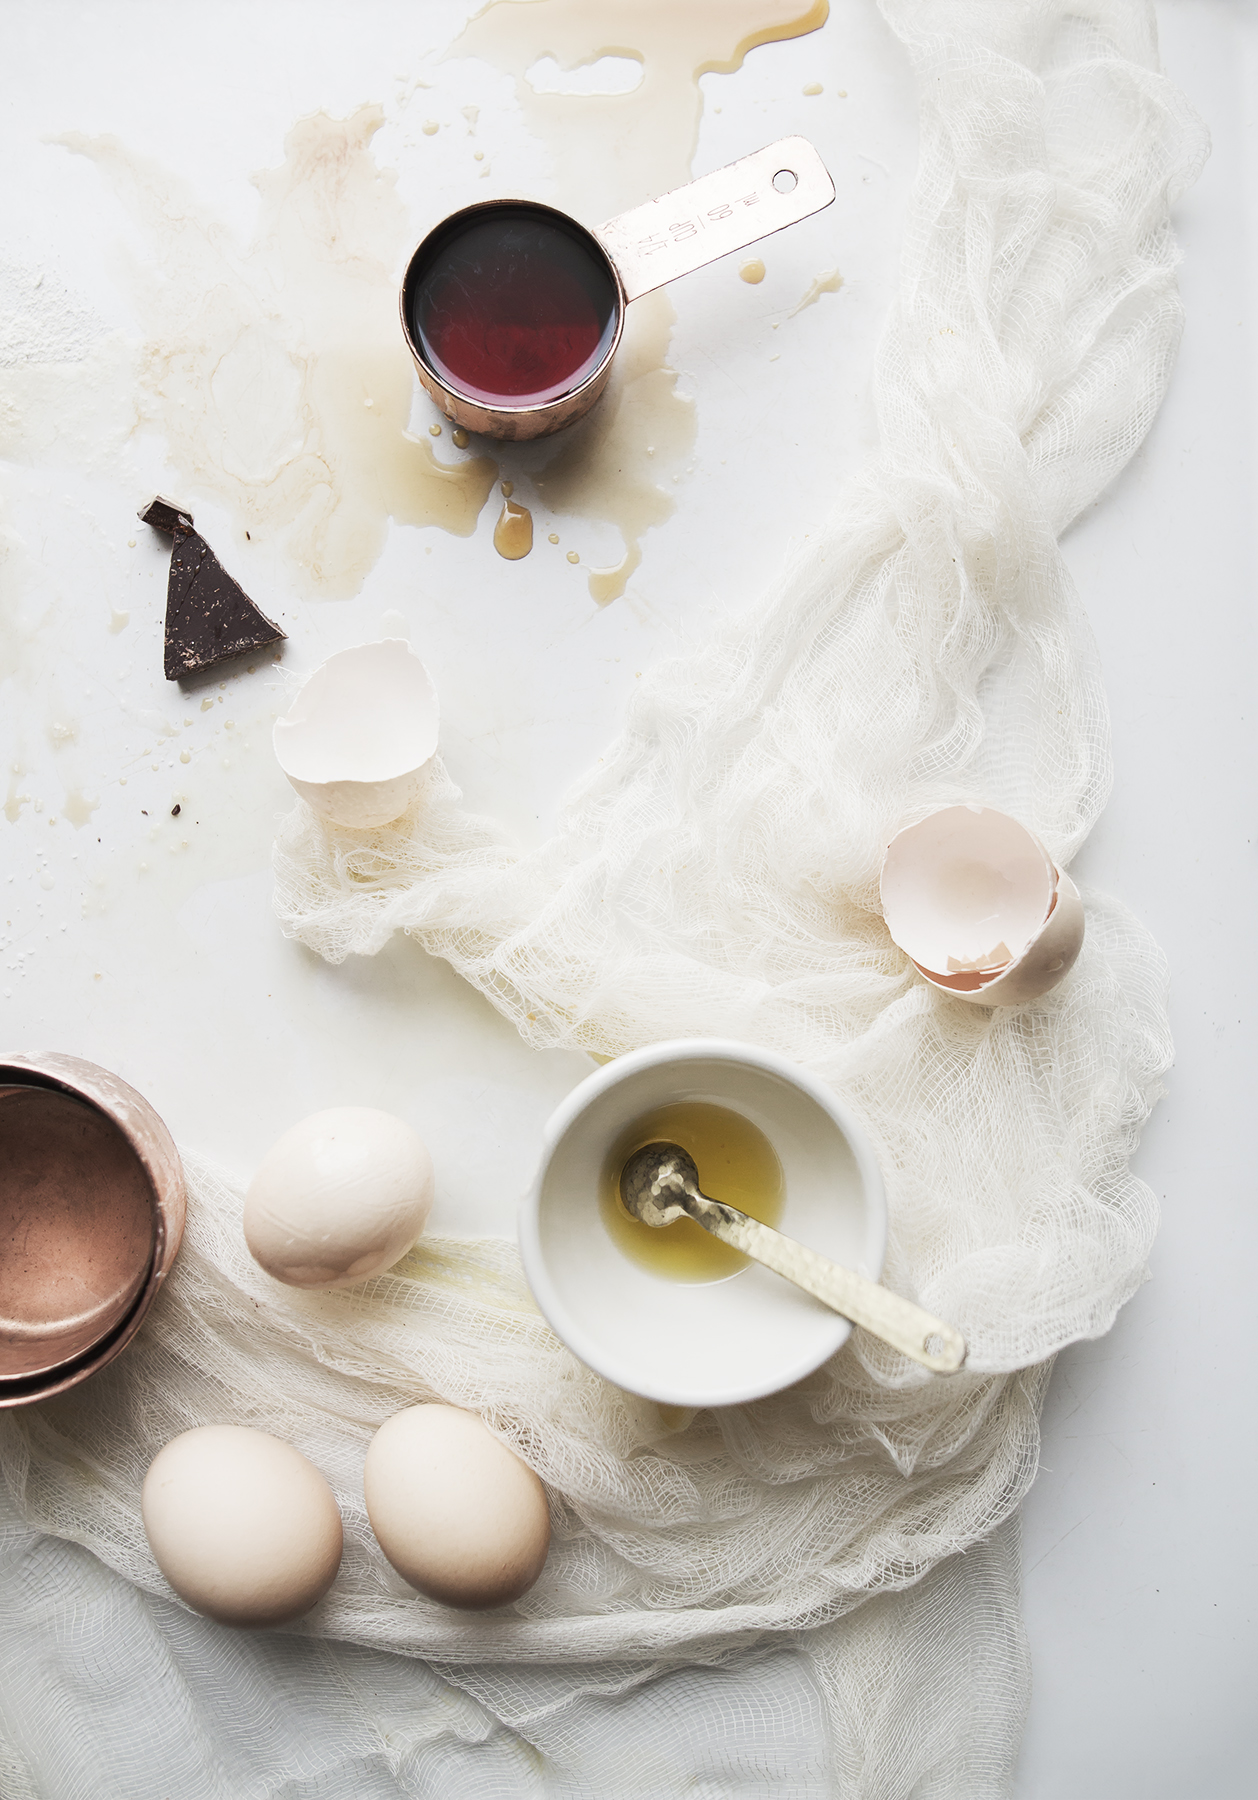
  • 5 eggs separated
  • 100g (½ cup sugar)
  • 150g (1 ⅓ cups) ground almonds ( also known as almond meal or flour)
  • Whipped cream for serving ( homemade or store bought will do)

Directions:

  1. The night before you make the cake, soak the prunes, whiskey, and vanilla in an airtight container in the fridge.

  2. Preheat the oven to 160c/325 F convection bake. Butter a 8 to 9-inch round cake pan and line with baking paper.

  3. Put the dark chocolate and butter in a heatproof bowl placed over a pan of barely simmering water. Make sure the water does not touch the bottom of the bowl or it will ruin the chocolate. Stir occasionally to emulsify the butter and chocolate. Once the chocolate has melted take the pan off the heat to slightly cool, be sure to keep away from any drafts.

  4. Put the whites and yolks into two seperate bowls and, starting with the yolks, add half of the sugar and whisk to thicken. ( I use a stand mixer, but feel free to do it by hand) Fold the thickened yolk into the melted chocolate, and set aside. Add the prunes, and almonds to the chocolate mixture. separate

  5. Beat the egg whites with the remaining sugar until soft peaks form. Gently fold them into the chocolate mixture just until incorporated. Pour into the prepared baking pan and bake for 30-35 minutes. The cake will be slightly soft in the middle, so resist the urge to overbake or that gooeyness will be lost.

I like to let it cool for 15 min, then serve it warm with whipped cream and coffee.

Enjoy!

FOR THE PRINTABLE VERSION OF THIS RECIPE CLICK THE LINK BELOW PRINTABLE RECIPE


Source: www.heydear.co

Apple Tart | Gluten + Dairy free Recipe | Arizona food photographer Nicole Lee


CARAMEL APPLE TART 12web.jpg

Hello!

Baking is by far one of my guilty pleasures in life. I find myself gravitating towards the kitchen to bake when life seems a bit of a mess, or chaotic. I’ll admit with three children, one growing puppy, and a partner I’m doing life with there’s ALWAYS something going ON.

This past year I’ve been working on Gluten free PIES.My obsession began during last years commercial baking class I was taking. We had pie making as an assignment, we made fruit pies, cream pies, and even learned what BLIND BAKING was. The trickiest was having to make the crosshatch on top of the apple pie, by a miracle, I managed to pull it off!

During class we used gluten flour, which makes the baking process a breeze. Ever since, I’ve been trying to get the ratios just right with gluten free flours, in a dairy and non dairy version. I’ve had a Lot of fails and I’m happy to say this one turned out JUST right.

What I've learned more than ever is to slow down. Enjoy the process, because with these gluten free flours that's what it takes. And If you can be patient with gluten free dough, you’ll be able to be patient with anything going on ...like 3 kids, dog, and your partner you're doing life with :). Feel me?

PS this Apple tart recipe was inspired by Aran Goyaga’s recipe from her new cookbook out called Cannelle et Vanille. Which is beautiful and ever so functional! I put my own spin on the recipe and adapted. The link is below to purchase her book. Thank you Aran.

Now let's make a gluten free Apple Tart, which brings fall right to our doorsteps. Happy BAKING!

xox

-NICOLE


gluten free apple tart recipe fall baking

BAKING TIPS:

    • MAKE THE DOUGH at minimum 30 min ahead of baking. Up to 24 hours in advance in fine too.
    • Don’t preheat the oven until you are ready to bake your pie crust. The kitchen will get too warm, which makes your butter go soft.
    • STICK YOUR BUTTER in the FREEZER before you make the dough. ( about 10 min).
    • Stay calm if your dough crumbles, just stick it in the fridge.
    • Have an ice water bath for your fingertips while making the dough. ( we want our dough to stay cold, and butter so if you dip your fingers in they will stay cold too)

APPLE TART RECIPE | GLUTEN + DAIRY FREE

TOOLS YOU WILL NEED: 9inch aluminum removable bottom tart pan

INGREDIENTS:
PIE DOUGH INGREDIENTS:

  • 2 cups gluten free brown rice flour
  • ½ cup potato starch
  • ½ cup tapioca starch
  • ½ tsp kosher salt
  • 1 cup (8oz) vegan cashew butter (cold cut into cubes)
  • 6-7 Tbsp unsweetened cold ICE WATER
  • 1 cup ice water (for fingertips to dip in while making dough)

DIRECTIONS FOR PIE TART DOUGH:

NOTE: PIE DOUGH MUST BE MADE 30 min AHEAD of time (or day before).

Place your cold cashew butter into the freezer for 10 min while you measure out all of your dry ingredients.

  1. In a large bowl place brown rice flour, potato + tapioca starch, and salt whisk a few times to incorporate. In a seperate cup fill a cup with ice water. Add a few ice cubes to the unsweetened almond milk to keep it cold.

  2. With your hands gently mix the cashew butter and dry ingredients together until grainy. Add your almond milk and mix together until dough forms. Gently knead together ensuring not to over work. If it gets warm pop the bowl into the freezer for a few minutes and then re-work the dough. If it feels wet, add 1 tsp of gf flour to the mix, if feels dry, add 1 tsp of more of cold water.

  3. When the dough forms, cover it with plastic wrap and refrigerate the dough for 30 minutes. When it’s ready to be rolled out dust your work surface with gluten free flour, and roll it out with a rolling pin. If it cracks re-work the dough with your hands a bit. I found if my dough has been too cold it breaks apart, either because I left it in the fridge for too long or didn't add enough water. If you feel it's too cold when you take it out of the fridge, you could wait to roll it out too. Use your best judgement here. The good news is if it messes up you can re-work it and always throw it back in the refrigerator. Now,Make your apples

APPLE CARAMEL FILLING :

INGREDIENTS:

  • 5 large apples ( about 2.5lbs) pie apples, or honeycrisp
  • ½ cup organic cane sugar
  • 1 tblspoon organic raw sugar for dusting top
  • 2 tablespoons vegan butter ( if you aren’t using ANY cow butter make it 3 tblspoons vegan)
  • 1 tablespoon grass fed butter 2 tablespoons apple cider vinegar
  • 2 ½ tablspoons ground cinnamon
  • 1 tsp fresh ground nutmeg
  • 1 teaspoon ground ginger
  • 2 tablespoons lemon juice
  • 1 tablespoon of vanilla extract
  • ½ teaspoon kosher salt
  • 1 tsp maple syrup
  • 1 egg beaten in splash of almond milk (egg wash)
  • 1lb Dried beans or RICE (enough to overfill the pie)
  • 1 tablespoon of organic cornstarch
  • Parchment paper

DIRECTIONS APPLE TART:

TIPS: PREP everything first, measure out all your wet and dry ingredients.

  1. Take out your pie dough and preheat the oven to 450 degrees F. Get a baking sheet ready line with parchment paper.
  2. Prep your apples, peel, core and cut them in medium slices. About 8 slices per apple. Do your best to keep even, but honestly it’s okay if they aren’t. Place them in a bowl and add 2 tablespoons of lemon juice. In a small bowl, whisk together; apple cider vinegar, cinnamon, vanilla, nutmeg, ginger. Leave butter to the side.
  3. Using a large sauté pan place it over the burner, add the ½ cup of cane sugar to the COLD pan. Place the stove on medium- high heat, the sugar should start to melt. Stir around and if the sugar clumps stir around with wooden spoon until it's all combined. Add in the vinegar mixture and vegan ( butter & (grass-fed butter if using). As it bubbles, take off heat for a moment, stir, turn your heat to low and add in the apples. Evenly coat the apples and cook them for 6-8 min. Transfer the apples to heatproof bowl and keep the caramel sauce in the pan. While the apples cool BLIND BAKE your pie dough.
  4. Prep a 9inch aluminum pie/tart tin pan with removable bottom with non stick spray and gf flour. On a clean work surface like a counter or marble bakers sheet prep with gluten free flour. With rolling pin roll out your dough it to a circle.( Make sure your rolling pin has flour on it too). Take dough and press into your pan, evenly. It's also okay if it's not perfect this is a TART. They are meant to be wonky. Prick your tart dough all over with a fork. Place your tart on a baking sheet lined with parchment paper, place another sheet of parchment paper tightly over your tart. Then evenly distribute the dried beans over it. THIS IS called BLIND BAKING. BAKE for 15 min at 425 F.

  5. When you finish blind baking, let sit for 5-10 min with beans over it. Take off the beans, let that crust cool completly before cooking your apples. LOWER YOUR OVEN TO 325F.

  6. Mix in 1 tablespoon of organic corn starch to your apples until dissolved. Put your apples in your tart pan over the crust, take some of the carmel drizzle and pour an even coat on top, along with sprinkles of raw sugar to your liking. Brush the crust with egg wash. Bake for 30-35 more min on 325F or until golden brown. Let cool for 10 min + Serve warm with whipped cream or vanilla ice cream. Or cool completely for the crust to settle.


apple tart recipe gluten free fall baking

ARANS BOOK :

PIE TIN I LOVE:

GLUTEN FREE FLOUR:

SAVERY TOMATO GALETTE RECIPE | GLUTEN + DAIRY FREE | BY NICOLE LEE


Hi Friends,

This summer I’ve been obsessed with experimenting with baking in the kitchen. I’ve also been cooking my way through several cookbooks and having a blast doing it. Not to say there hasn’t been some mishaps but we won’t go into those today. 

Xo

Nicole


galette recipe gluten free tomato

SAVORY TOMATO GALETTE RECIPE | INSPIRED BY RECIPE IN BON APPETIT MAG

HOT TIPS: PIE DOUGH can be made up to 2 hours to 2 days ahead of this recipe. Make Recipe when you have some time, it's great for SUNDAY AFTERNOONS,OR WEEKENDS. If you're pressed for time buy pre-made pie dough. Because we aren’t all bakers and there is nothing wrong with buying PRE-MADE DOUGH.

PIE TART DOUGH INGREDIENTS:

2 cups gluten free brown rice flour
¼ cup potato starch
¼ cup tapioca starch
2 Tbsp coconut sugar
1 tsp kosher salt
1 cup vegan cashew butter (cold cut into cubes)
4 Tbsp unsweetened cold almond milk

PIE DOUGH ADAPTED FROM ARAN GOYOAGA

FILLING INGREDIENTS:

2lbs heirloom tomatoes sliced ¼” thick
3 garlic cloves, thinly sliced
1 bunch of fresh thyme
1 large egg beaten
Good quality extra virgin olive oil
5 oz mixture of finely grated hard cheese combo (Pecorino Romano, manchego, and sharp grass fed cheddar such as dubliner) or any hard cheese that sounds good!
½ lemon zest / 1 squeeze of fresh lemon juice
1 tsp salt
Bunch of fresh basil

OTHER INGREDIENTS: Parchment Paper Non-stick spray 1 large sheet pan

DIRECTIONS FOR PIE TART DOUGH: NOTE: PIE DOUGH MUST BE MADE 1 HOUR AHEAD

  1. Place your cold cashew butter into the freezer for a min while you measure out all of your dry ingredients.

  2. In a large bowl place your dry ingredients. In a seperate cup add a few ice cubes to the unsweetened almond milk to keep it cold.

  3. With your hands gently mix the cashew butter and dry ingredients together until grainy. Add your almond milk and mix together until dough forms. Gently knead together ensuring not to over work. If it feels wet, add 1 tsp of gf flour to the mix, if feels dry add 1 tbsp of more of cold milk.

  4. When the dough forms, pop some plastic wrap over it and refrigerate for min of 1 hour. NO Cheating here!

GALETTE DIRECTIONS:

  1. Preheat oven to 400 degrees f. In a bowl, place your salt and pick off about 1 tsp thyme. With your fingers take your 1 tsp salt and combine with thyme to make a paste. Then add garlic and mix with figures more. Add in your tomatoes and toss together. Let sit for 5 min, while the tomatoes release some liquid.
  2. Drain the tomatoes with strainer, and lay flat onto paper towel.
  3. Grab your dough, unwrap.
  4. Get a large sheet pan and spray with nonstick spray.
  5. Measure out parchment paper to fit your sheet pan, place on COUNTER (not on pan). Lightly dust with flour. Place another sheet of parchment paper over the dough and GENTLY roll out into a round shape. If it falls apart (stay calm) and gently sprinkle water or almond milk over the dough until it combines. It should be easy to roll out, but still be gentle.IT DOESN’T HAVE TO BE PERFECT. WONKY IS OKAY, THAT'S why they call it a galette!!
  6. When it looks even in shape place your finely grated cheese in the middle leaving 1 ½ inch of dough border.
  7. Add your tomatoes and garlic mixture over cheese. Bring the edges of the dough over the filling using your parchment paper to guide it over. NOTE: SINCE this is GLUTEN FREE you have to be EXTRA GENTLE, pretend you are handling a newborn baby!
  8. Crack your egg, and whisk with fork in bowl, blend in 1 tsp flaky salt. With a brush wash it over the edges of the dough (not tomatoes). Then POP in FREEZER for 5-10 min. (Basically depending on how patient you are!) After it’s done, take a bunch of fresh thyme and place in the middle of galette or on the edge of the baking sheet.
  9. Bake on bottom rack for 55-60 minutes until golden. Rotating 1 time.
  10. When finished, enjoy with a drizzle of olive oil, fresh basil and grated lemon zest!

ENJOY and HAPPY baking ANY QUESTIONS feel free to send me a message!


galette recipe

summer tomato recipes

gluten free savory galette recipe

GLUTEN FREE CHOCOLATE CHIP COOKIE RECIPE || FOOD PHOTOGRAPHER NICOLE LEE


CHOCOLATE CHIP COOKIE RECIPE 1small.jpg

Who doesn’t love CHOCOLATE? I’ve got the perfect cookie for you, with a low glycemic index you won’t feel a crash. And still get to ENJOY your CHOCOLATE! Recipe below!

Tell me what YOU THINK, Or tag me in your BAKING ADVENTURES!

CHEERS + LOVE,

Nicole


GLUTEN FREE CHOCOLATE CHIP COOKIE RECIPE

INGREDIENTS:

  • 1 cup vegan butter, or mix of avocado + Olive oil
  • 3/4 cup maple syrup
  • 2/3 cup swerve alternate sugar
  • 2 pasture eggs
  • 2 1/4 cups @bobsredmill GF all purpose baking flour
  • 1 teaspoon baking soda
  • 1 teaspoon sea salt
  • 1 bag 85 % chocolate chips
  • 1 tablespoon vanilla

DIRECTIONS: In large bowl pour all liquid ingredients, mix. Then add one egg at time. Mix again, Set aside.

In a separate bowl measure out dry ingredients, then add to wet ingredients. Add in chocolate chips. Mix together, if dough seems wet, add 1 tablespoon of flour mix and repeat.

Store in fridge for 1 hour to up to 24 hours. Then Bake. At 350 degrees for 15 min, let cool and enjoy!


CHOCOALTE CHIP COOKIE RECIPE 5small.jpg

GF CHOCOLATE CHIP COOKIE RECIPE 6small.jpg

GF CHOCOLATE CHIP COOKIE RECIPE 4small.jpg


SAY HELLO! (fill out form below!)


Stella Bakes, Nicole Rambles, - Personal Post


girl portrait

As I stumble over myself trying to come up with the perfect words for this blog post I cant help but become more frozen. The pressure of curating images, and meaningful words seems to have gotten the best of me.

Heavy thoughts cloud my mind, all of life’s goodness and troubles compounding my heart. Seemingly all at once, I tend to fight the waking moments, finding myself in a battle once again over staying underneath the covers hidden when it gets hard. This time the battle hasn’t one; I have the many tools to not covert back to old habits that once destroyed me. Even if it’s the constant reminders of the three brave souls that came from me, the children are always all right; it’s the parents you have to watch out for.

You probably have no idea what I’m talking about; I guess that’s okay. Maybe you get it. Maybe not. Anxiety and depression is a bitch. They are just symptoms of habits you teach yourself to try to stay afloat in the scary world. The thing is since they are just symptoms I can tell them to go away now, and they aren’t needed anymore. Clearly it’s a battle, but more importantly, a battle I can come out on top of. The problem with a lifetime of experiencing trauma is sometimes it does come up. So I chose to meet it, share it instead of tucking it away in a tiny package and pretend it didn’t happen this week. Its not like I fell off the wagon, I guess what I’m trying to say is its just where I was at, that my friends is the truth. I won’t get into the details because it’s not about the details. It isn’t the time or place and I’m not paying you to listen to those boring stories of my traumatic childhood. My goal was to give you a lovely story, a handful of images and a recipe. That is the purpose of this blog right? See, what I mean is things aren’t always, as they seem. Sometimes we even choose to see what we want, that could make our real lives much easier to handle. Or the social media easier to handle. What do you think?

Now where I am today, not yesterday. Today, I feel clear, I am remembering all the new things I taught myself and realized that my shield can go back into the closet until I need to use it again. The world isn’t a scary place and the 4-year-old girl instead me, well she will be okay to. Ramble over.

No recipes to share, but below are some images of my 3-year-old Stella Baking her little heart out.

X

–Nicole 


ingredients