APPLE SPICE CAKE WITH SCOTCH WHISKY + WHIPPED CREAM RECIPE | GLUTEN FREE RECIPES | PHOENIX FOOD PHOTOGRAPHER


The sun is beaming through the curtain window onto my keyboard this afternoon. Currently, sipping on a doppio blonde espresso from starbucks, because my love affair with them is still flourishing. I’m trying to conjure up some profound words about this apple spice cake I made. But for whatever reason I feel stuck, yet a thousand thoughts seem to fill my mind. In my best attempt to quiet the thoughts, I pound my fingers on the keyboard and keep going.

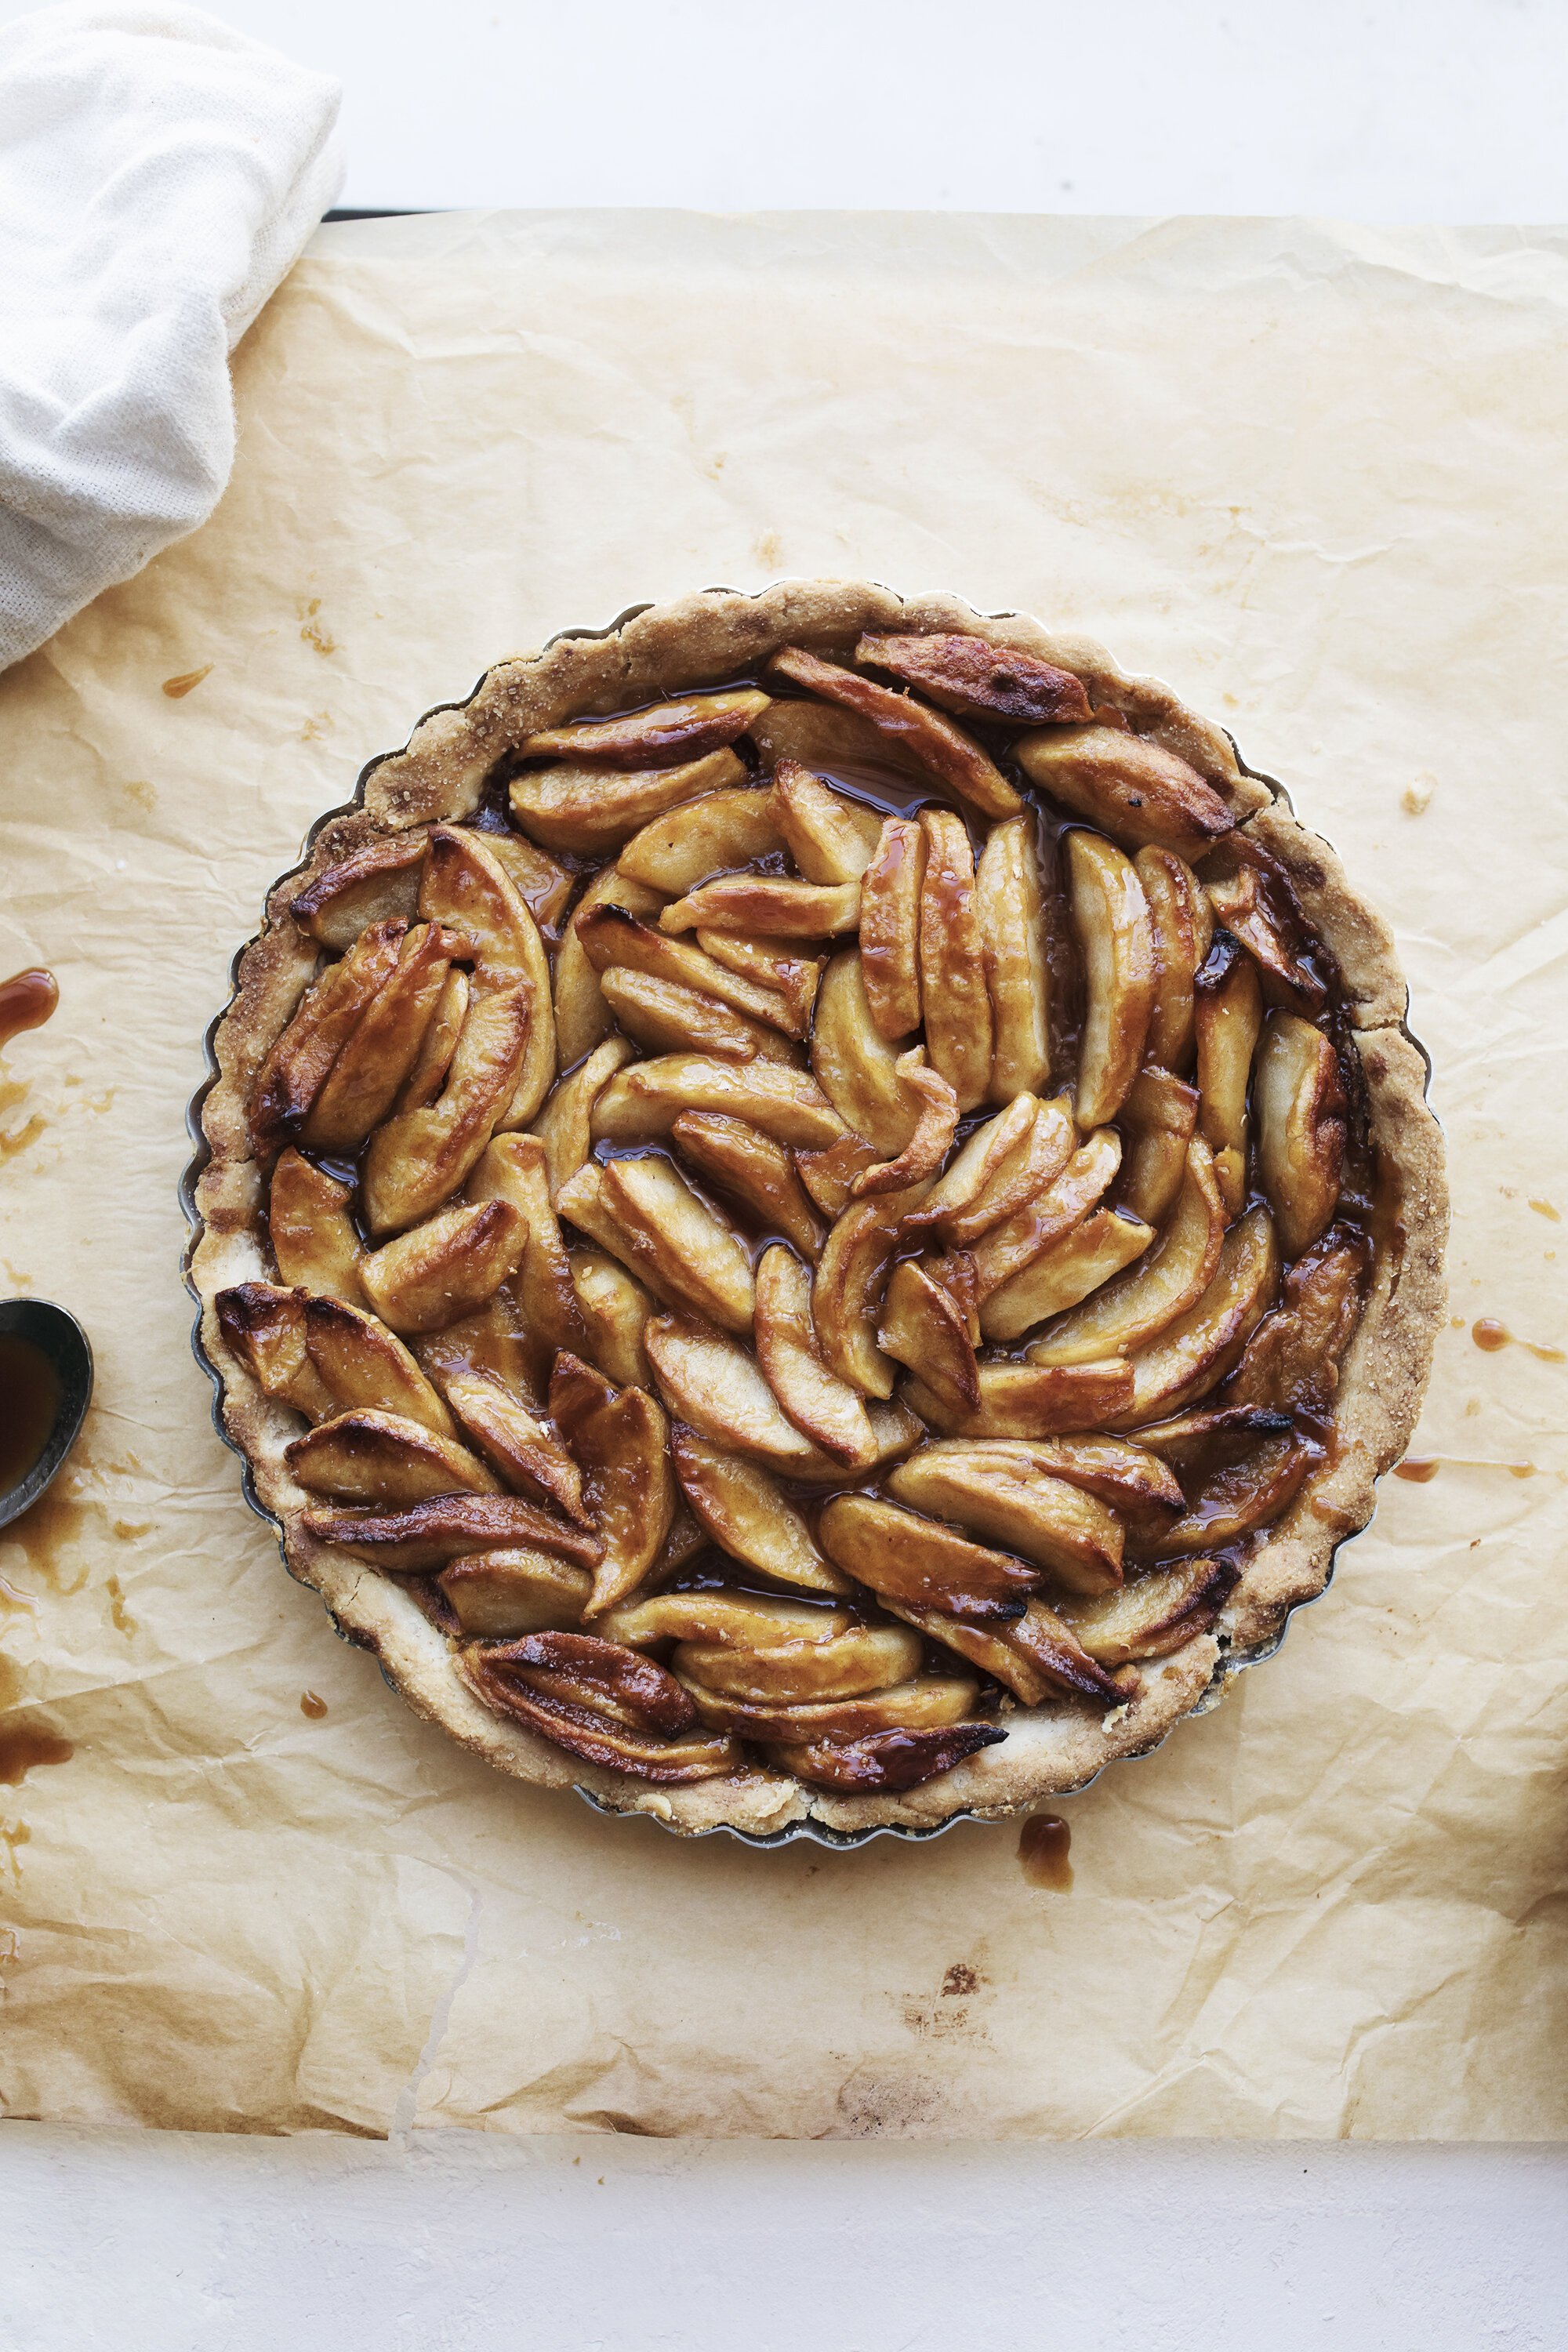
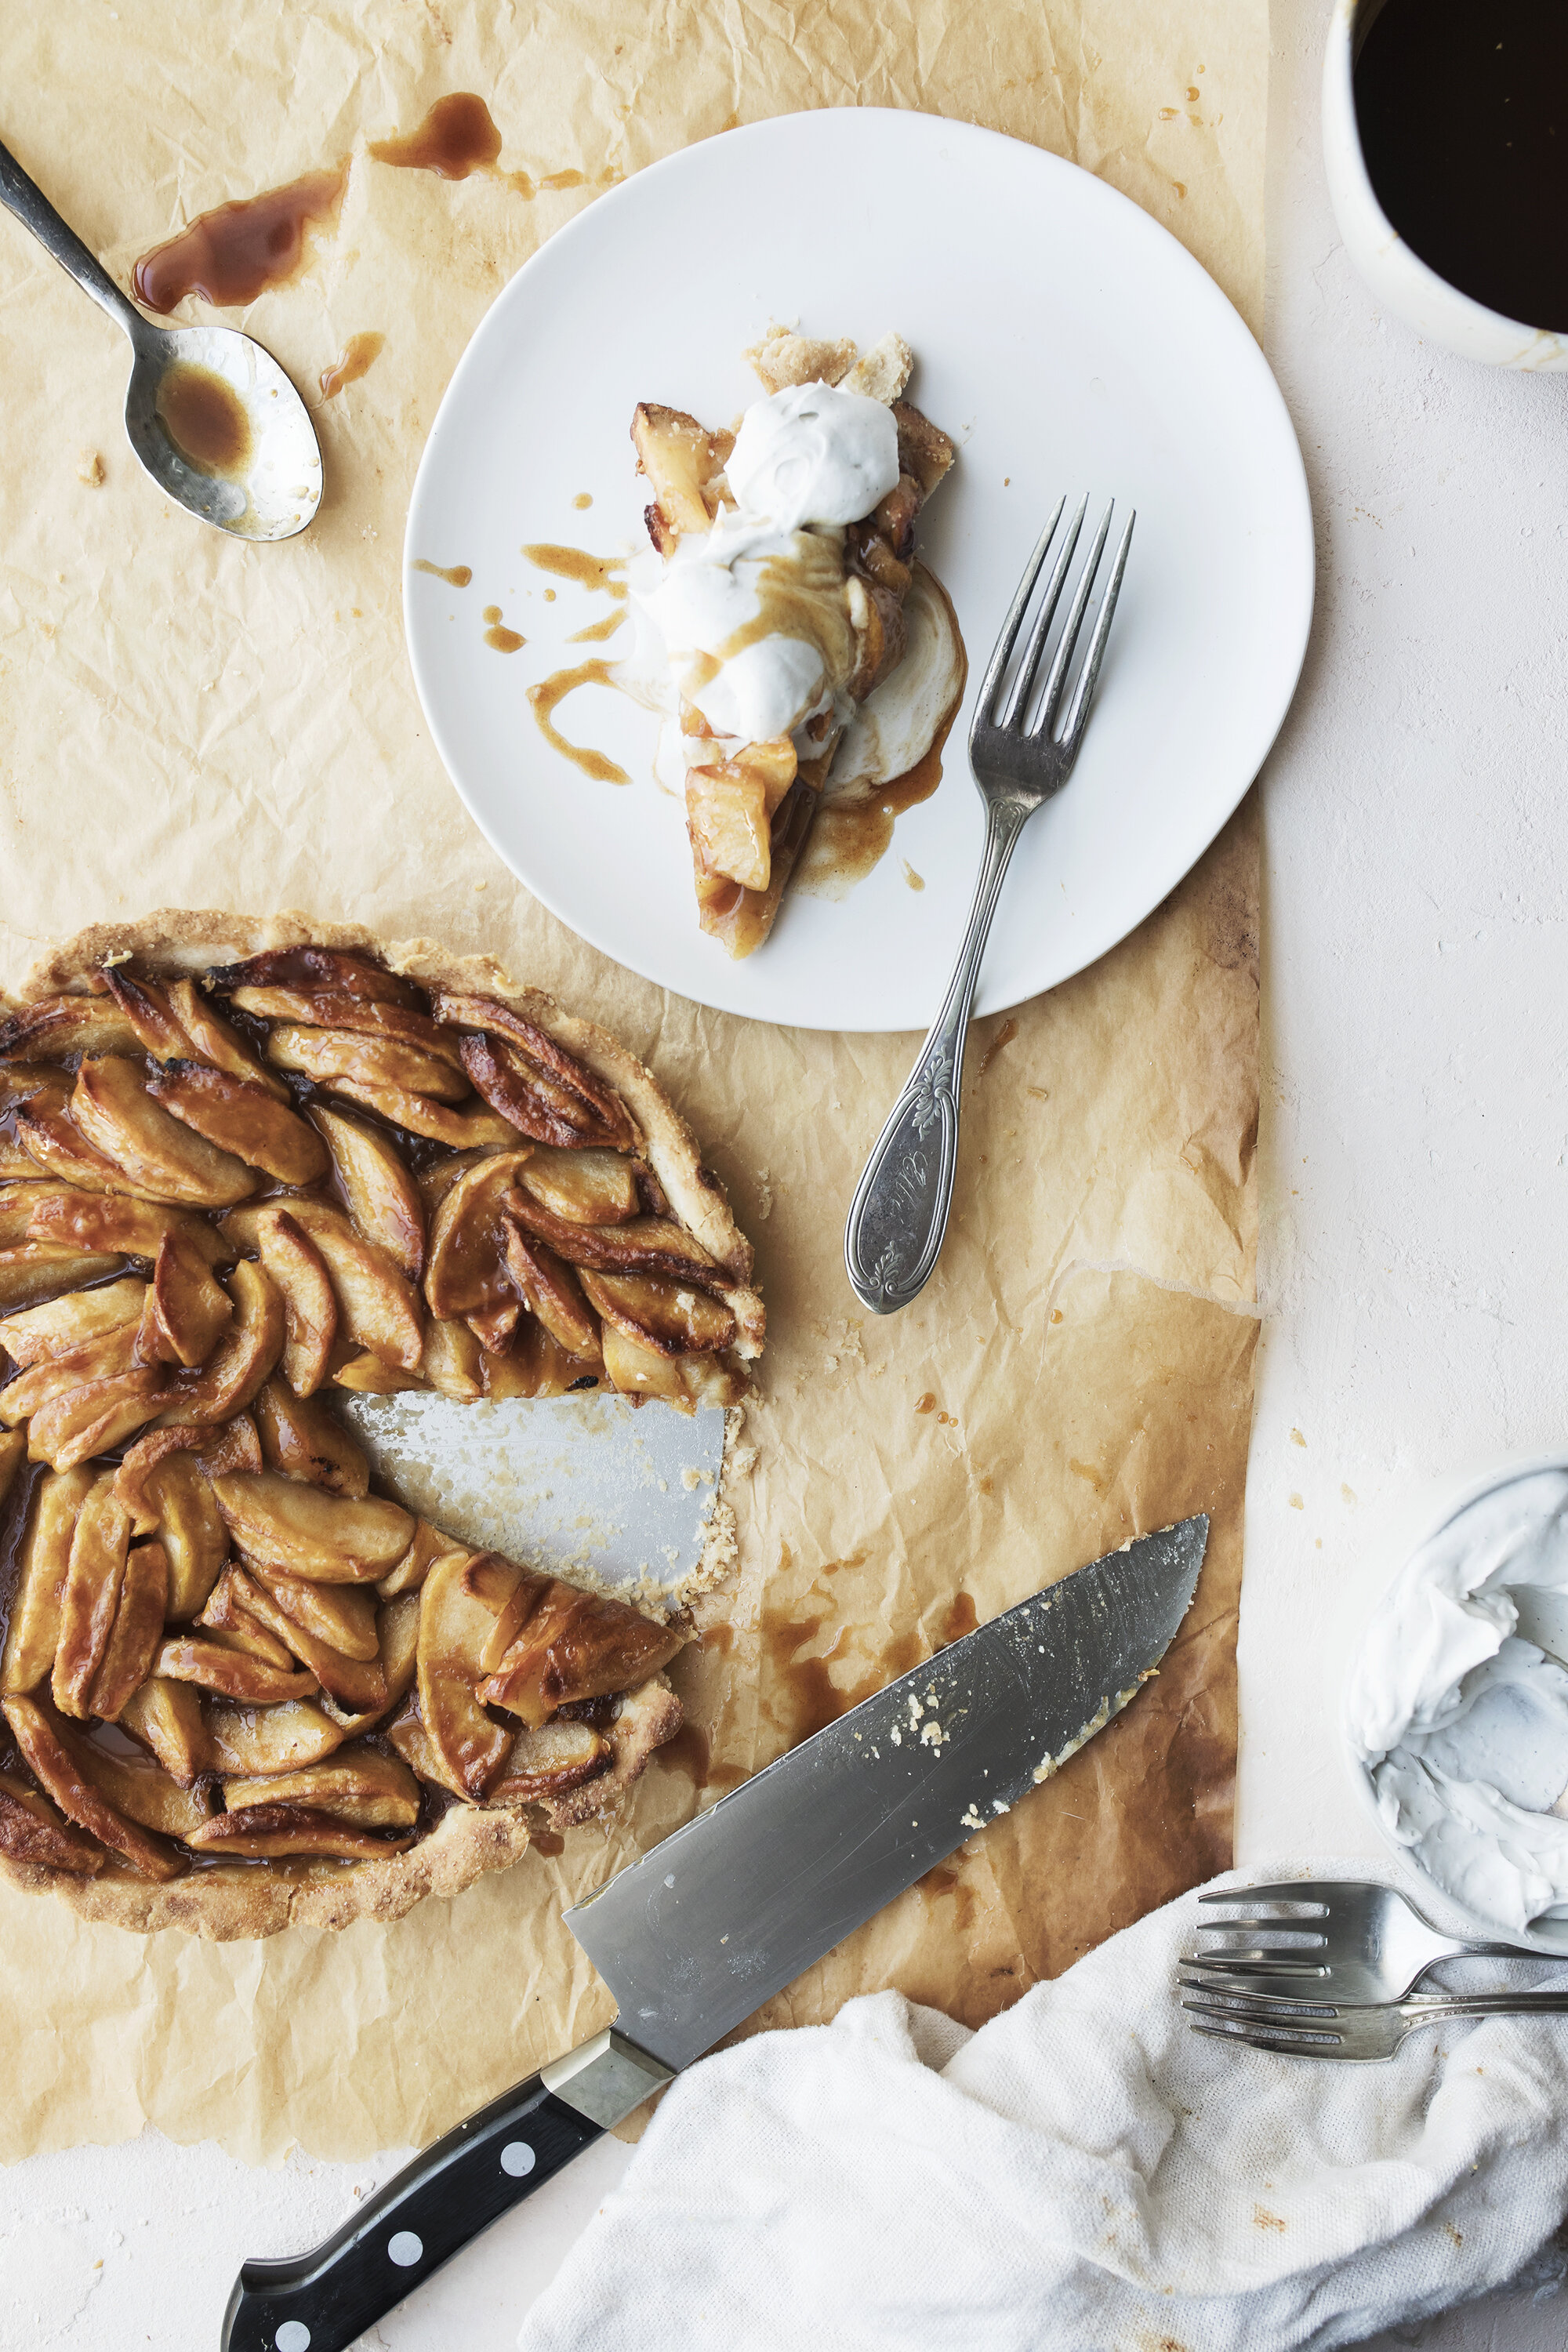
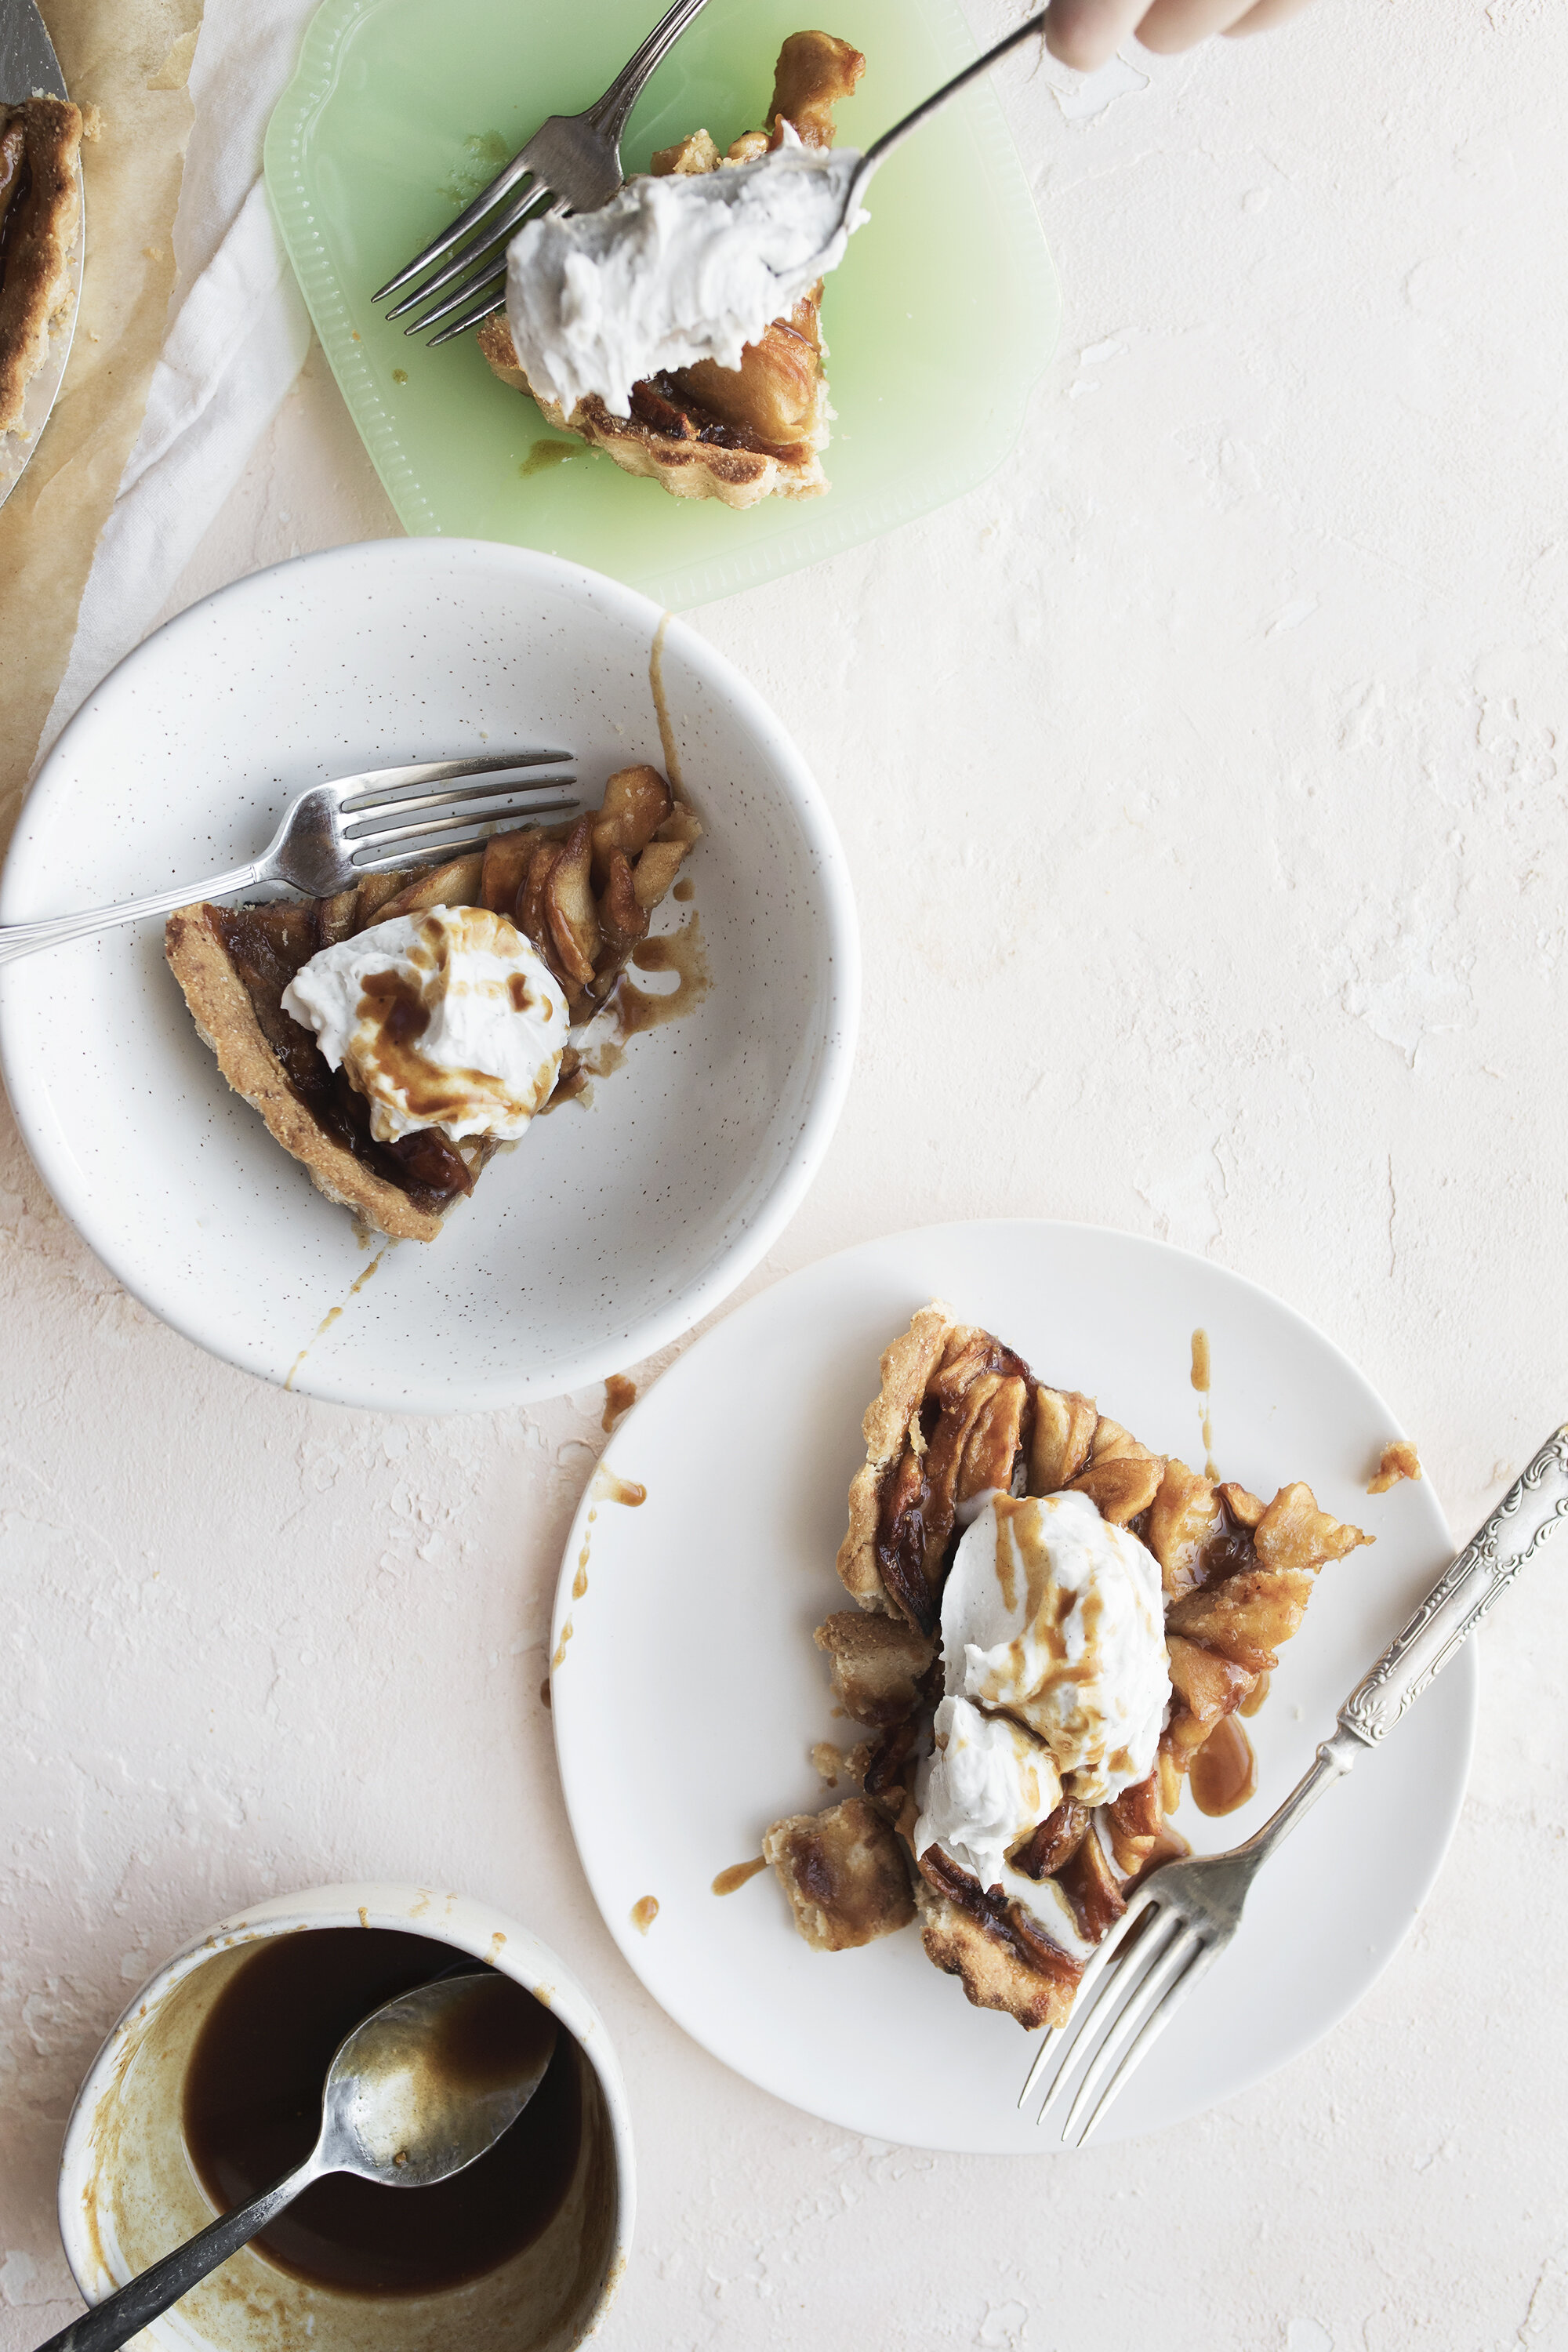
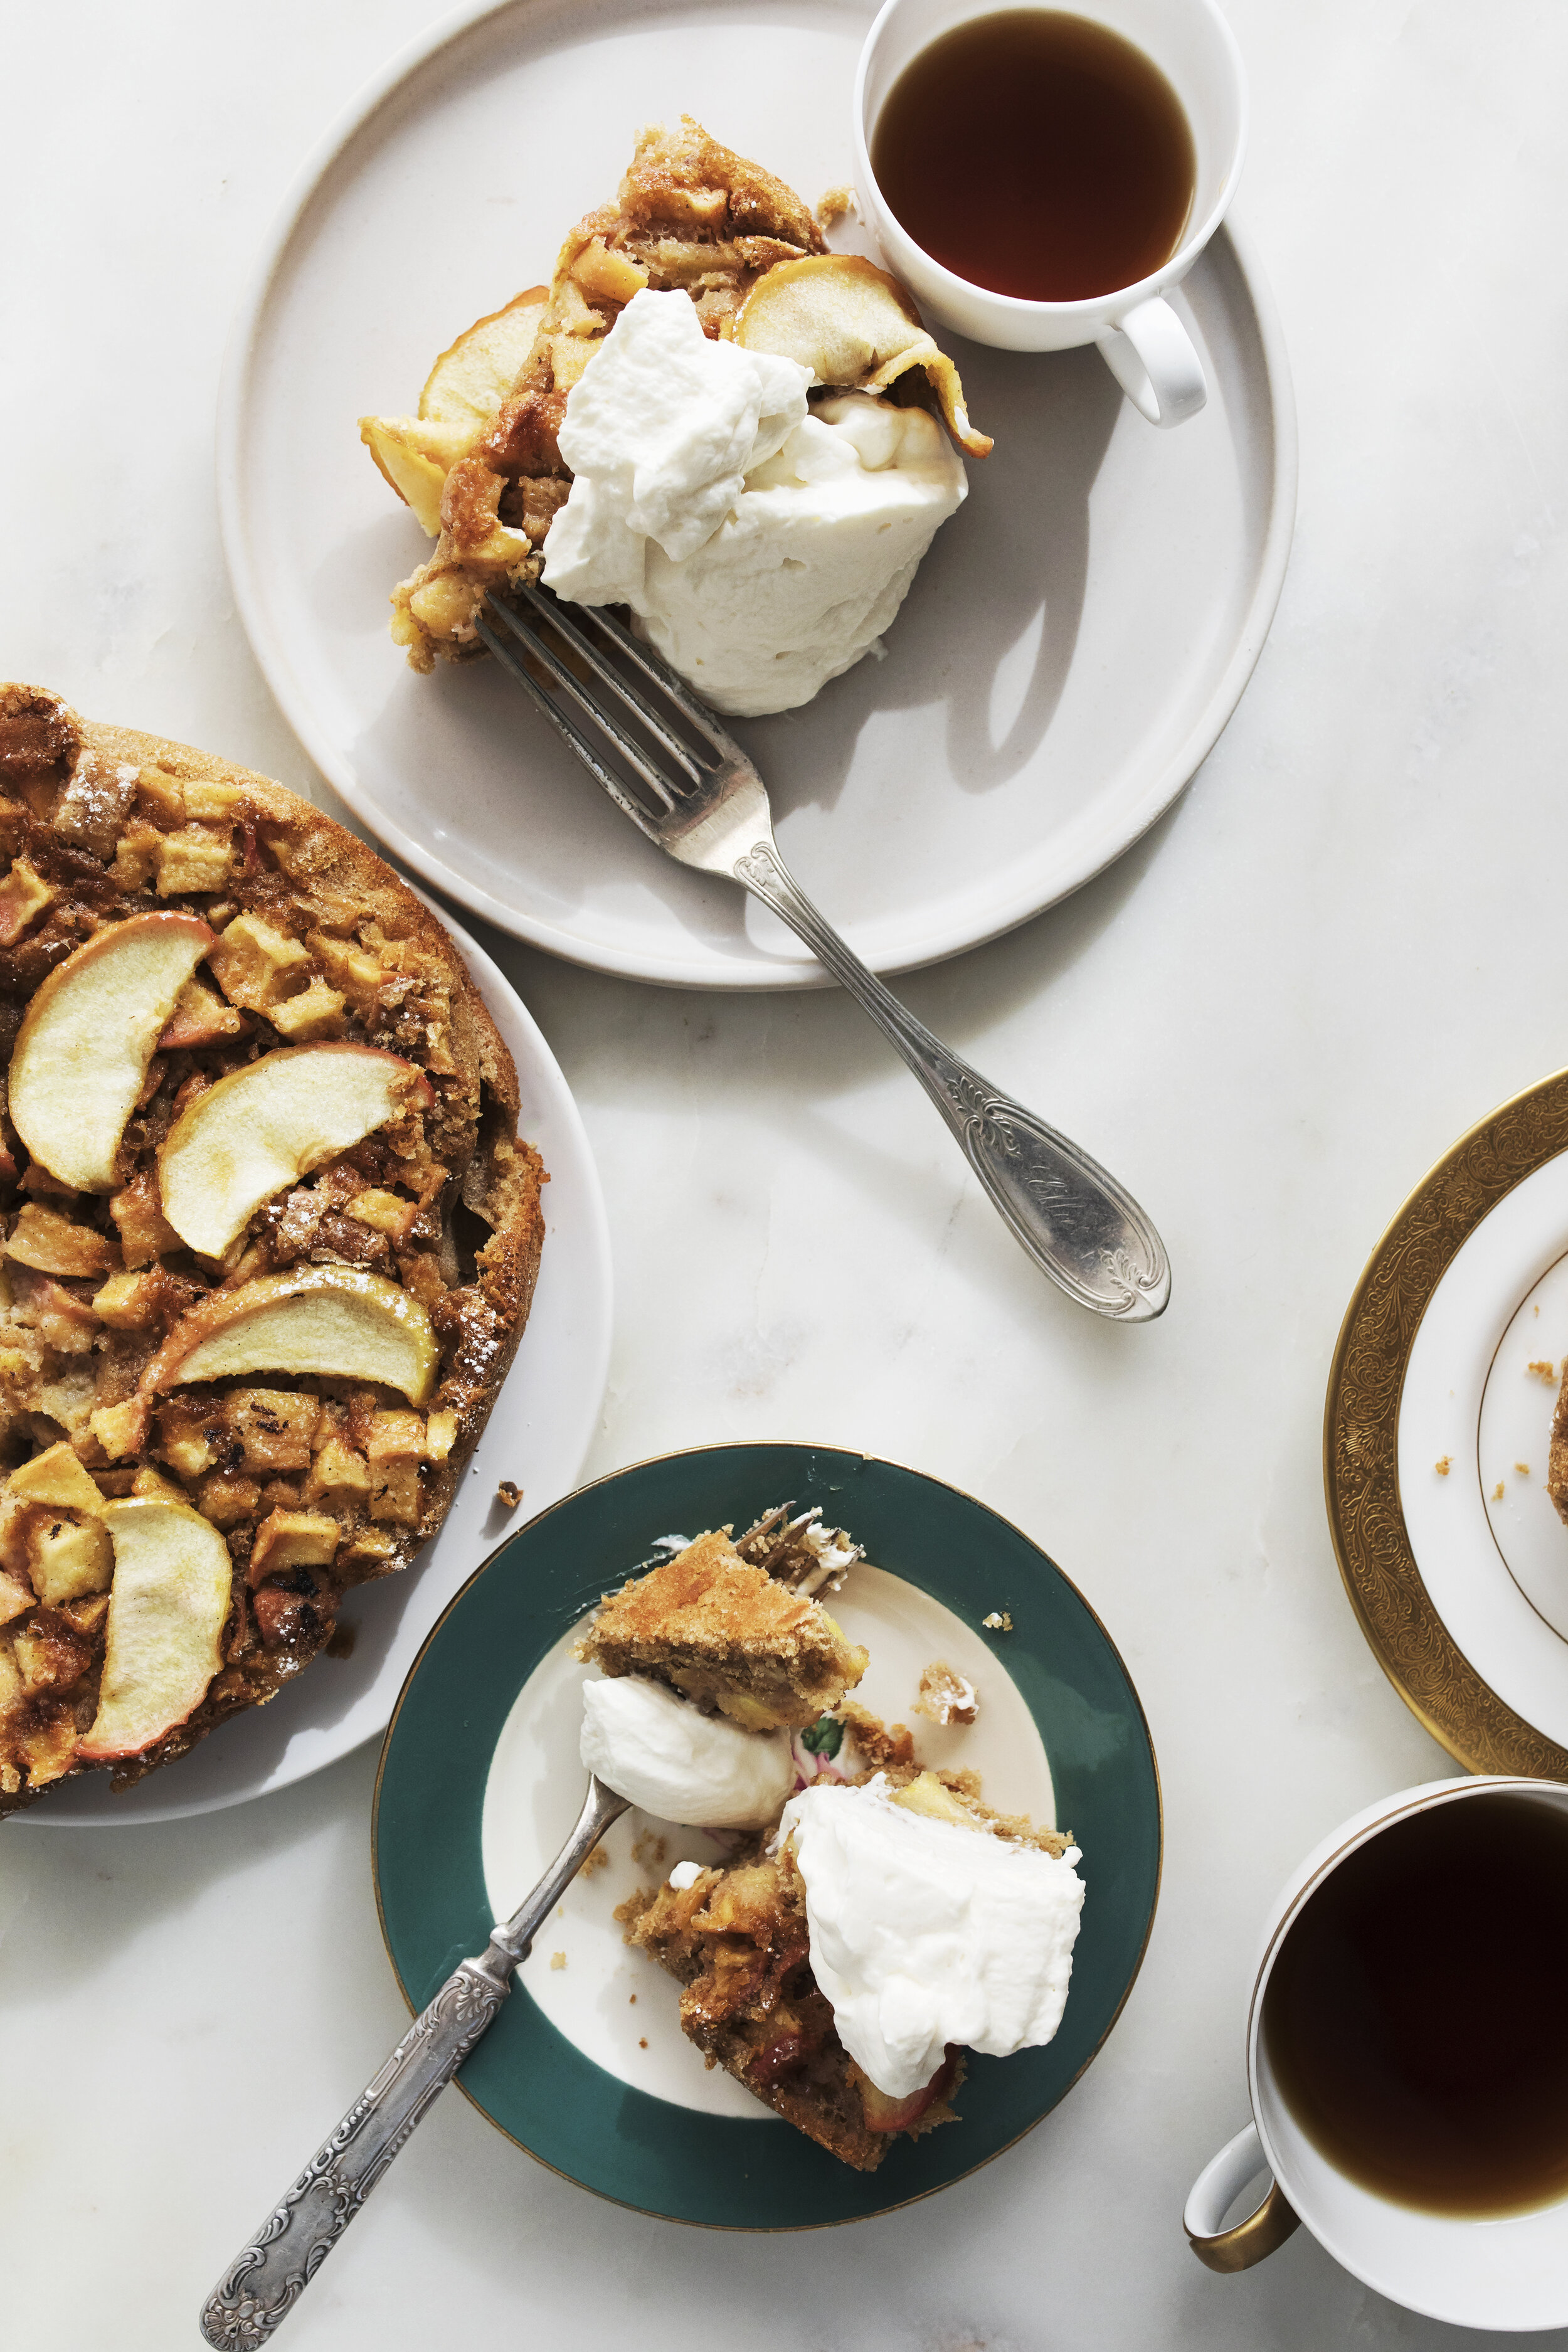
This season has been filled with full-ness, and I think I’ve finally surrendered to it forever being this way, because that is the art of raising kids, having a partner and running a business. Deep down, I think I may go a little crazy if things weren’t always in a state of bustle. In an effort to “ground” myself I made a gluten free apple spice cake, with whipped cream of course... And Scotch, because why not? My fridge was bare last week, because I was taken out by a nasty flu, which unfortunately I feel is still lingering around. I did however have apples, nutmeg, ground ginger, eggs and scotch whiskey. I must confess to you that I felt lazy, and didn’t peel the apples for the cake. Which, I feel it gives the cake a bit more bite to it. And best part, since the cake is baked at 400 degrees, feel free to roast your Sunday Chicken with it. Now lets bake a cake…


lifestyle portrait apple spice cake recipe


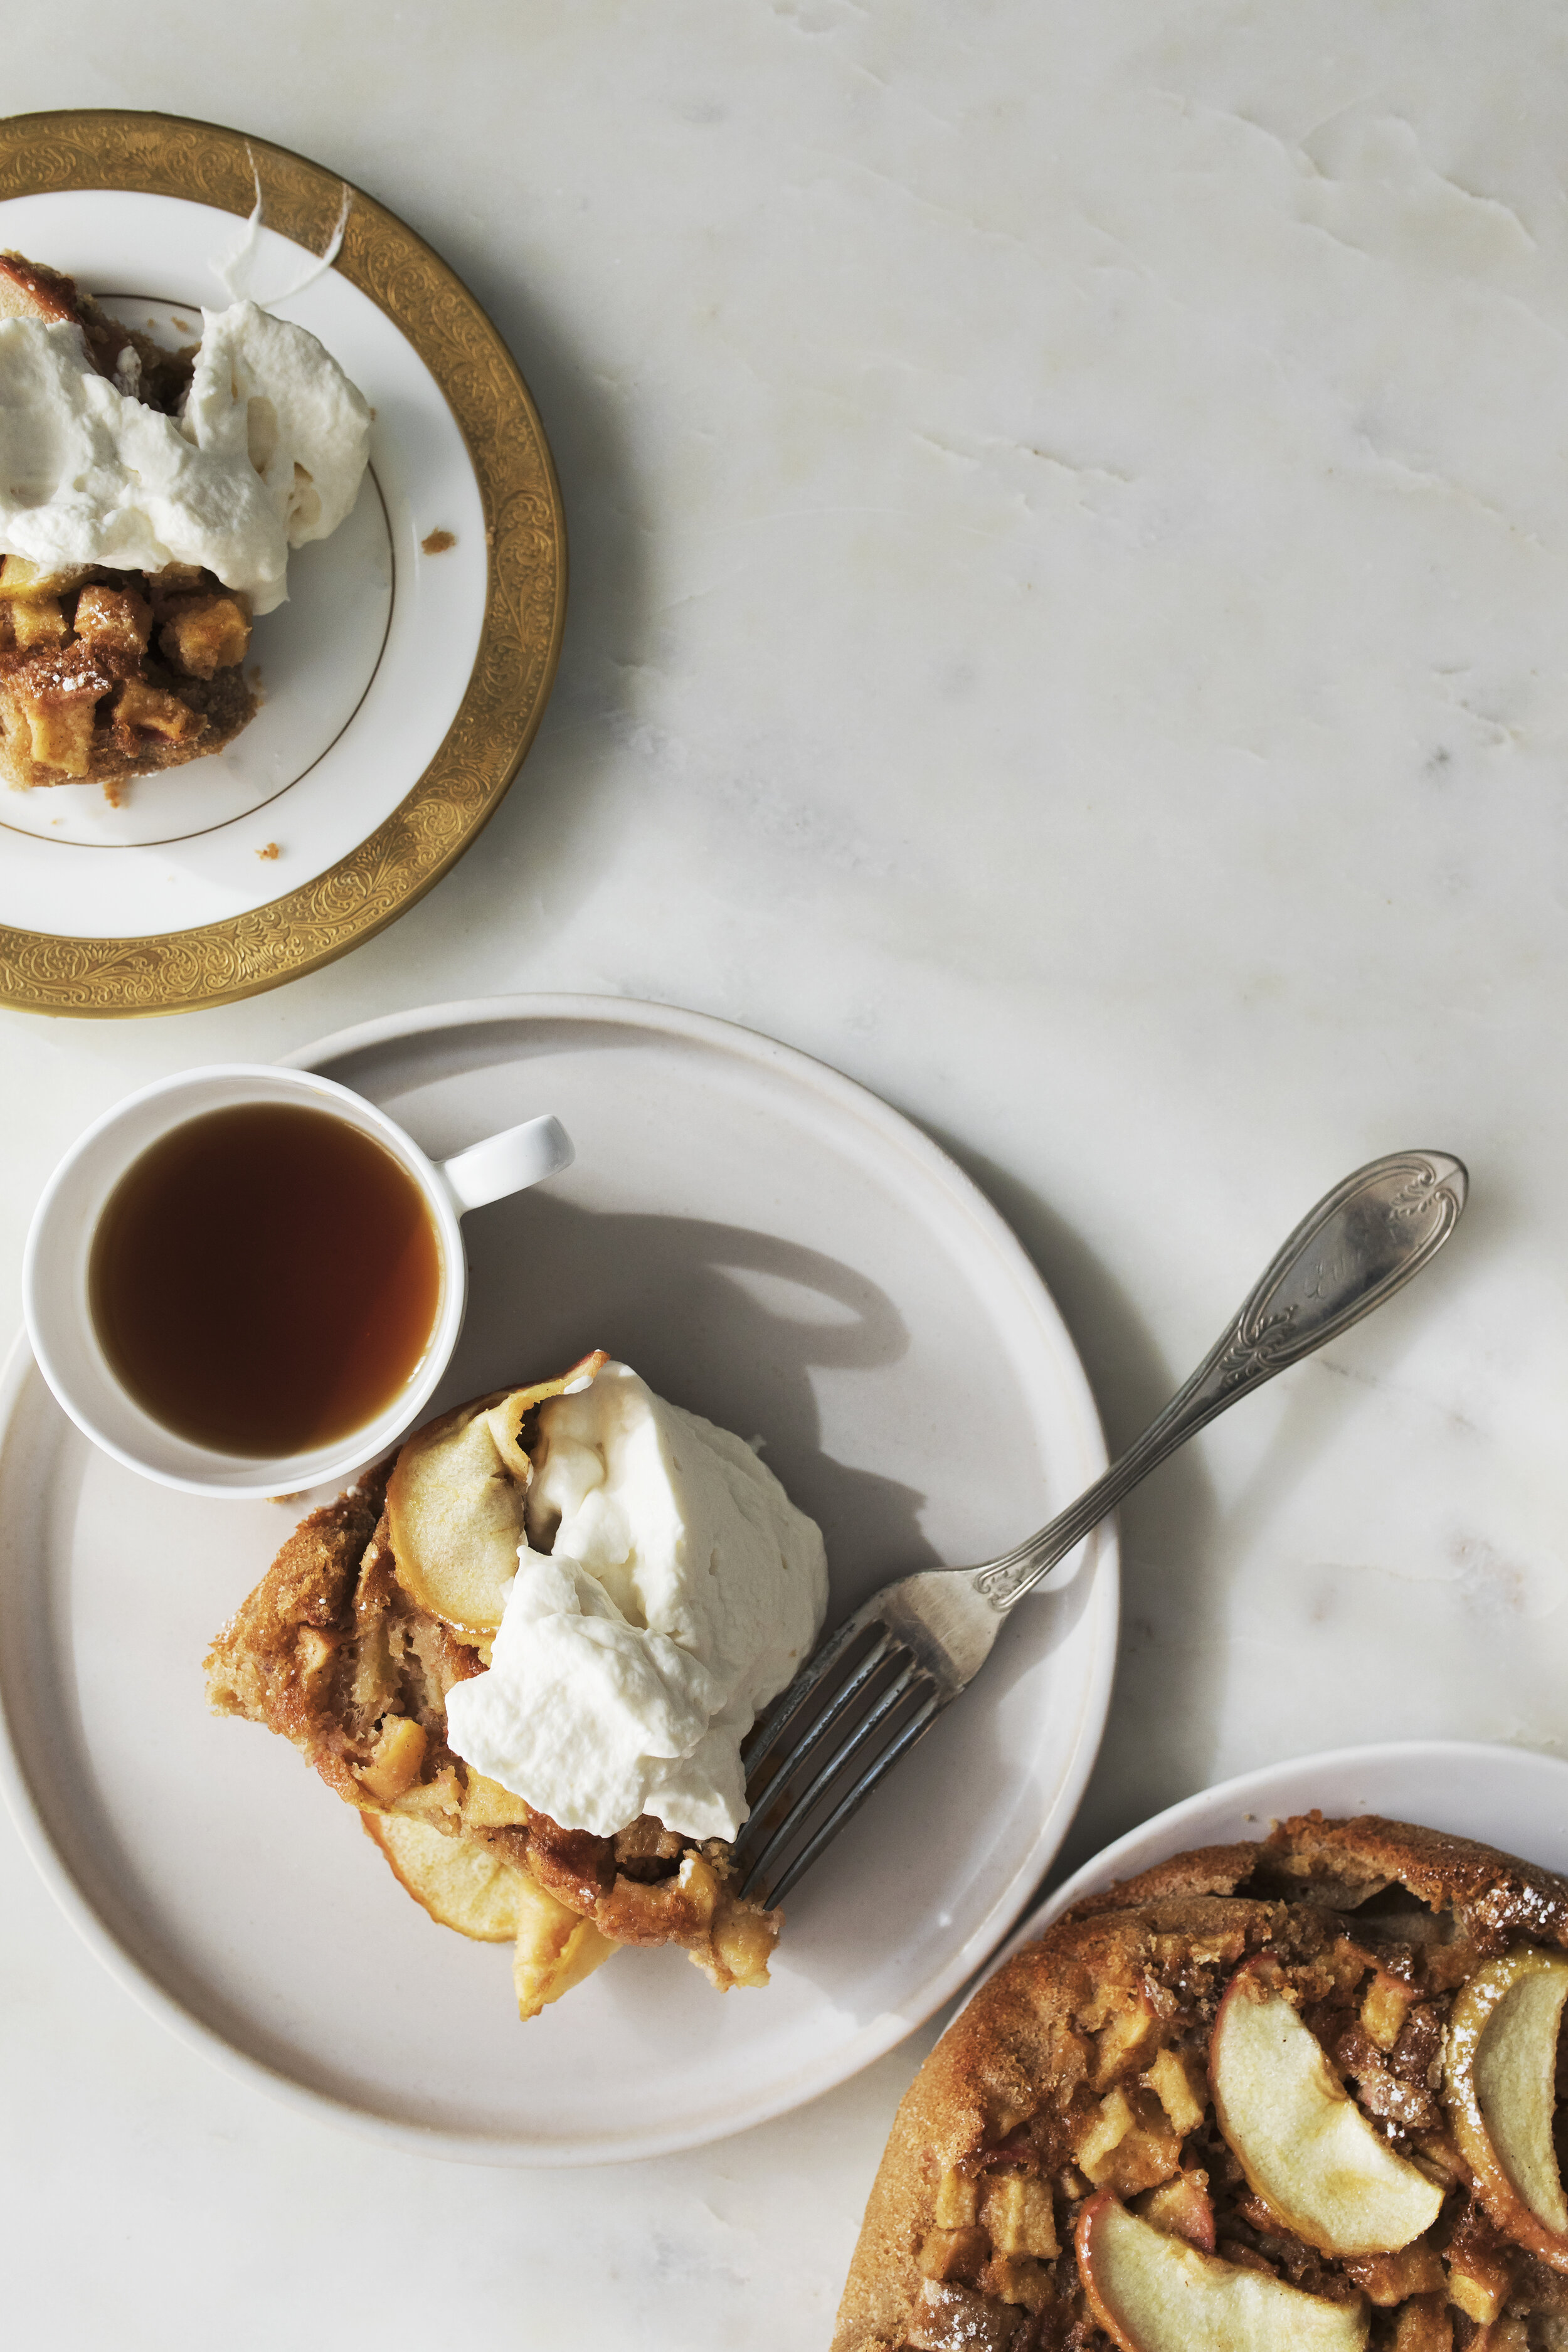
Apple Spice cake with whipped cream (Note: this cake is gluten free and dairy free. If for some reason you have an allergy to Scotch Whisky I would switch for another option, like 3 tablespoon of applesauce, or apple cider and Vegan whipped cream tastes just as good as the “real” stuff. )

INGREDIENTS:

  • 3 medium organic honeycrisp apples
  • 4oz ( ½ cup ) grapeseed oil
  • 2 eggs room temperature
  • 1 teaspoon vanilla
  • 1 tspn date syrup
  • ⅓ cup “vegan buttermilk” (to make mix 1 cup of full fat coconut milk, whisked with 1 tbspoon Apple cider vinegar)
  • 3 tablespoons Irish Scotch Whiskey
  • ½ cup plus ¼ cup brown rice flour
  • ¼ cup tapioca starch
  • ¼ cup potato starch plus more for dusting apples
  • ¼ tsp kosher salt
  • 2 tsp grated ginger
  • ¾ tsp fresh ground nutmeg
  • 1 tsp cinnamon
  • ¾ tsp aluminum free baking powder
  • ¾ cup organic cane sugar
  • 9inch metal cake pan
  • Parchment Paper
  • Non-stick spray
  • Stand mixer
  • Confectioners sugar for the top
  • Whipped cream ( vegan or traditional)

DIRECTIONS:

1.PRE-HEAT YOUR oven to 400 degrees F. Crack your eggs and put them in a bowl and set aside. In a 9inch metal cake pan spray with non stick spray, and line with parchment paper. It will need to come up the sides of the pan.(Press it down too). Measure all your dry ingredients, except the sugar into a bowl and whisk. Measure out the rest of your ingredients and get them in front of you. This is called “Mise en place” if you do this before you bake your cake it will go so much easier!

2.Dice and core 2 of your apples. Then thinly slice the 3rd one. Place your diced apples in a bowl, and coat with 1 tablespoon potato starch and 1 tsp brown rice flour. Toss around a bit with your hands.

3.In a stand mixer with whisk attachment, whisk your eggs until light and frothy about 2-3 min. Stop the mixer and add in your sugar, vanilla, scotch and mix for another 1-2 min until incorporated. Then add in half your flour mixture, and half the grapeseed oil, mix for about 1 min, repeat the last step.

4.With a spatula scrape the bottom of the bowl to ensure everything is mixed well, then fold in your diced apples. Pour your cake batter into the lined cake pan, and place your sliced apples on the top in whatever form you'd like.

5.Bake for 46 - 50 min until golden or a toothpick comes out clean. Let cool on a rack for 10-15 min until cutting open. Enjoy with confectioners sugar and whipped cream on top. **

**


Apple Tart | Gluten + Dairy free Recipe | Arizona food photographer Nicole Lee


CARAMEL APPLE TART 12web.jpg

Hello!

Baking is by far one of my guilty pleasures in life. I find myself gravitating towards the kitchen to bake when life seems a bit of a mess, or chaotic. I’ll admit with three children, one growing puppy, and a partner I’m doing life with there’s ALWAYS something going ON.

This past year I’ve been working on Gluten free PIES.My obsession began during last years commercial baking class I was taking. We had pie making as an assignment, we made fruit pies, cream pies, and even learned what BLIND BAKING was. The trickiest was having to make the crosshatch on top of the apple pie, by a miracle, I managed to pull it off!

During class we used gluten flour, which makes the baking process a breeze. Ever since, I’ve been trying to get the ratios just right with gluten free flours, in a dairy and non dairy version. I’ve had a Lot of fails and I’m happy to say this one turned out JUST right.

What I've learned more than ever is to slow down. Enjoy the process, because with these gluten free flours that's what it takes. And If you can be patient with gluten free dough, you’ll be able to be patient with anything going on ...like 3 kids, dog, and your partner you're doing life with :). Feel me?

PS this Apple tart recipe was inspired by Aran Goyaga’s recipe from her new cookbook out called Cannelle et Vanille. Which is beautiful and ever so functional! I put my own spin on the recipe and adapted. The link is below to purchase her book. Thank you Aran.

Now let's make a gluten free Apple Tart, which brings fall right to our doorsteps. Happy BAKING!

xox

-NICOLE


gluten free apple tart recipe fall baking

BAKING TIPS:

    • MAKE THE DOUGH at minimum 30 min ahead of baking. Up to 24 hours in advance in fine too.
    • Don’t preheat the oven until you are ready to bake your pie crust. The kitchen will get too warm, which makes your butter go soft.
    • STICK YOUR BUTTER in the FREEZER before you make the dough. ( about 10 min).
    • Stay calm if your dough crumbles, just stick it in the fridge.
    • Have an ice water bath for your fingertips while making the dough. ( we want our dough to stay cold, and butter so if you dip your fingers in they will stay cold too)

APPLE TART RECIPE | GLUTEN + DAIRY FREE

TOOLS YOU WILL NEED: 9inch aluminum removable bottom tart pan

INGREDIENTS:
PIE DOUGH INGREDIENTS:

  • 2 cups gluten free brown rice flour
  • ½ cup potato starch
  • ½ cup tapioca starch
  • ½ tsp kosher salt
  • 1 cup (8oz) vegan cashew butter (cold cut into cubes)
  • 6-7 Tbsp unsweetened cold ICE WATER
  • 1 cup ice water (for fingertips to dip in while making dough)

DIRECTIONS FOR PIE TART DOUGH:

NOTE: PIE DOUGH MUST BE MADE 30 min AHEAD of time (or day before).

Place your cold cashew butter into the freezer for 10 min while you measure out all of your dry ingredients.

  1. In a large bowl place brown rice flour, potato + tapioca starch, and salt whisk a few times to incorporate. In a seperate cup fill a cup with ice water. Add a few ice cubes to the unsweetened almond milk to keep it cold.

  2. With your hands gently mix the cashew butter and dry ingredients together until grainy. Add your almond milk and mix together until dough forms. Gently knead together ensuring not to over work. If it gets warm pop the bowl into the freezer for a few minutes and then re-work the dough. If it feels wet, add 1 tsp of gf flour to the mix, if feels dry, add 1 tsp of more of cold water.

  3. When the dough forms, cover it with plastic wrap and refrigerate the dough for 30 minutes. When it’s ready to be rolled out dust your work surface with gluten free flour, and roll it out with a rolling pin. If it cracks re-work the dough with your hands a bit. I found if my dough has been too cold it breaks apart, either because I left it in the fridge for too long or didn't add enough water. If you feel it's too cold when you take it out of the fridge, you could wait to roll it out too. Use your best judgement here. The good news is if it messes up you can re-work it and always throw it back in the refrigerator. Now,Make your apples

APPLE CARAMEL FILLING :

INGREDIENTS:

  • 5 large apples ( about 2.5lbs) pie apples, or honeycrisp
  • ½ cup organic cane sugar
  • 1 tblspoon organic raw sugar for dusting top
  • 2 tablespoons vegan butter ( if you aren’t using ANY cow butter make it 3 tblspoons vegan)
  • 1 tablespoon grass fed butter 2 tablespoons apple cider vinegar
  • 2 ½ tablspoons ground cinnamon
  • 1 tsp fresh ground nutmeg
  • 1 teaspoon ground ginger
  • 2 tablespoons lemon juice
  • 1 tablespoon of vanilla extract
  • ½ teaspoon kosher salt
  • 1 tsp maple syrup
  • 1 egg beaten in splash of almond milk (egg wash)
  • 1lb Dried beans or RICE (enough to overfill the pie)
  • 1 tablespoon of organic cornstarch
  • Parchment paper

DIRECTIONS APPLE TART:

TIPS: PREP everything first, measure out all your wet and dry ingredients.

  1. Take out your pie dough and preheat the oven to 450 degrees F. Get a baking sheet ready line with parchment paper.
  2. Prep your apples, peel, core and cut them in medium slices. About 8 slices per apple. Do your best to keep even, but honestly it’s okay if they aren’t. Place them in a bowl and add 2 tablespoons of lemon juice. In a small bowl, whisk together; apple cider vinegar, cinnamon, vanilla, nutmeg, ginger. Leave butter to the side.
  3. Using a large sauté pan place it over the burner, add the ½ cup of cane sugar to the COLD pan. Place the stove on medium- high heat, the sugar should start to melt. Stir around and if the sugar clumps stir around with wooden spoon until it's all combined. Add in the vinegar mixture and vegan ( butter & (grass-fed butter if using). As it bubbles, take off heat for a moment, stir, turn your heat to low and add in the apples. Evenly coat the apples and cook them for 6-8 min. Transfer the apples to heatproof bowl and keep the caramel sauce in the pan. While the apples cool BLIND BAKE your pie dough.
  4. Prep a 9inch aluminum pie/tart tin pan with removable bottom with non stick spray and gf flour. On a clean work surface like a counter or marble bakers sheet prep with gluten free flour. With rolling pin roll out your dough it to a circle.( Make sure your rolling pin has flour on it too). Take dough and press into your pan, evenly. It's also okay if it's not perfect this is a TART. They are meant to be wonky. Prick your tart dough all over with a fork. Place your tart on a baking sheet lined with parchment paper, place another sheet of parchment paper tightly over your tart. Then evenly distribute the dried beans over it. THIS IS called BLIND BAKING. BAKE for 15 min at 425 F.

  5. When you finish blind baking, let sit for 5-10 min with beans over it. Take off the beans, let that crust cool completly before cooking your apples. LOWER YOUR OVEN TO 325F.

  6. Mix in 1 tablespoon of organic corn starch to your apples until dissolved. Put your apples in your tart pan over the crust, take some of the carmel drizzle and pour an even coat on top, along with sprinkles of raw sugar to your liking. Brush the crust with egg wash. Bake for 30-35 more min on 325F or until golden brown. Let cool for 10 min + Serve warm with whipped cream or vanilla ice cream. Or cool completely for the crust to settle.


apple tart recipe gluten free fall baking

ARANS BOOK :

PIE TIN I LOVE:

GLUTEN FREE FLOUR:

INSPIRED BY HISTORY CHANDLER ART MUSEUM WORK | PHOTOGRAPHED + STYLED BY Nicole Lee


Hi Friends, this Summer I created some new work for Chandler Art Museum. This show was such an honor to be apart of, and if your local go see it in person! If not enjoy the images below. (To see these photographs in person, they will be up at chandler art museum until October 31st, 2019.)

TITLE CARD: "Beautiful Insects"
2019 Digital Color Prints

“Insects are typically disgusting, and we work hard to eliminate them. This piece draws on the idea of looking at nature in a different light. Instead, inviting these insects into the picture again. “

x

Nicole


beautiful insects still life

beautiful insects still life

SUNDAY SAUCE WITH TURKEY HERB MEATBALLS | RECIPE | RECIPE + PHOTOGRAPHY BY NICOLE LEE


When I was a little girl Sunday’s were for sauce. Growing up with two Italian parents one of them would always had a pot of sauce simmering for hours every Sunday. My mom would make hers with, meatballs, onions, and so much garlic one would smell of it for days. My dad, would cook his sauce with a mirepoix, (carrots, onion, and celery) garlic, and use meat like veal, and pork to get his unique flavor. Both good. I can still smell the aroma from my childhood. 

As the sauce would simmer away in the kitchen, my sister and I would hover over it. Dying for my mother to tell me it was “almost ready” for tasting. When It was I would get a big bowl and scoop it up with bread. It was HEAVEN. Then we would wait another few hours for it to simmer some more before diving in with pasta, and finally getting those meatballs! 

Every Sunday, I mean every SUNDAY through every season of the year was like this. In the hottest of Summers Sunday Sauce was always brewing. My parents would take turns cooking it, or even made it together. Now, I try to do the same for my own little family, and here is a quick version for you!


let's go make some SUNDAY SAUCE! 

Happy Cooking friends. 


Sunday sauce recipe gluten free

*QUICK SUNDAY SAUCE WITH TURKEY HERB MEATBALLS


INGREDIENTS:

Sauce:

12 oz of Bianco Crushed Tomatoes ( or san marzano crushed tomatoes)
1 cup bold red wine (dry)
1 white onion
1 celery stalk
1 finely chopped carrot
1 bay leaf
1 bunch fresh thyme
Crushed red pepper
Diamond kosher salt + Ground Black pepper to taste
1 bottle EVOO on hand
1 bulb of garlic

Herb Turkey Meatballs:

1lb organic dark turkey meat
1 organic pasture raised egg
2 tablespoons organic hemp hearts
2 tablespoons nutritional yeast
½ cup gluten free rice crumbs or handmade breadcrumbs
Garlic powder
1 large bunch basil
1 bunch fresh mint
Fresh ground pepper

Pasta:

1lb dried gluten free spaghetti noodles ( or traditional spaghetti noodles) Cooked to package directions, tip: don’t forget to salt your pasta water!

Pecorino Romano cheese for topping

DIRECTIONS:

PREP ALL YOUR INGREDIENTS FOR SAUCE AND MEATBALLS. We aren’t cooking yet we need to get things measured and in front of us. This is called Mise en place.

Prep the sauce: Open your can of tomatoes. Roughly chop your onion and celery. Finely chop your carrot and thinly slice 4 cloves of garlic. Set aside everything in a bowl except the garlic. Put garlic in another bowl or keep on cutting board. Set everything aside and prep your meatballs.

Prep the turkey herb meatballs: Gently roll a big handful of basil together, and chop it you should get about 2 tablespoons. Chop your mint. Set aside together. Measure out the remaining ingredients for the meatballs. Next, In a large bowl put your ground turkey, lightly chopped basil + chopped mint, 1 tsp garlic powder, bread crumbs, nutritional yeast, hemp hearts, egg, 1 tsp olive oil and salt and pepper to taste. With your hands mix all together until mixture is combined.

Then roll out into medium size balls with your hands. Place on a plate or parchment paper lined tray. Put a large deep skillet on medium heat, once hot add in some olive oil, start cooking your meatballs. About 2-3 min on each side, until they are a slight golden color. Its okay if pink inside. As the meatballs finish cooking, place on a plate lined with a paper towel. This is to catch the excess grease. Do not rinse your skillet keep- all the grease for the sauce.

SAUCE:

In the same heated pan, sauté your carrots onion and celery add salt and pepper. Once translucent in color, add your sliced garlic. Add crushed red pepper flakes ( as many as you can handle, I like a lot) Once the garlic is fragrant, add your can of tomatoes, salt and pepper to taste. Then the cup of red wine. Simmer on medium high heat until bubbling. Add your meatballs back into the pan, add in full bunches of thyme. Lower your heat to medium low and pop a lid to cook for about 30 min- 1 hour. Stirring occasionally until the sauce has become thick. If it's slightly acidic you can add more wine or salt, be sure to taste as you cook, so you know how much salt and pepper to add in!

Cook your pasta at the 30 min timer has gone off to the package directions.

Once pasta is finished right from the pot place the pasta into the skillet with your meatballs, add in some olive oil ( about 1 tablespoon) fresh basil and pecorino romano cheese. And dish up to enjoy!


pasta sauce recipe gluten free

STRAWBERRY RHUBARB CRUMBLE RECIPE || GLUTEN FREE + VEGAN | BY NICOLE LEE


Hi Friends,

When Rhubarb comes into season, I find myself terrified of it. I know dramatic right? I have this push pull relationship with it, I want to try it but I don’t... is it a fruit or a vegetable? Not sure if it’s the long stalks that resemble celery? Wait, it’s poisonous?

Lately, I have been trying to FACE the scary things in life and the kitchen. One of the most pressing fears I’ve been avoiding like the plague, is cooking with ingredients I’m unfamiliar with. The ingredients look scary or hard to work with, I tell myself that I can’t do it, and freeze up. That mentality has me stuck, and I don't want to be stuck anymore. HENCE facing The RHUBARB FEAR. It’s weird as it sounds that cooking could be fear based, but sometimes that’s how things comes up. These days I find I learn most about myself through cooking, can you relate?

Part of the journey in facing the scary thing, is to Acknowledge the FEAR - “RHUBARB scares the shit out of me!” Recognize, checking in with yourself and asking, is it a thought or Story I’m telling myself? What’s the truth here? My Truth, ‘I felt that If I fucked up cooking with rhubarb on the first try I would be a failure”. After sitting with those questions, I realized I told myself a STORY. WHAT a STORY I told myself indeed, and why do I need to put that pressure on myself?

NEW MONTRA, GIRL you’ve got this, COOK the damn thing and GET ON WITH IT.! You may fuck it up, but WHO cares it’s no big DEAL. Here is the thing, the best part of cooking is the failure, trying new things, it’s not about PERFECTION but the journey in getting to the destination (or final dish in this case) I realized that sometimes scary things aren't as scary as you thought they were. It’s that simple.

What are the stories you’re telling yourself right now about cooking? Or about life? Keep going friends. x

Now let's COOK!

X

Nicole


Tips for cooking with RHUBARB;**

-When picking your Rhubarb, don't skimp. Make the extra trip to the farmers market, they have the good stuff. Look for deep tones in the stalks, deep red + pink. If they are pale they were picked too soon, they won’t be rich in taste.

-DON'T eat the LEAVES, they are poisonous. Clean the stalks and discard the leaves.


STRAWBERRY RHUBARB CRUMBLE RECIPE

INGREDIENTS:

For the filling;

  • 2 cups chopped rhubarb, cleaned and leafs discarded
  • 2lbs cleaned and chopped strawberries
  • 1 tablespoon lemon juice
  • ¼ cup organic coconut sugar
  • 1 tsp organic vanilla extract
  • 1/4 teaspoon ground nutmeg ( add one ½ tsp if like spicy)
  • 1/4 tsp ground cinnamon
  • 1/4 tsp ground ginger
  • pinch of pink salt

* For the topping;

  • 3 cups gf rolled oats
  • 1 stick of vegan cashew butter COLD (I use MiyoKo’s brand)
  • 1/4 cup coconut sugar
  • 1 tsp vanilla
  • 1/4th tsp ground cinnamon
  • ¼ ground ginger
  • 1/4 tsp ground nutmeg
  • 1/4 cup gf flour

TOOLS YOU WILL NEED: Non stick spray, a 9x9 or 9x8 baking dish, bowls for mixing the topping.

DIRECTIONS;

  1. Chop your strawberries and rhubarb set aside. Measure out all your ingredients and set aside. Pre- heat the oven to 350 degrees. In a medium dutch oven or saucepan put over medium heat, then cook your rhubarb with ¼ cup sugar. Until they are tender, turn your stove off and add in your chopped strawberries, lemon juice, pinch of pink salt, spices and vanilla. Give it a good stir. Set aside.
  2. Prep a baking dish with non stick spray, (9x9 or 9x8 works great). Make sure its deep. Set aside.
  3. In a large mixing bowl add all your topping ingredients EXCEPT the VEGAN BUTTER. Give a light mix with a spatula.
  4. With your hands break up the cold butter into your topping ingredients bowl. It doesn't have to be perfect, and you're looking for a small chunk type texture. Do this until all the butter is mixed in.
  5. Pour your filling into the baking pan. Then sprinkle your topping on top until it's coated evenly.
  6. Bake in the oven for 20-35 min at 350 degrees. Let cool on a cooling rack for 15-20 min and then serve with vanilla ice cream, whipped cream, yogurt or creme fresh!