EASY DIY VALENTINES BOX | RECIPE || PHOTOGRAPHER NICOLE LEE ||


Hello friends,

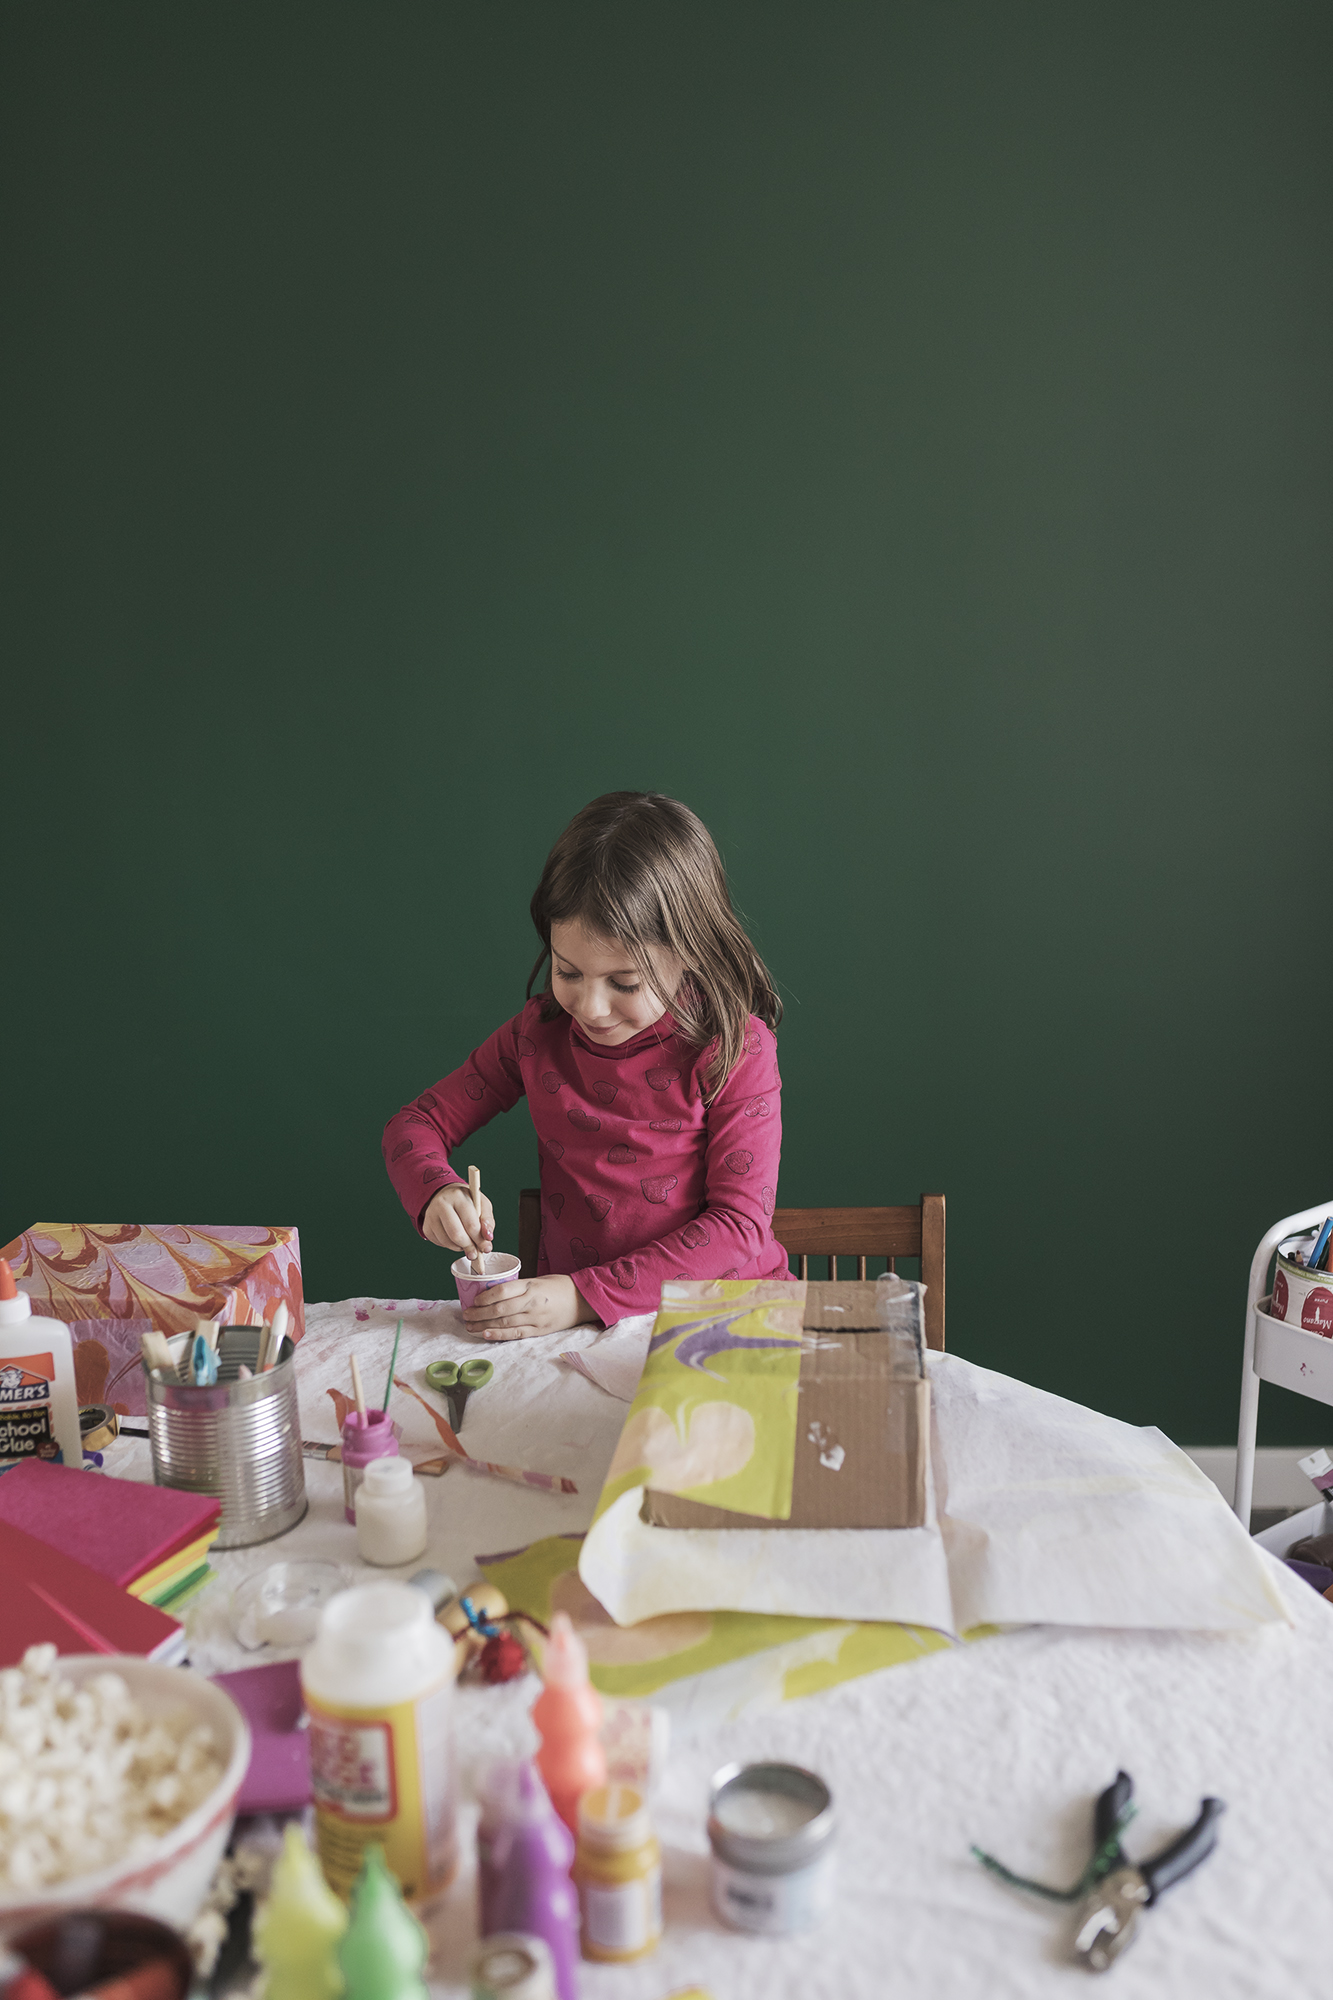
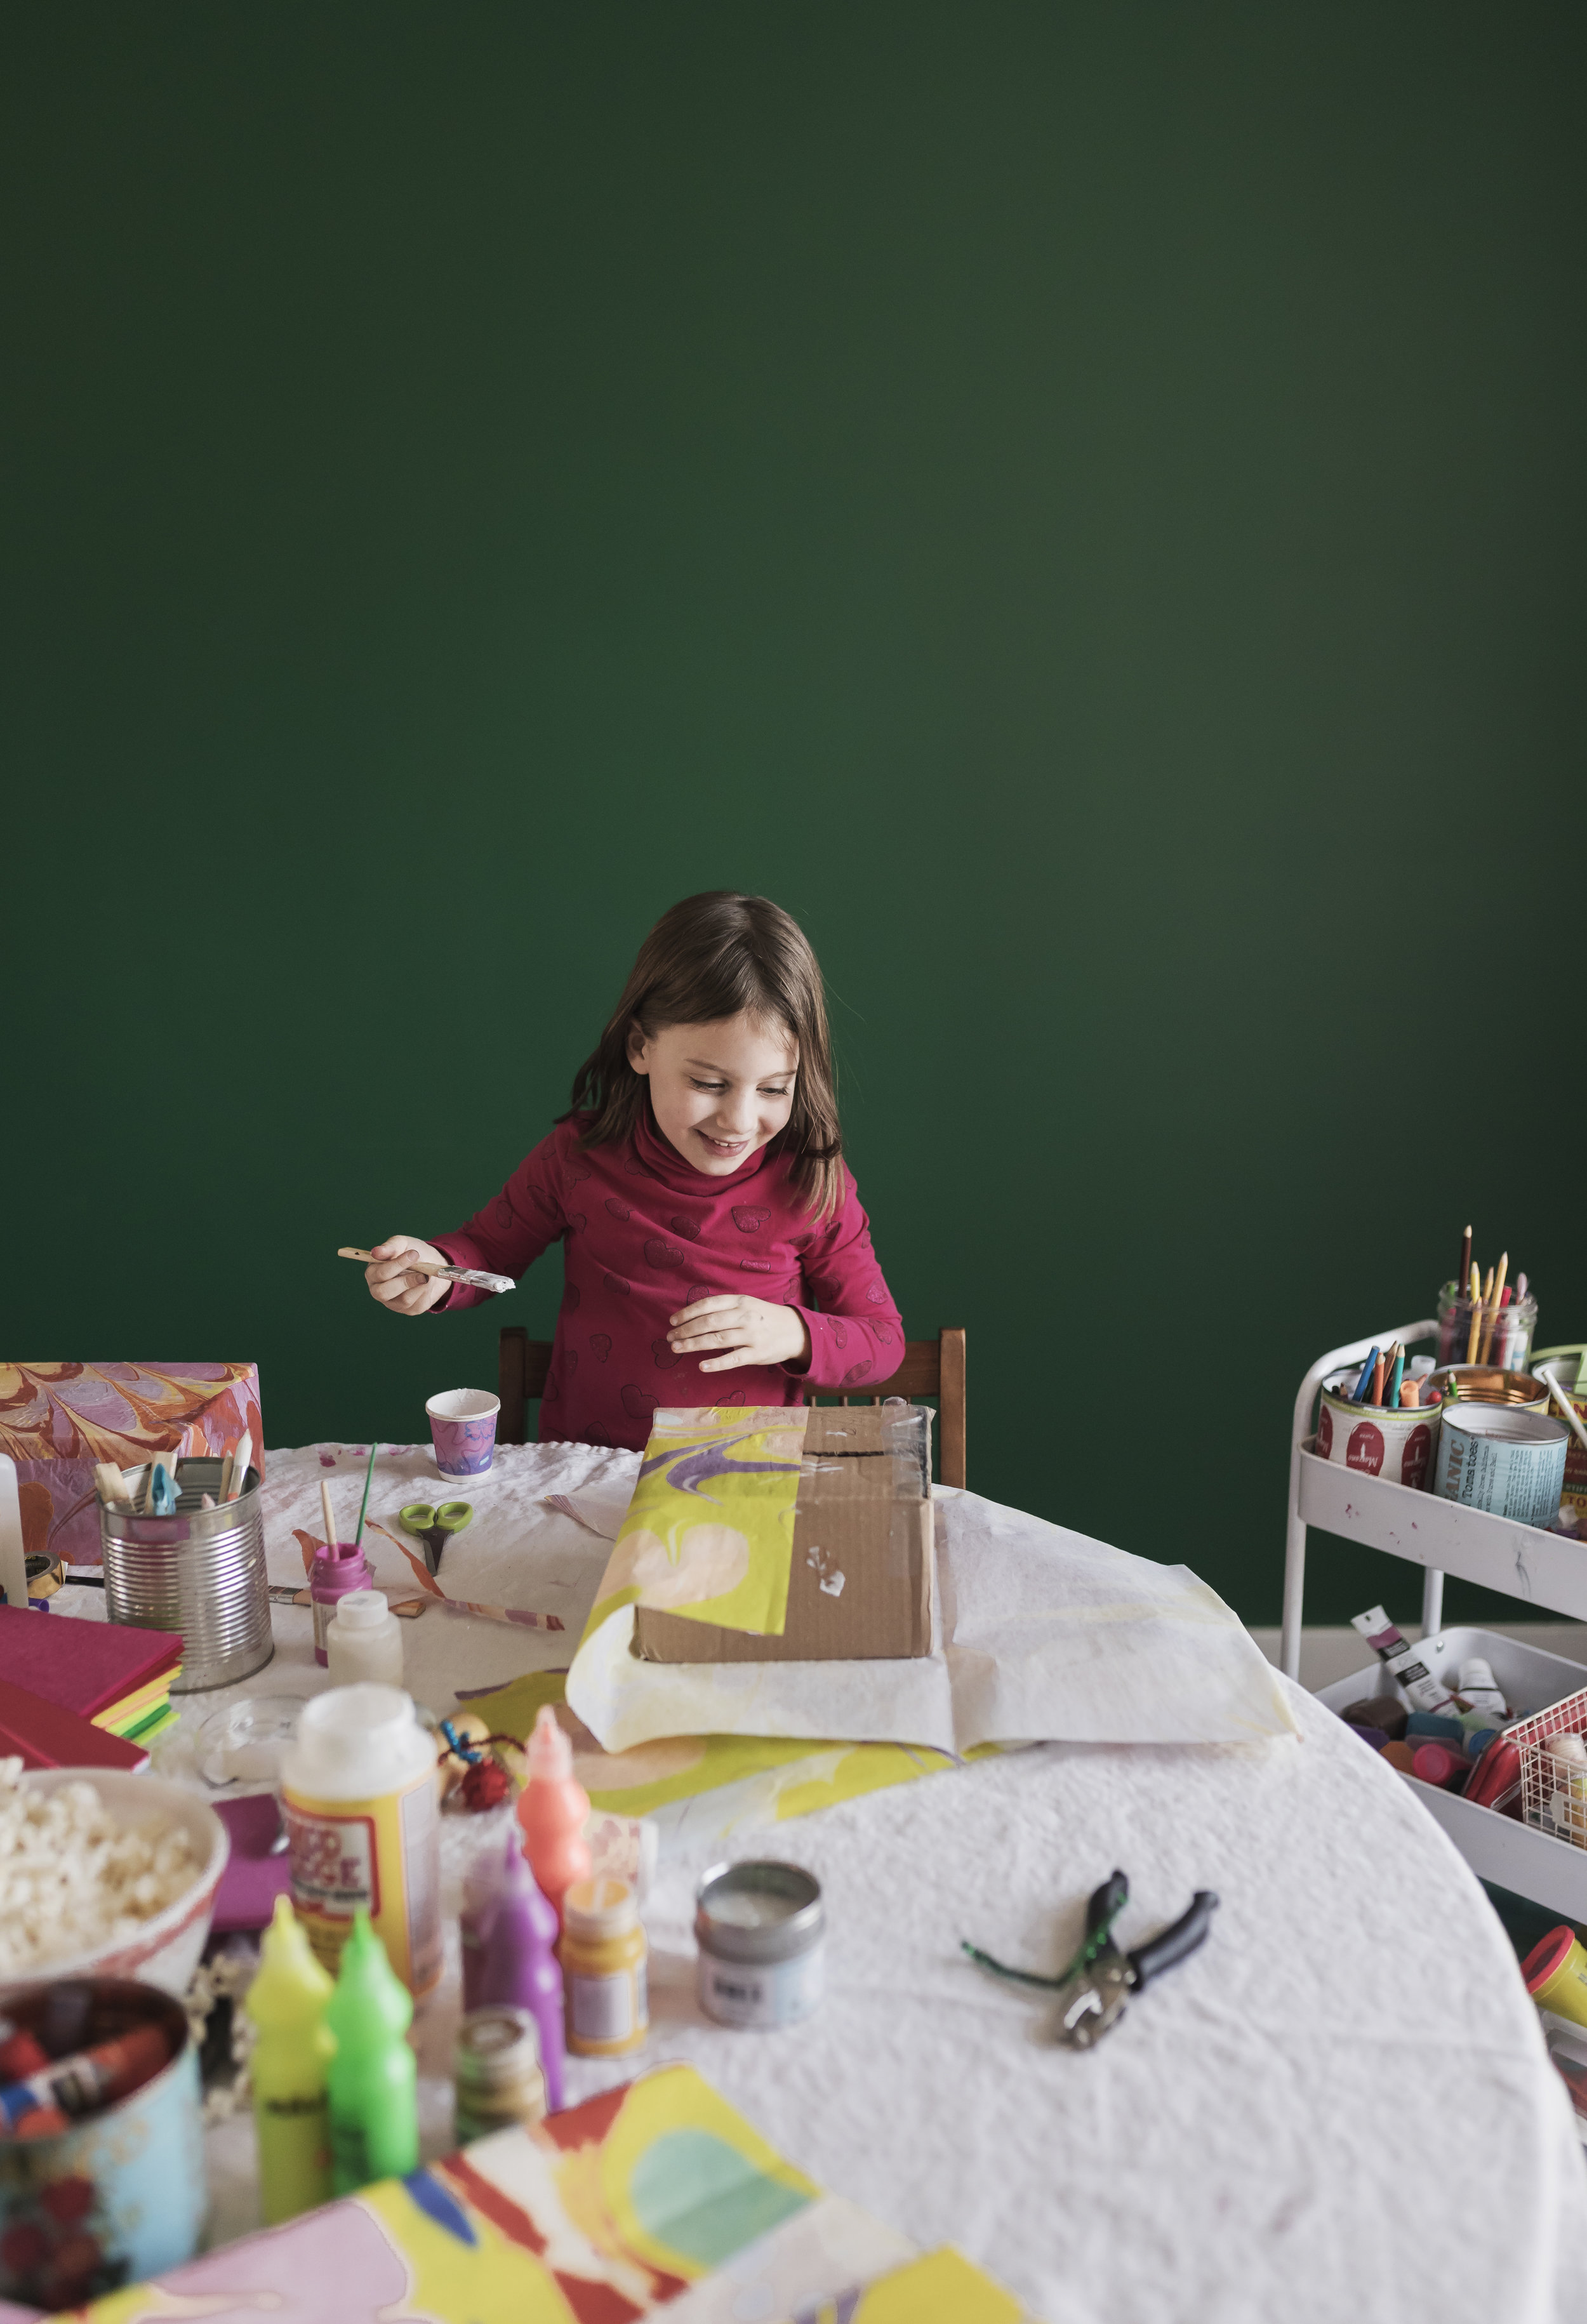
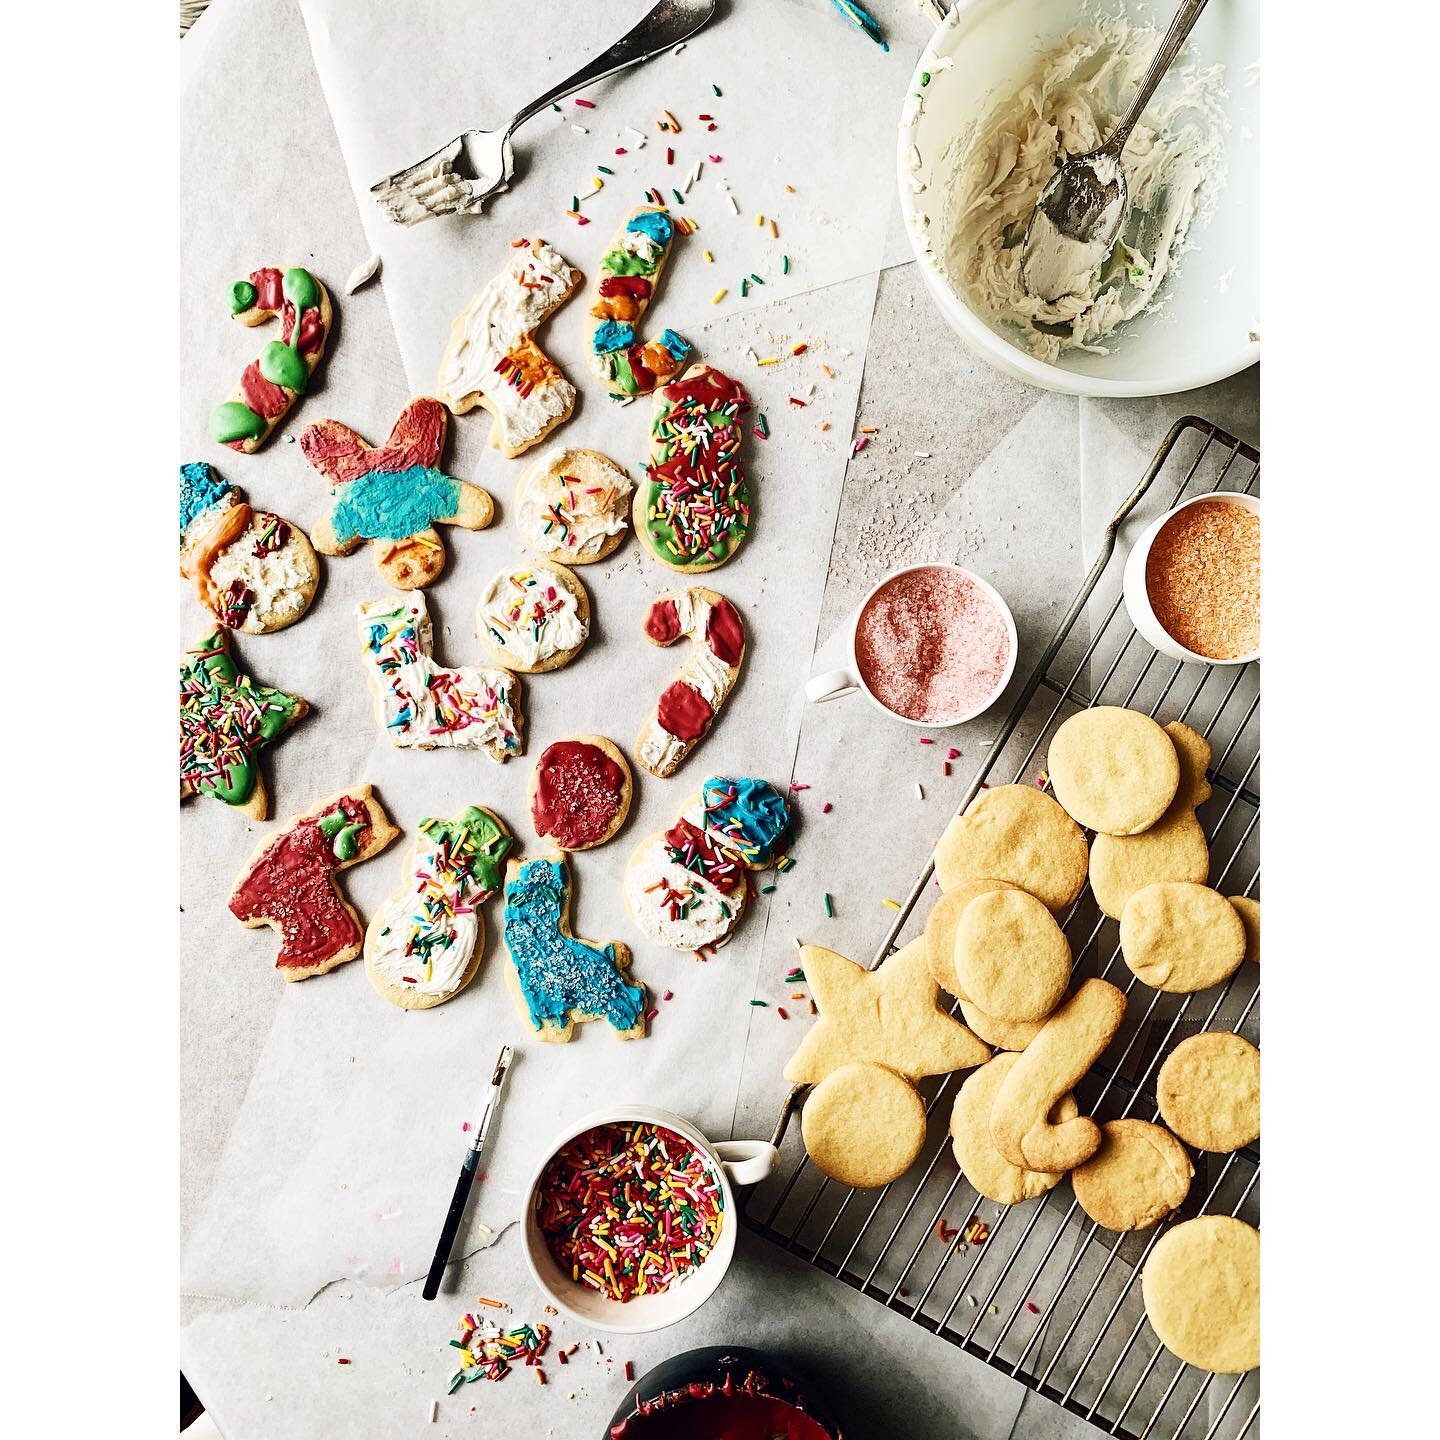
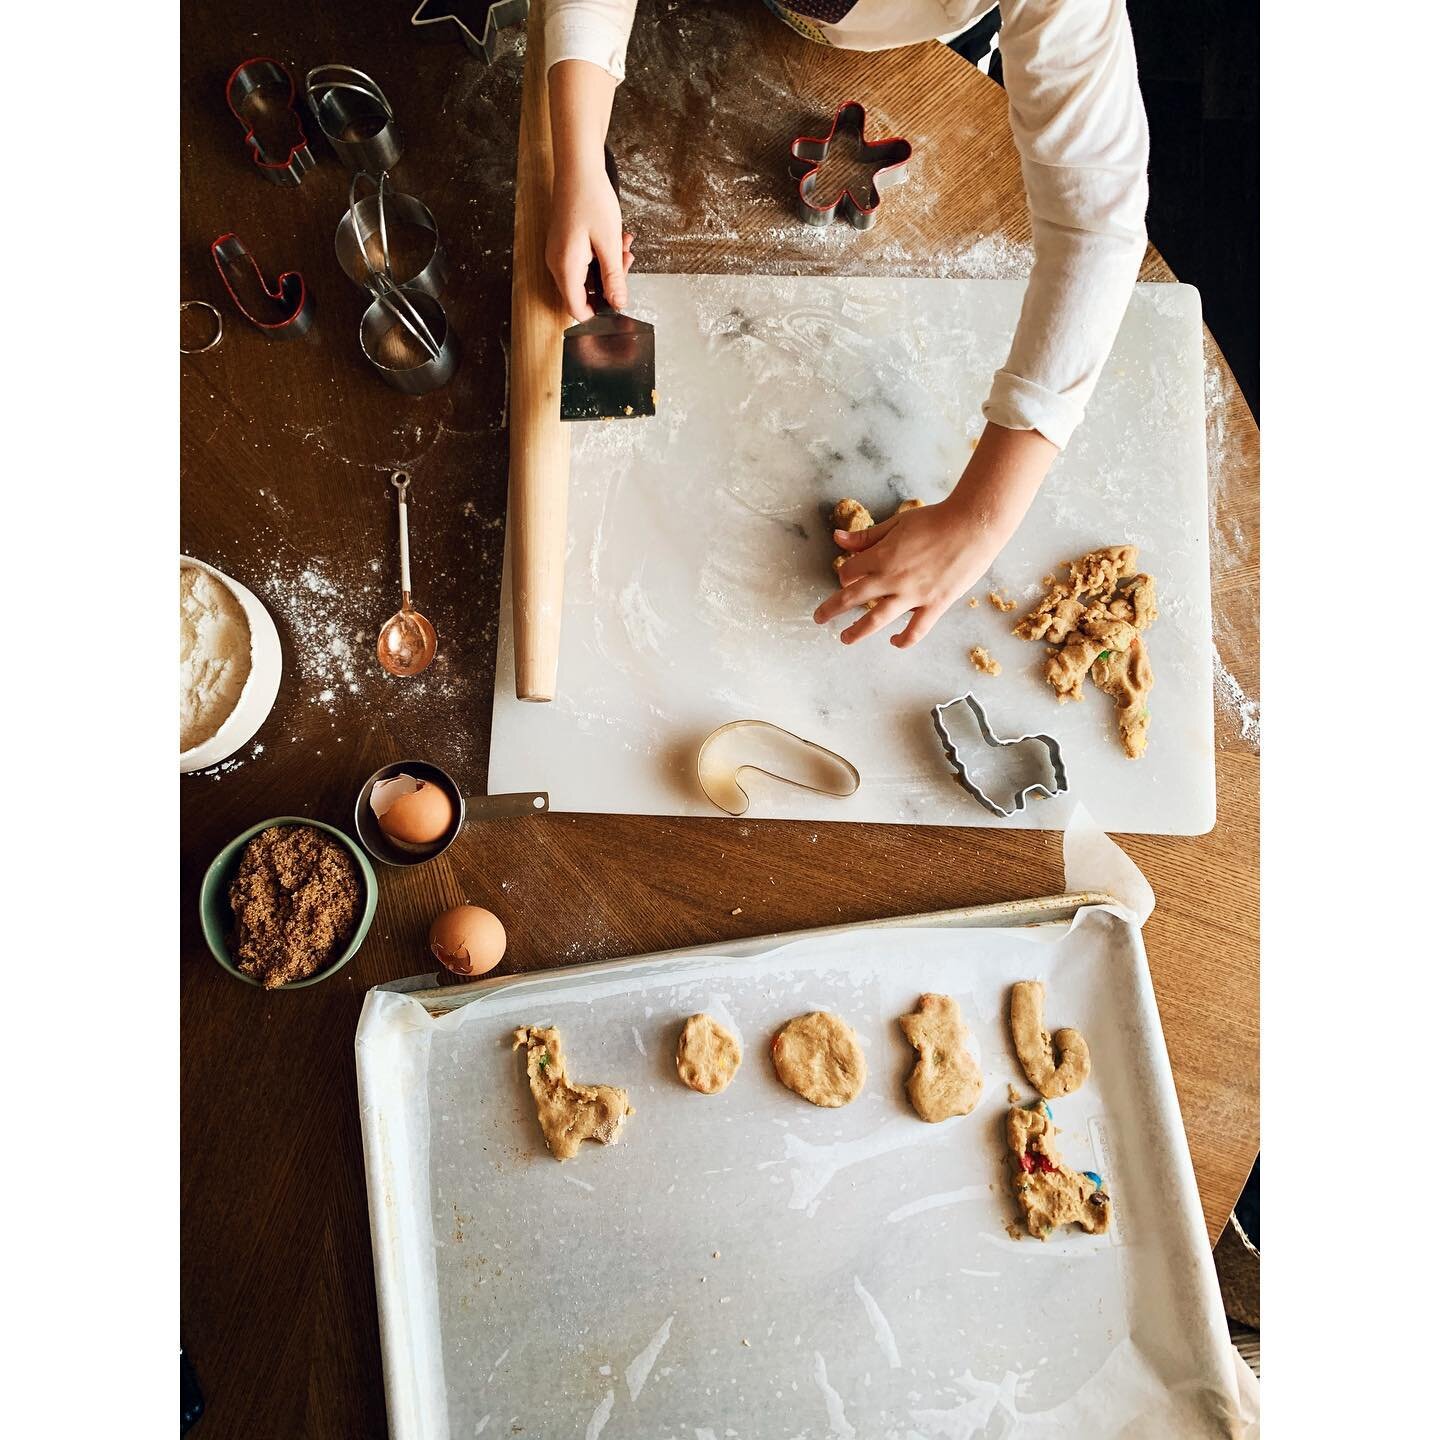
Homework is torture, yes. Why they do it, and why we want them to stop is for another post. Embracing it is half the battle. (having a good attitude yourself doesn’t hurt either). Doing homework with your kids can be fun. Let it be fun. When we got this weeks drill it included making valentines boxes for valentines day. Which means we have two choices, one: bitch and moan or two: EMBRACE IT. We looked at it as an opportunity to hang with the kids and get some extra art in. We blasted some music, stuffed our faces with guacamole, made the Valentines Boxes and had a HELL of a TIME!

Cheers

-Nicole


EASY DIY VALENTINES BOX

EASY DIY VALENTINES BOXES:

SUPPLIES:

OLD SHOE BOXES
MOD PODGE MATT FINISH
PAINT BRUSH
COLORFUL TISSUE PAPER
GLITTER
PAINTS
PENS
TAPE

ADDITIONAL THINGS TO CONSIDER, FOR HAVING A GOOD TIME:

YOUR FAVORITE MUSIC KIDS (OR NO KIDS)
YOUR FAVORITE SNACKS, HIGHLY RECCOMMENTED : POPCORN + QUACAMOLE

DIRECTIONS:

TAKE ONE PIECE OF YOUR COLORFUL TISSUE PAPER FACE THAT DOWN ON THE TABLE ( THE COLOR SIDE DOWN) PLACE YOUR BOX IN THE MIDDLE.WITH YOUR PAINT BRUSH, DIP IT INTO THE MOD PODGE SPREAD AN EVEN COAT OVER YOUR CARDBOARD BOX BOTTOM, PLACE THAT ONTO THE TISSUE PAPER, (SEE UBOVE FOR EXAMPLE IN PHOTO) THEN GIVE THE BOTTOM A GOOD PAT WITH YOUR HAND TO SMOOTH THE BUMBS OUT. THEN DO THE SAME TO ALL THE SIDES. IT DOESNT HAVE TO BE PERFECT JUST GET THEM TO STICK, AND THEN ONCE THATS DONE, PUT ANOTHER COAT OF MOD PODGE OVER THE WHOLE BOX AND GET IT NICE AND COATED! IF YOU LIKE SPARKELS ADD THE GLITTER! LET DRY FOR 1 HOUR - TWO HOURS. YOU CAN MAKE YOUR SLIT FOR THE LETTERS ONCE DRY.

NOTE: THIS IS SOMETHING THE KIDS CAN DO, SO GET A BOX FOR YOURSELF AND SHOW THEM HOW ITS DONE, OR DO IT AT THE SAME TIME AND GUIDE THEM, ONCE THEY HAVE THE HANG OF IT THEY CAN EASILY TO IT THEMSELFS. THE KEY HERE IS NOT PERFECTION, ITS FUN! LET THEM GET INTO IT.

ONCE DRY YOU CAN FILL IT WITH YOUR VALENTINES CARDS!


EASY DIY VALENTINE BOX 10.jpg

EASY DIY VALENTINES BOX

EASY DIY VALENTINES BOX 12.jpg

EASY DIY VALENTINES BOXES

EASY DIY VALENTINES BOX


EASY DIY VALENTINES BOX

EASY DIY VALENTINES BOX

EASY DIY VALENTINE BOX

WHERE TO PURCHASE SUPPLIES:

TARGET

IKEA

SNACKS : TRADER JOES

WHOLE FOODS


FEAR, IT'S A FUNNY THING || PERSONAL GROWTH STORIES || FACING ANXIETY|| PHOTOGRAPHER NICOLE LEE

“As you come to recognize the power of consciousness, that what is behind your eyes, so to speak, holds more power than what appears in front of them, your inner and outer perceptions change.” – Gary Zukav

This past year has had its fair share of ups and downs and in between, my health took to an all time low, and for some reason I decided to start caring what other people thought. I became frozen. Frozen in what to say, how to be myself, what to articulate, and WHAT am I bringing to my business? You get the idea. Obsessing about where the line is on sharing was the main focus. To share or not sharing on social media? Sharing too much of your personal life, may leave you feeling vulnerable and exposed. Or not sharing enough may lead to feeling like a phony only sharing the “highlight reel”. I found myself looking at what all these “influencers” were/ are doing and thinking well f*** I am never going to “catch up”. Do I even have anything to offer? Am I good enough? Do people care anyway?

FLOWERS

Not great self talk eh? I had it all wrong.

When I came to the realization that I cared WAY too much and put so much energy into caring what other people thought, I felt mentally exhausted and anxious. I turned to my therapist for help, I told her what was going on, expressing I felt I may have some unresolved social anxiety that I need to face. It comes up at social events, and if I’m really being honest, I feel that way most times before posting on social media channels.

Her response “ she once felt the same way (minus the social media part) and someone informed her that getting caught up in what others think is self absorbed. “SHUT UP!” I thought. The last thing I want is to feed narcissism and be self-absorbed! I gave myself a good hard look into the mirror and said can we move on? Is putting energy into what other people think really worth your time? Is it honestly helping you move forward in life? HELL NO.

Moving forward was simple to do. Truth, it's going to come up again, when it does we have a choice. Fear goes away when you go look at it. The fear gets bigger when you push it aside. It was facing the fear that got me to the other side.

Looking back I can laugh at myself. I wasted so much time on things that only held me back from my own truth. Lesson learned. In fact most people may not have this as an issue. Maybe their fears lie somewhere else, starting that project, launching that business, getting out of the chair to have a good time, trying something new outside of your comfort zone. Whatever it is for you, once you become aware, awake, conscious you have a choice. Using the new tool to look at your fears, face them, figure out what’s up, or run and hide from them, push them down, or drop out. The only one in the way of you is yourself. So the choice is yours.

Cheers, X Nicole


HELPFUL LINKS + TIPS :

JUDGMENT DETOX

 SUPER SOUL SUNDAY, OPRAH

You cannot become compassionate with yourself without becoming compassionate with others, or with others, your world becomes compassionate. You draw to yourself other souls of like frequency, and with them you create, through your intentions and your actions and your interactions, a compassionate world.  –Gary Zukav


QUICK EASY HOLIDAY PARTY SNACKS || GLUTEN FREE + VEGAN RECIPES || FOOD PHOTOGRAPHER NICOLE LEE


CHEX MUDDY BUDDIE RECIPE

Hello Friends, 

We are in the home stretch of the holiday Season. I don’t know about you folks, but it seems this year has been extra busy. Between all the kids Parties, Family parties, and Christmas, and upcoming New Year's, I may take the rest of January to hibernate. Anyone with me?

Before we decide on that, I’ve got the easiest recipe for you to make. These “muddy buddies” and I go way back. When I started making these I couldn’t even boil and egg, or so much as make a batch of cookies without burning the entire batch. What I'm saying is anyone can make them! This recipe is for the “ultimate home cook” or the people who may not have a clue what they are doing in the kitchen. Recipe is below, Happy Cooking!

-Nicole


GLUTEN FREE + VEGAN CHEX MUDDY BUDDIES RECIPE:

What you will need : 1 family size box Rice Chex Cereal

1 bag of 85% organic dark chocolate chips

¼ cup MCT OIL

1 teaspoon Organic Vanilla extract

½ cup Organic Peanut Butter ( or if allergic omit entirely, add ¼ cup more MCT oil, or ALTERNATIVE NUT BUTTER)

½ cups of Swerve Confectioners Sugar

1 cup Organic Powdered Sugar

1 LARGE saucepan (large enough to mix in 10 cups Chex Cereal)

2 large ziploc gallon bags Or 2 Large Paper grocery bags (for mixing and shaking)

TIP: IF you are looking for the low glycemic version, swap out ALL POWDERED sugar for SWERVE CONFECTIONERS Sugar, it’s one to one ratio. I like to do about half and half.

Directions:

Measure out 10 cups of the rice Chex cereal set aside. In your bag place half of the powdered sugar set aside. Measure out your nut butter, oil, and vanilla. Set aside.

Heat your dutch oven to medium low, pour in your MCT OIL, NUT BUTTER, vanilla and chocolate chips stir with wooden spoon or spatula until all the chips melt, do not stop stirring, it can burn quick. Once Melted TAKE OFF HEAT! Still at the stove pour in your cereal to the melted chocolate , mix until all are coated with chocolate mixture. Then add the mix to your bag filled with the powdered sugar, once in add some more powdered sugar on top of mix, seal and shake shake shake until all coated. If the mixture seems wet, add in 1 tablespoon of powdered sugar, shake again and repeat until it's coated with the powdered sugar. Since we are using all real ingredients, the color may come dark instead of all white, don’t be alarmed. When finished shaking, transfer to parchment or wax paper to cool. Then enjoy!


MUDDY BUDDIES 3small*.jpg

THIS RECIPE WAS ADAPTED FROM CHEX MUDDY BUDDIES

EASY LEFT OVER CHICKEN SOUP RECIPE || FOOD PHOTOGRAPHER NICOLE LEE


CHICKEN SOUP


Hello Friends,

Sometimes the best recipes stem from only what is stocked in the fridge at the moment. You know, when it gets bare and you can’t bring yourself to do another weekly shop. As my kids are growing it seems I am constantly running out of food! So we barely have leftovers, but I do have staple ingredients lying around. Garlic, ginger root, onions, carrots, celery, fresh herbs, always cilantro and basil. In the pantry, canned beans, tomatoes, chicken bone broth and veggie broth stock the shelves. That way when I am in a pinch, I can easily throw something in a pot and walk away, while I  to tend to the chaos of after school activities. Inspired by the classic the many leftovers in the fridge after hosting our first “classic” thanksgiving meal a beautiful hearty soup was born.


Leftover Chicken Soup Recipe

Ingredients:

2 cooked Cornish Hens (or 1 fully roasted chicken)

2 sweet onions

4 celery stalks

2 carrots (I used my roasted carrots from the night before!)

2 cloves garlic

Fresh Ginger (about half the size of your pinky finger)

2 - 16 oz chicken bone broth (free range organic is my preference, I like Pacific Brand or you can make your own stock) White wine (you actually like to drink, I love Sauvignon blanc)

2 cans of cannellini beans (eden brand is great, they pressure cook and Soak them, so they are great on your digestive system)

2 -3 cups of fully cooked mixed potatoes, Japanese sweet, white, red… you get it! (roasted from night before, or boiled then add them to the pot, don’t add raw potatoes to your soup, it will soak up all your broth)

Herbs:

1 bay leaf

fennel leaves

fresh oregano, thyme leaves, sage, rosemary

Salt

Fresh ground pepper

Other things you may need:

Olive Oil, or avocado oil for frying your veg

1 large stock pot, with wide bottom (Dutch oven work great too)

1 wooden spoon

Chef’s knife

Cutting board

Directions:

First chop all your onions, carrots, celery, place in one bowl set aside. Take two garlic cloves with the peel on, place one on your board and with your knife smash down, take off the peel and set aside the garlic. Repeat.

Place your stock pot on the stove, turn on the stove to medium-high heat add in your Avocado oil, when its good and hot add in your onion carrots and celery mixture to the stock pot. Then add in salt and pepper to taste, (small amounts at a time here if you aren’t experienced). Add in your whole garlic. Then Add in ½ cup of wine while the pot is good and hot, then bring the stove down to medium heat. Cook until the onions are clear, then add in both smashed garlic cloves. While that is making magic, roughly chop your herbs and add those to the pot. If things are good and cooked, turn the heat to low.

TIP: Be sure to stir your saute every few min so it will not burn, I like to feel things out when cooking, smell also helps so be sure to use your senses as a guide in the process!

Pull apart the chicken meat and bones, add them to the pot, and set aside the carcass for other use or discard altogether.

Open your cannellini beans, thoroughly rinse and drain beans and put them in the pot. Add in the fully cooked potatoes from last night's roast, ( or pre boiled potatoes). Cut about 1 inch long of fresh ginger root, toss this into the pot whole. Add in your Bay leaf as well.

Give everything a good stir, turn your heat up to high, now it’s time to to add in the bone broth to the stock pot. Let it boil for 5 min on high, when you see it bubbling, give it a good stir and bring your heat down to low and let simmer for min of 45 min - 12 hours depending on when you will be eating. The longer it sits the more time the flavors have to melt into each other. After the 45 min on low heat, you can taste if it needs more herbs, salt or pepper.

Serve with crusty bread and salad to make a glorious dinner!

Cheers

-Nicole

ASHER'S PEANUT BUTTER AND JELLY SANDWHICH || RECIPE || GLUTEN + DAIRY FREE || PHOTOGRAPHER NICOLE LEE


Hello Friends, 

It’s good to remember you don’t need fancy food, or expensive kitchen tools to execute a good meal. A Peanut butter and Jelly sandwich will do  just fine indeed. We all have busy lives. What I love most about sandwiches, they are quick, easy, and i’d say nutritious. The thing is, it’s not just about the meal at the dinner table, but the memories we make around the table. Or it’s not about the “perfect” presentation, but letting the kids get in there and make something too, and heck it can be messy. Who cares?

Onward, go make a sandwich and hug someone close to you!

PB + JELLY SANWICH RECIPE :

INGREDIENTS:

  • Loaf of bread

  • Your favorite jam / honey or fruit spread

  • Peanut butter (or other nut butter )

  • A knife 

  •  

  • DIRECTIONS:   Grab 2 pieces of bread. With your knife place an even layer jam on one half of bread. On the other spread an even coating of peanut butter. Then place one slice on top of the other. Bam you are finished. If you are daring make it open faced. To do that spread an even layer of nut butter on bread, then jam on top!


peanut butter toast recipe

peanut butter jelly sandwich recipe

PEANUT BUTTER JELLY SANDWICH 

BY : SHEL SILVERSTEIN 

I’ll sing you a story of a silly young king
Who played with the world at the end of a string,
But he only loved one single thing --
And that was just a peanut-butter sandwich.

His scepter and his royal gowns,
His regal throne and golden crowns
Were brown and sticky from the mounds
And drippings from each peanut-butter sandwich.

His subjects all were silly fools
For he had passed a royal rule
That all that they could learn in school
Was how to make a peanut-butter sandwich.

He would not eat his sovereign steak,
He scorned his soup and kingly cake,
And told his courtly cook to bake
An extra-sticky peanut-butter sandwich.

And then one day he took a bite
And started chewing with delight,
But found his mouth was stuck quite tight
From that last bite of peanut-butter sandwich.

His brother pulled, his sister pried,
The wizard pushed, his mother cried,
“My boy’s committed suicide
From eating his last peanut-butter sandwich!”

The dentist came, and the royal doc.
The royal plumber banged and knocked,
But still those jaws stayed tightly locked.
Oh darn that sticky peanut-butter sandwich!

The carpenter, he tried with pliers,
The telephone man tried with wires,
The firemen, they tried with fire,
But couldn’t melt that peanut-butter sandwich.

With ropes and pulleys, drills and coil,
With steam and lubricating oil --
For twenty years of tears and toil --
They fought that awful peanut-butter sandwich.

Then all his royal subjects came.
They hooked his jaws with grapplin’ chains
And pulled both ways with might and main
Against that stubborn peanut-butter sandwich.

Each man and woman, girl and boy
Put down their ploughs and pots and toys
And pulled until kerack! Oh, joy --
They broke right through that peanut-butter sandwich.

A puff of dust, a screech, a squeak --
The king’s jaw opened with a creak.
And then in voice so faint and weak --
The first words that they heard him speak
Were, “How about a peanut-butter sandwich?”


lifestyle portrait

    CHRISTMAS BRUNCH IN JULY || BRUNCH TIPS || FOOD+LIFESTYLE PHOTOGRAPHER NICOLE LEE


    Hello Friends,

    Can you believe it’s Wednesday already? In my last post I spoke about how we get to move back into our home this Friday. It’s been a wild journey with the storms of the house. Officially we have been out two months, and two-ish weeks. That would make us staying at 4 different airbnb. The last place we stayed at felt like we were living in a Wes Anderson Movie. Deserted hotel, we were the only ones on the grounds at times. Anyway, we are getting really excited to finally be moving back in. The status of the house, we have walls, and currently are doing some extra remodeling ourselves. Painting, bathrooms the kids rooms and a few odds and ends. The goal is to make it feel like home again. But after all that has happened it’s time to put on some fresh coats of paint and make new memories.

    Best way to do that, make a big meal gather around the table and have some laughs. Our go to favorite meal  brunch. Sunday mornings, bacon, eggs, maybe some double chocolate muffins. Or just whatever we may have in the fridge at the moment works too. Here is how we usually brunch on Christmas morning…. 

    “Team Lee” Brunch (Christmas Morning Style) : 

    Put everything in the middle of the table and enjoy!

    Cheers Friends,

    Nicole


    Sunday brunch tips


    SAY HELLO! :


    FOLLOW ALONG ON INSTAGRAM :

    GRAIN FREE "BEAUTY WAFFLE" RECIPE || FOOD+LIFESTYLE PHOTOGRAPHER NICOLE LEE || GLUTEN FREE RECIPE


    gluten free waffle recipe

    Hi friends,  

    How we doing out there? It’s been pretty go! go! go! this summer. We are so close to moving back into our home. Officially we move back in this Friday July 14th. We are feeling slightly bittersweet about it all. The “storms” have calmed down, and the “series of unfortunate events” have been put to rest. Mold gone, plumbing fixed throughout the house, tree that was causing leaky roof, gone ( my apologies mother nature) roof fixed…let me think.. Walls fixed.. Now the house is safe. Amen. Ha. Ryan and I have been cleaning like mad, painting, so the house will be move in ready. There are a few odds + ends I’ll still be sharing on Insta stories ( so stay tuned!) Nothing but clear skies ahead for us with our home. Excited to get back into the kitchen ( well my own kitchen and test some new recipes!)

    To celebrate our move in, I've been cooking up some waffles. I have been recipe testing like mad these past few weeks with this grain free chocolate beauty waffle concoction. It sure has been giving me a run for my money! “Beauty waffle”? These waffles are filled with all sorts of good stuff, we’ve got, raw cocoa(rich in magnesium), dark chocolate, xylitol sweetener ( no sugar spike + crash), egg yolks (amazing for skin!), Maca ( libido boosting), and flaxseed meal (aids digestion). All mixed together you have heaven, oh and don’t forget the whipped topping! If you are into things tasting good, and knowing the ingredients going into the food you make are full of added bonus give these waffles a try.

    -Happy cooking!

    Nicole 


    waffle ingredients

    gf chocolate waffle recipe

    Recipe :
    Grain Free Chocolate Chip beauty waffles

    Ingredients:

    Wet ingredients:
    3 pasture raised egg yolks plus+ 1 full egg
    2 tablespoons filtered water as needed or almond milk
    1 tspn vanilla extract or unsweetened vanilla powder

    Dry Ingredients:
    ½ cup cassava flour
    ¼ cup unbleached almond meal
    1 tablespoon High quality Extra Virgin Olive Oil
    1 tablespoon MCT oil ( I love bulletproof brand)
    1 teaspoon organic cinnamon
    ½ tspn baking soda
    1 tspn baking powder (aluminum free)
    1 tablespoon organic raw cocoa (if desired)
    2 tablespoons organic ground flaxseed meal ( trader joe’s brand is awesome)
    1 tablespoon raw Maca powder ( moon juice brand is my favorite)
    1 bag of stevia sweetened chocolate chips or 1 dark chocolate bar (roughly chopped)
    1 tablespoon of swerve ( sugar alternative)
    1 tablespoon of xylitol

    Tools needed: large mixing bowl, measuring cups, wooden spoon, small or large waffle iron, plate or cooling rack.

    Directions:
    TIP: It’s always helpful to measure your ingredients ahead ( I don’t always do this, but it helps to at least have them all out)

    In a small bowl Separate the egg yolks from eggs. Add in the one whole egg. Set aside. Grab your large mixing bowl and add in all the wet ingredients. Lightly whisk the mixture for about 30 seconds. Add in your dry ingredients (except the chocolate chips), starting with the sugars, then add in all the rest doesn’t matter the order. Mix it all up with your wooden spoon. If it looks dry, add in 1 tspn at a time of almond milk ( or water). Add in your chips. ( to your desire, I like a lot!)
    Plug in your waffle iron, use the directions on your machine( believe me they are all different)
    Start making waffles! Poor a bit of waffle mix into the maker, when the little light goes off you know they are done, but sometimes they may need an extra min. This is where your own judgment comes in. You can also poke them in the middle, and if they bounce back they are done. Note: you can make a few “tester” one and set a timer. This is always helpful.
    Place on plate or cooling rack with a piece of paper towel or parchment paper over the top to keep warm.
    Chop fresh berries for topping
    Enjoy! Add your favorite whipped cream, maple syrup, or nut butter with bacon.

    “Whipped topping”:
    (Makes 11 oz )

    Ingredients :
    3 pasture raised egg yolks
    2 cans full fat organic coconut cream (refrigerated overnight)
    2 tablespoons xylitol
    1 teaspoon of organic vanilla extract or unsweetened vanilla powder
    1 organic whole vanilla bean
    1 -tablespoons of moon juice loose probiotics ( another form of loose probiotics should work)
    Vitamix high powered blender

    Directions:
    1.Place the blender top in the freezer for about 15-20 min. Or until cold enough there is a layer of fog around the blender top.
    2.In a bowl open and separate coconut milk fat from the water. (This should be natural as you have put it in the refrigerator). Disregard the water and use for another project!
    3. Slice open your vanilla bean, in half with a sharp knife, scrape out the beans and place with your coconut fat.
    4. When your blender top is good and cold, take all the ingredients and place in the blender. On the cold setting blend your heart out ( about 15-35 seconds). Check the consistency and if it’s thick ( not too thick) transfer to airtight container and back in the fridge while you make your waffles. (You can also use this cream to have for a late night treat with berries or other goodies. )


    Gluten free chocolate waffle recipe

    grain free waffle recipe

    SAY HELLO! 


    Source: www.heydear.co/blog

    CAROL+NEIL ELOPE || SEDONA ELOPEMENT PHOTOGRAPHER


    Hello Friends,

    Sometimes we tend to get lost in all the details of wedding planning, in the pressures to please everyone else. Wedding planning, whether you elope or go the traditional route is stressful. I remember planning my own wedding way back when (10 years ago to be exact), and having everyone around us having opinions about EVERYTHING. People seem to chime in whether you ask them to or not.  The thing is with Carol + Neil, they were smart enough to take note and say, lets tell our story, the way we want for US. And that’s exactly what they did. Best part, the elopement was a big secret, and they were going to send out an announcement after their honeymoon to let everyone know “we’ve eloped”. GENIUS. I admire them. They have gumption!

    Here is Carol + Neil’s Sedona Elopement Story.  

    Cheers,

    -Nicole


    CAROL + NEIL|| ELOPEMENT || SEDONA, MAY 25 2017.


    ARTIST PORTAITS MALORI MAEVA || FLORIST NOIR FLORAL || LIFESTYLE PHOTOGRAPHER NICOLE LEE || HEYDEAR


    Hey you guys! Happy New Year! It's great to be back. May I introduce my dear friend and all time business gal Malorie.  

    Malorie Maeva, is something special my friends. I was fortunate enough to have met her last year while assisting the AMAZING Kym Ventola with a wedding she was photographing. Instantly I thought wow this girl is the Brains behind Hoot and Holler / and Noir Floral? She is one talented lady, and been killing it in the floral industry for sometime now. I had been following her for some time on instagram and couldn’t help but instantly be inspired by her floral designs, esthetic and boldness that she was putting out into the universe!

    I was honored when she let me photograph her doing her thing, designing and crafting floral arrangements. Here is a peek inside what she does and our time together, enjoy friends!


    CHEERS,

    Nicole


    MALORI MEAVA 16_426.jpg

    Arizona Florist : Malori Maeva http://www.noirfloral.com/